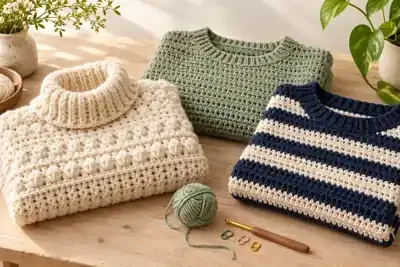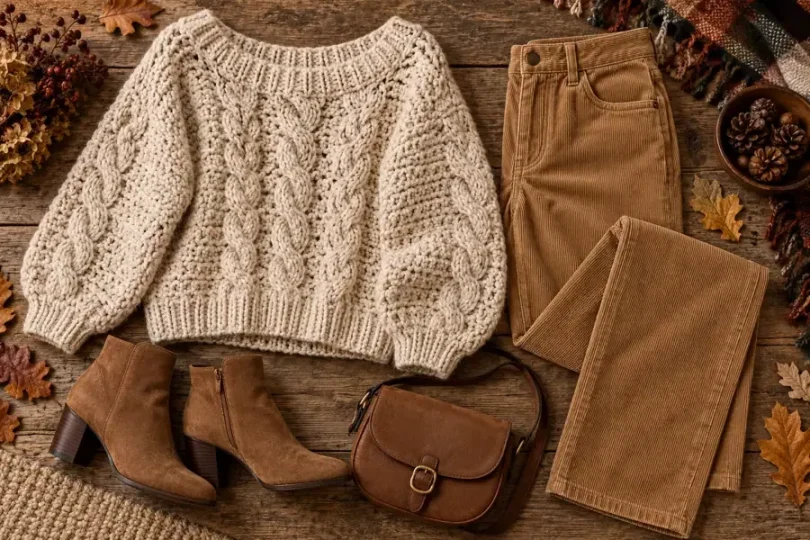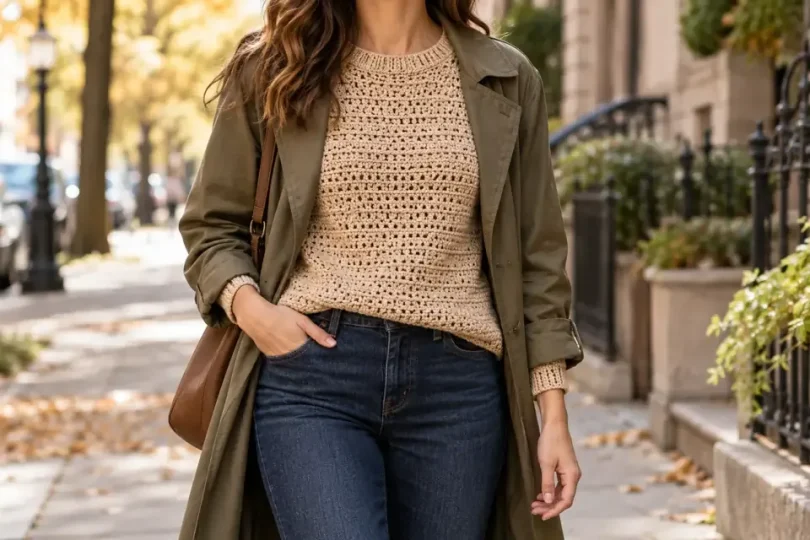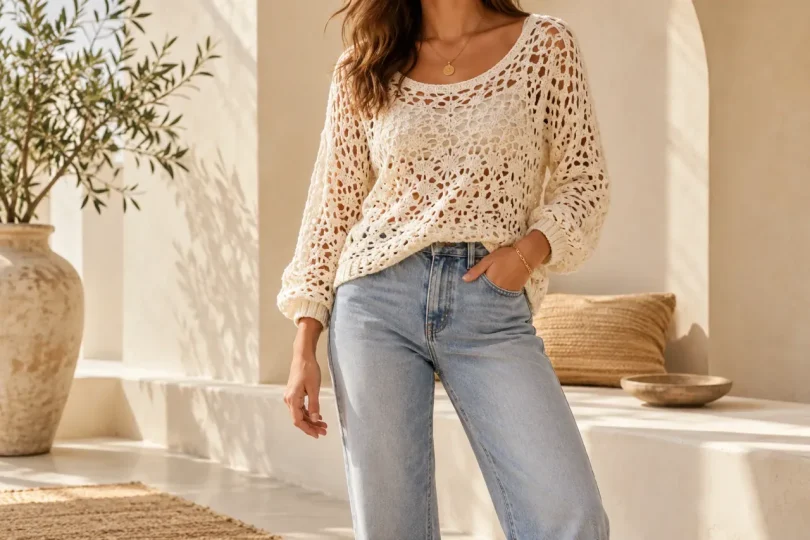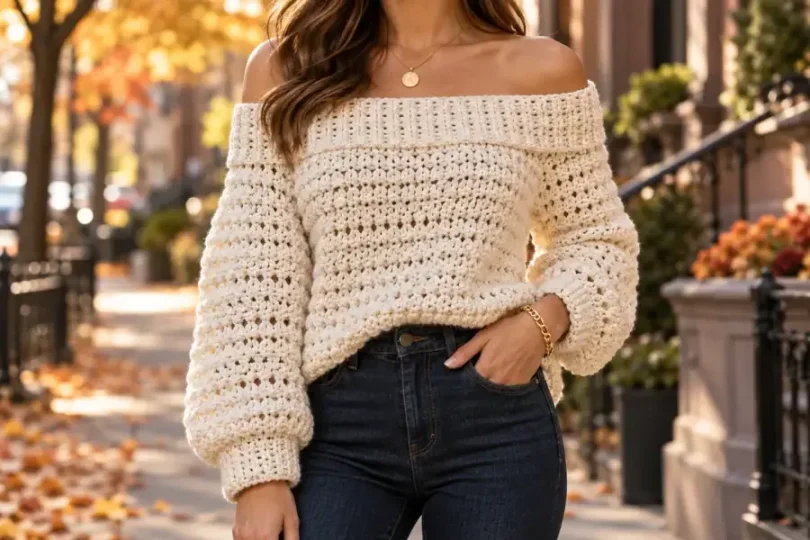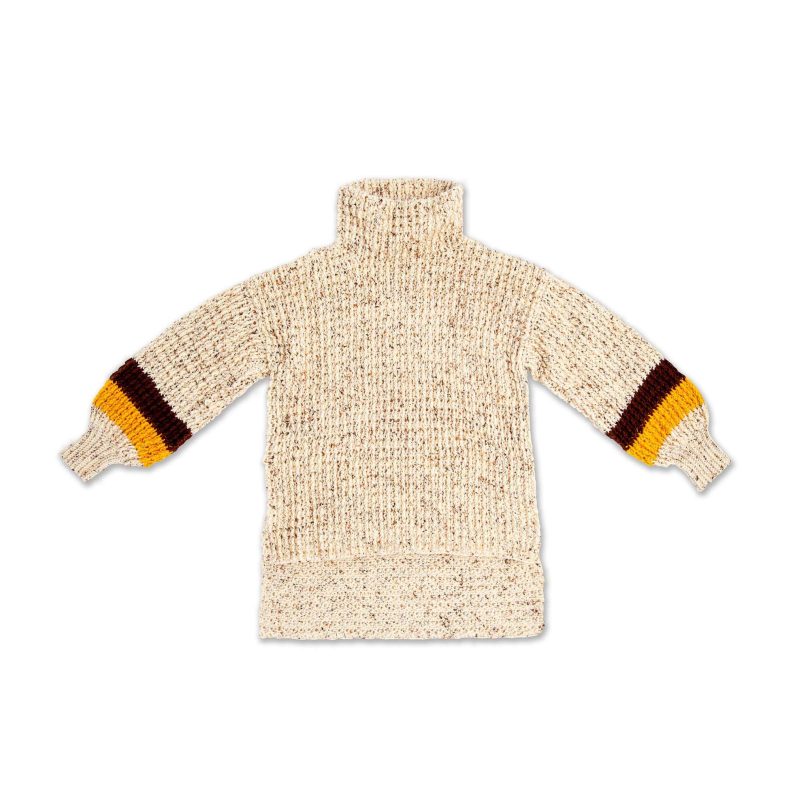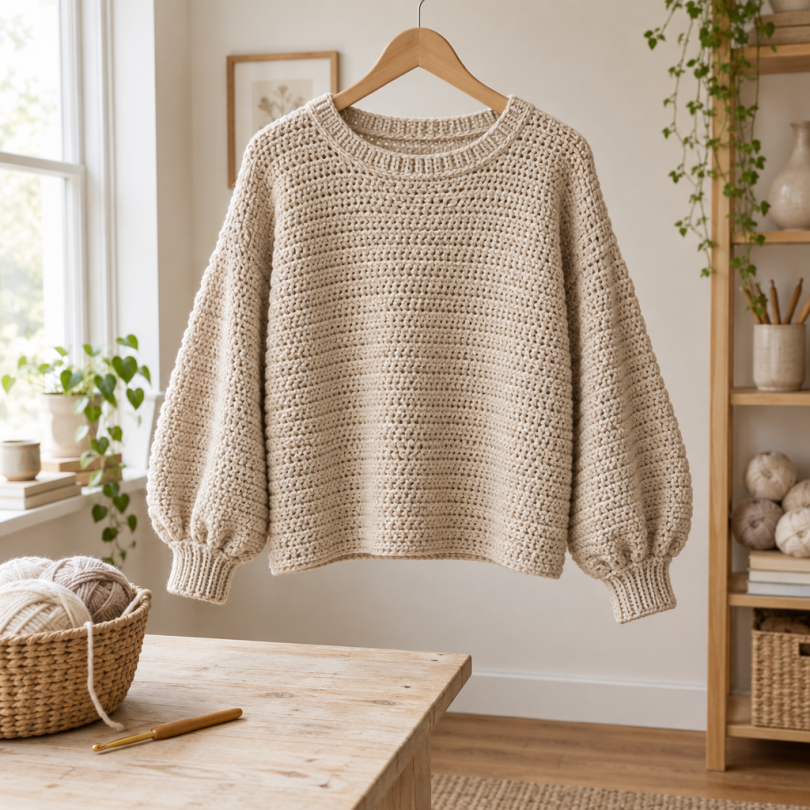
Want to make a first crochet sweater without tackling complicated stitch patterns or shaping? This relaxed design keeps the main fabric approachable, while its boxy silhouette and balloon sleeves give the finished garment a considered, modern look.
The sweater uses half double crochet for most of its fabric and is built from four separate pieces: a front panel, a back panel, and two sleeves. You crochet the body panels from the shoulders down, so you can decide how long to make the body before you finish them.
The project suits crocheters who already know basic stitches and feel ready to try a wearable. You will also practice post-stitch ribbing, sleeve increases, measuring, and seaming. Those steps make this a beginner-plus project rather than a first-ever crochet lesson.
This guide helps you prepare for the construction and choose a size with confidence. Follow the pattern’s instructions and size-specific stitch counts for the exact shaping, measurements, and assembly details; use the guidance here to keep each stage organized.
Quick Answer
This beginner-plus crochet sweater uses half double crochet for most of the fabric and a four-piece seamed construction: a front, a back, and two sleeves. The pattern covers nine sizes, XS through 5XL, and lets you adjust body length. Balloon sleeves take shape through increases worked from the cuffs upward.
Key Takeaways
- The sweater comes together from four separately crocheted pieces: two body panels and two sleeves that you seam together.
- The pattern includes nine sizes, from XS through 5XL, so choose using the pattern’s size chart and finished measurements.
- Bulky or chunky #5 yarn and a 6.5 mm (US K) crochet hook form the specified material combination.
- Half double crochet creates most of the fabric, while front-post and back-post half double crochet add ribbed details.
- The shoulder-down body panels allow adjustable length, and increases worked from each cuff create the balloon sleeve shape.
1. Check Whether This Beginner-Friendly Sweater Is the Right Project
Start by checking that you feel comfortable making half double crochet. It forms most of this sweater’s fabric, so you will repeat the stitch across substantial sections. You do not need an advanced stitch repertoire, but steady stitch recognition and the ability to count rows will make the project easier to manage.
Next, consider whether you are ready to make and join separate pieces. The construction uses a front panel, a back panel, and two sleeves. You work each piece on its own, then seam the garment together and finish the neckline on the assembled sweater. If you have not sewn crochet pieces before, treat assembly as a skill to learn gradually rather than a reason to rule out the project.
The shaping is straightforward but requires attention. You will follow the pattern’s size-specific stitch counts for the body, work post-stitch ribbing, and make increases on the sleeves to build their balloon shape. These are manageable techniques when you follow the instructions in order and check your work at the stated points.
This design may suit you if you want a relaxed wearable and are willing to measure, count, and seam. If you are still learning how to hold a hook or identify basic stitches, practice half double crochet first, then return to the sweater when you can make an even swatch. Keep the pattern beside you throughout; this guide explains the workflow but does not replace its detailed stitch counts or shaping directions.
2. Gather the Yarn, Hook, and Other Supplies
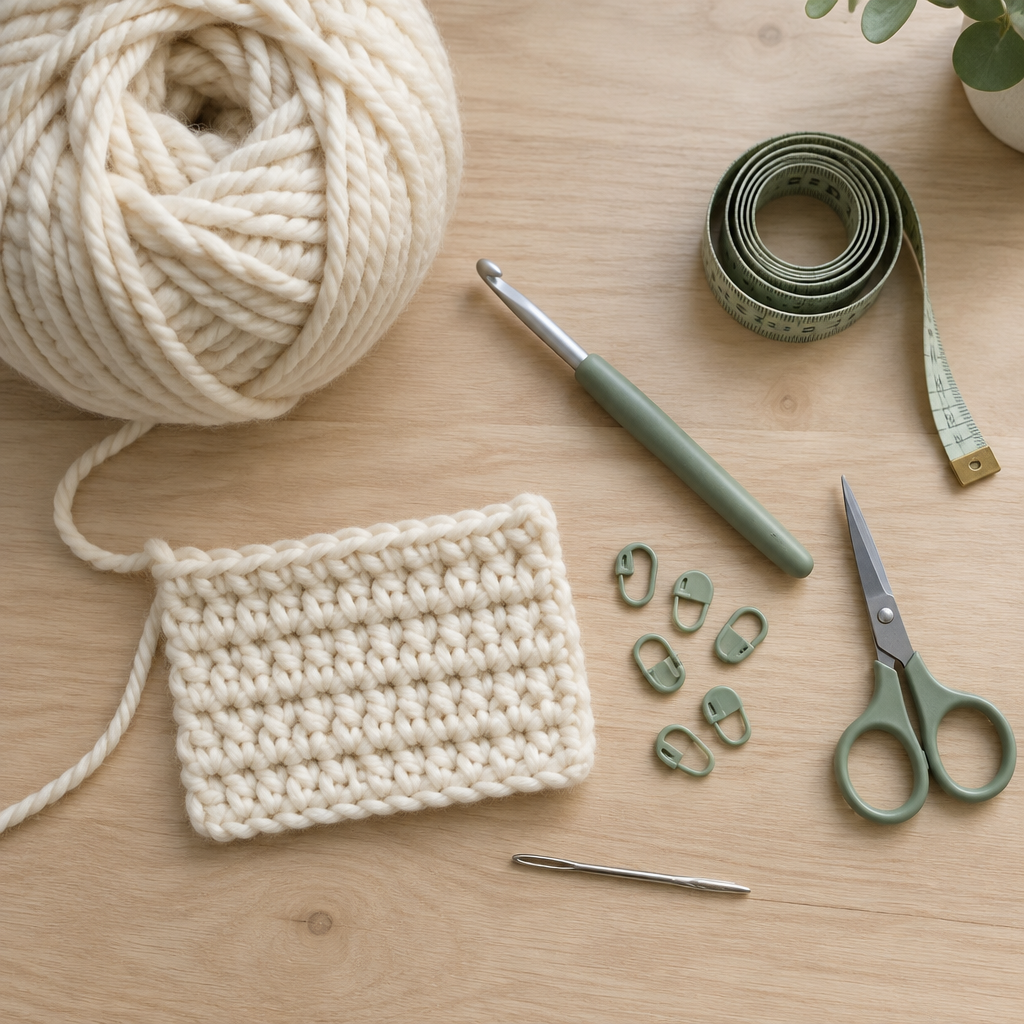
Set out the yarn and hook specified for the design: bulky or chunky #5 yarn and a 6.5 mm (US K) hook. The pattern’s required yarn amount depends on size, and no quantities are supplied in this overview, so check the original pattern before purchasing. Use the yarn label to confirm the yarn’s weight and care guidance rather than substituting based on appearance alone.
A stitch marker can help you identify a panel edge, a shaping point, or a place in the pattern where you need to return later. The pattern may specify where to place markers; use them to support its instructions rather than as a substitute for counting. If you do not have markers, pause at clear milestones and write down your progress so you can resume accurately.
Keep a yarn needle and scissors nearby for joining and finishing. The yarn needle lets you sew pieces together and secure the yarn tails, while scissors let you cut yarn when the pattern tells you to change or finish a section. A tape measure or other measuring tool helps you compare your swatch and finished pieces with the pattern’s gauge and measurements.
Gather these items before you begin, then keep the selected size’s instructions close at hand. Avoid buying an assumed number of skeins based only on another crocheter’s project or a different size. Confirm the pattern’s yarn requirements for your chosen size, and consider the care information on the yarn label when deciding whether its fiber suits a sweater you plan to wear.
3. Choose a Size and Take Your Measurements
Begin with the pattern’s size chart and finished-garment measurements. Measure yourself where the pattern indicates, then compare those figures with the chart rather than choosing a size from a clothing label alone. The pattern includes sizes XS, S, M, L, XL, 2XL, 3XL, 4XL, and 5XL, but the best choice depends on its actual measurements and your preferred fit.
Remember that this sweater has a relaxed, boxy shape. A finished garment measurement describes the sweater itself, not your body, so consider how much room you want between the garment and your body. Use the measurements supplied by the pattern to understand the intended ease; do not assume that a size with the same label as your usual ready-to-wear size will automatically give the fit you want.
Take measurements with the tape comfortably positioned, not pulled tight or left loose. Record the relevant figures before you start, and keep those notes with your pattern. If you fall between sizes, compare the finished measurements for the neighboring options and choose the one that better matches your preferred amount of ease.
Length is a separate decision. Because the panels work from the shoulders downward and the pattern includes guidance for adjusting body length, you can plan for a cropped, standard, or longer look. Choose the size for the fit around your body first, then use the pattern’s length guidance to decide where you want the hem to fall. Keep the front and back panel lengths compatible so the side seams can meet neatly.
4. Make a Gauge Swatch Before Starting
Make a swatch in the main half double crochet stitch before beginning the sweater. Gauge tells you how closely your stitch and row dimensions match the pattern’s fabric. If you skip this check, even accurate stitch counts may produce panels that differ from the intended measurements, which can change the fit and affect how much yarn the project uses.
Follow the pattern’s gauge instructions exactly, including the stitch and any details about how to measure the sample. Use the specified bulky or chunky #5 yarn and 6.5 mm (US K) hook for the first swatch. Measure the fabric as the pattern directs, and compare your result with its stated gauge rather than judging the swatch only by how it feels in your hands.
If your swatch does not match, adjust your tension or hook and make another swatch. A tighter fabric may need a different hook approach than a looser one, but use the pattern’s stated gauge as your target instead of making a change based on a guess. Keep the finished sample nearby so you can compare its texture with the sweater as you work.
Do not try to correct a gauge mismatch by silently changing stitch counts. That can affect panel width, shaping, sleeve proportions, and seam placement. If the pattern does not provide enough information to resolve the difference, use the pattern’s own guidance or seek clarification from its creator before committing to the full garment. A short swatching stage is easier to revise than completed sweater pieces.
5. Read the Construction Plan and Mark Your Size
Before crocheting, read through the pattern once to see how the pieces fit together. Identify the instructions for the back panel, front panel, both sleeves, ribbing, assembly, and neckline. Note where the pattern gives separate stitch counts or directions for different sizes, and mark the column or line for your selected size so you can find it quickly.
The construction has four main pieces. You work the back and front panels from the shoulders downward, which gives you control over body length. You work the two sleeves from the cuffs upward, adding increases as directed to create the balloon shape. Once you complete those pieces, you seam them and finish the neckline on the garment; an optional ribbed collar offers a more structured finish.
Make a simple progress checklist using the pattern’s own section names. You might mark a panel or sleeve complete only after you have checked its stitch count and dimensions against the instructions. Keep notes about any length adjustment you make, since the front and back need to remain compatible for seaming.
Read shaping and assembly details before you reach those stages. For example, know which edges the pattern expects you to join and where the sleeve increases occur. Do not assume a row count or construction step from another size applies to yours. The pattern supplies the detailed counts and measurements; careful size marking helps you use that information consistently from the first chain to the final seam.
6. Crochet the Back Panel from the Shoulders Down
Find the back-panel instructions for your chosen size and begin in the order the pattern gives. The shoulder-down construction means the panel grows toward the hem, so you can follow the stated sequence and check its width and length as you progress. Work the half double crochet fabric evenly, keeping track of rows and the stitch count called for in your size.
Pay particular attention to the panel edges. At the start and end of each row, identify the stitches that belong in the count and work them consistently. Beginners can accidentally skip the first stitch or add an extra stitch at the row edge, gradually changing the panel width. Count when the pattern directs you to, and use a marker or written note if it helps you identify the row’s beginning.
Keep the fabric relaxed as you work. Avoid pulling the turning chain or edge stitches tighter than the rest of the row, since uneven tension can make the sides slope or pucker. If an edge begins to change shape, pause and compare the current stitch count with the size-specific count before continuing. It is easier to correct an error close to where it happens than after several more rows.
Use the pattern’s measurements to check progress rather than relying only on how many rows you have completed. Row height can vary with tension, so the stated measurement offers a useful check. Do not add extra length to the back panel without recording the change and planning to make the front panel compatible. Set the finished piece aside flat and label it as the back so you can distinguish it from the matching front during assembly.
7. Crochet the Front Panel and Plan the Body Length
Work the front panel using the instructions for your selected size, following the pattern’s stated order. The front and back form the body of the sweater, so check the stitch count and shaping details for each panel rather than assuming they are identical at every step. Keep track of which panel is which, especially if the pattern gives them different instructions.
Use the pattern’s length guidance to choose where you want the hem to sit. The shoulder-down construction makes it possible to adjust the body from a cropped style to a longer sweater, but plan that change before you reach the end of the panel. Work the front to the intended length and record your decision so you can apply a compatible length to the back.
Measure both panels as you go. Compare their widths and lengths with the selected size’s guidance, and lay them together when useful to spot a difference early. The panels need compatible edges for seaming; a mismatch in length can make the hem uneven or require you to adjust the join. If your stitch gauge is correct but one panel measures differently, review the row count and any length changes you made.
Keep the edges even by counting stitches and turning consistently. Avoid adding rows to only one panel to compensate for a fit concern without checking the pattern’s finished measurements. Body length and body width are different adjustments: use the pattern’s directions to alter length, and return to the size chart and gauge if the sweater seems too wide or narrow. This keeps your customization deliberate instead of creating an unexpected shape.
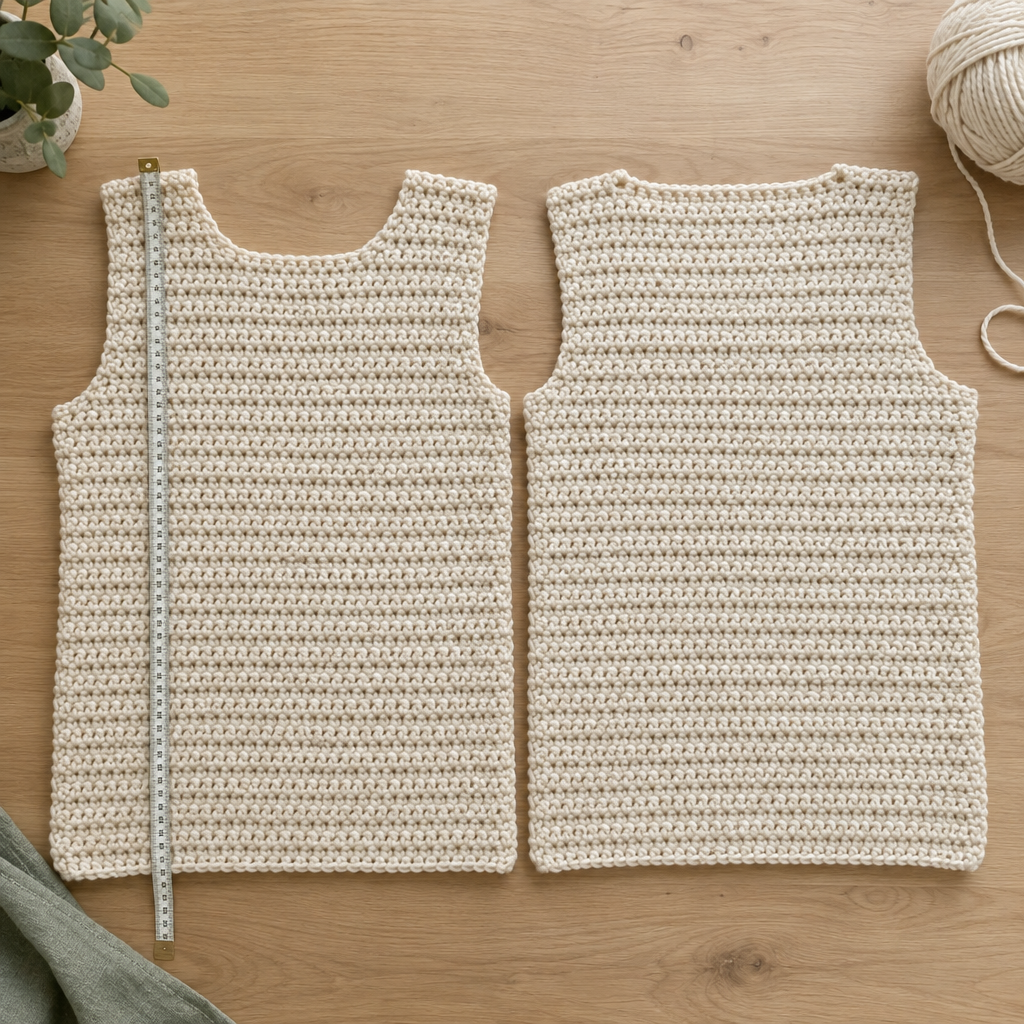
8. Work the Ribbed Details with Post Stitches
The sweater uses front-post and back-post half double crochet for ribbed details. These stitches work around the post of a stitch rather than through its top loops in the usual way, creating a raised and recessed texture. If you have not used post stitches before, practice a small sample so you can see how the hook moves around the stitch post before working the garment’s ribbing.
Follow the pattern’s instructions for where the ribbing belongs and how many stitches or rows to work. The exact placement and sequence matter: ribbing at an edge can affect how that edge sits and how it joins to another piece. Use the pattern’s stitch counts for your size, and do not add or omit repeats just to make the ribbing look wider or narrower.
Keep your tension consistent as you alternate front-post and back-post stitches. If you pull the yarn tightly around the posts, the ribbed edge may draw in more than intended. If you work too loosely, the texture may look uneven beside the main half double crochet fabric. Check the edge periodically against the pattern’s measurements or placement notes.
If the ribbing looks inconsistent, identify whether the front-post and back-post stitches are alternating in the order the pattern specifies. A misplaced stitch can interrupt the visual texture, while a missed or extra stitch can change the edge width. Correct a small error before moving on to the next piece, and avoid stretching the ribbing to force it to match another edge.
9. Crochet Each Sleeve from the Cuff Up
Work each sleeve from the cuff toward the upper sleeve, using the directions and stitch counts for your selected size. The cuff begins the piece, and increases worked along the sleeve create the soft balloon shape. Follow the pattern’s stated sequence and mark increase points if that helps you remember where to add stitches.
Do not assume both sleeves will shape correctly if you work from memory. Keep the pattern open and track each increase round or row as written. Missing an increase can leave the sleeve narrower than intended, while placing an increase in the wrong location can make the fabric flare unevenly. The pattern’s size-specific counts guide the sleeve’s proportions, so use those rather than borrowing a formula from another size.
Check the sleeve as it grows. Compare its dimensions with the pattern’s guidance, and pay attention to whether the increases appear distributed as intended. The balloon silhouette depends on the shaping, not simply on using a larger stitch or loose tension. Keep your half double crochet fabric even so the sleeve’s outline reflects the planned increases.
Make the second sleeve with the same instructions and check that the pair looks compatible before assembly. Compare their lengths and shapes and review your increase notes if one sleeve appears noticeably different. Small differences in tension can be easier to address before you attach the sleeves to the body. Set both pieces aside with their cuff and upper edges clearly identified.
10. Check the Four Pieces Before Assembly
Lay out the front panel, back panel, and two sleeves on a flat surface. Arrange the body panels as the pattern’s assembly directions show, and place the sleeves beside them so you can identify how their edges will meet. Use the pattern’s diagrams or written instructions if available; do not guess at an edge placement when the design specifies a particular orientation.
Identify the top, bottom, and side edges of each body panel. For the sleeves, distinguish the cuff edge from the upper edge that joins the body. If necessary, use removable markers or small labels to keep those edges clear. This simple check reduces the chance of sewing a cuff into a body seam or turning one panel the wrong way.
Compare each piece with the selected size’s measurements and guidance. Check that the panels have compatible lengths and widths, and that the sleeves match one another in size and shape. If you changed the body length, confirm that you made the corresponding adjustment to both panels. If something looks off, recount stitches, review row totals, and check your gauge before you start joining.
Correct clear discrepancies before assembly instead of pulling a seam tight to hide them. A seam cannot reliably fix a panel that is too wide or a sleeve that has missed its shaping. Use the pattern’s assembly placement and measurements to decide whether a piece needs an adjustment. Once all four pieces align with the instructions, arrange them in sequence and keep the pattern’s joining directions nearby.
11. Seam the Panels and Attach the Sleeves
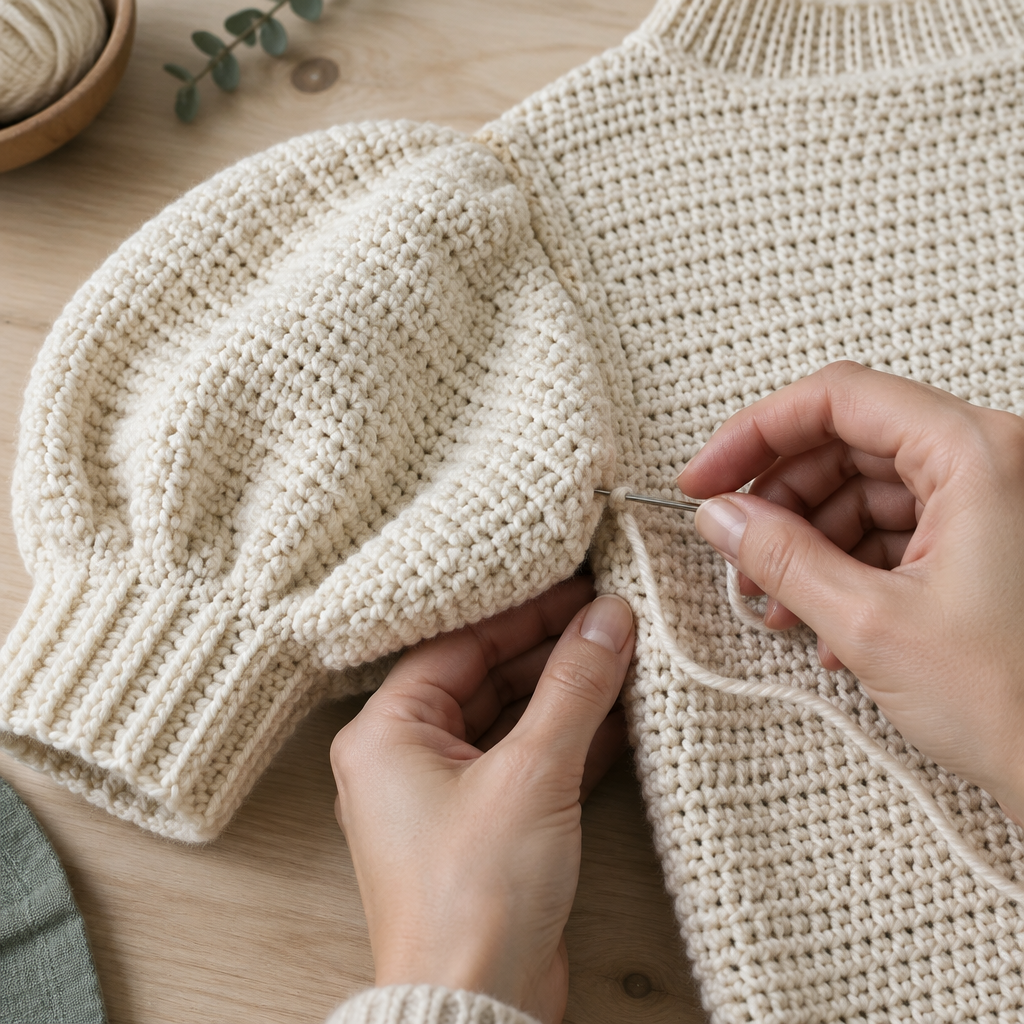
Follow the pattern’s assembly sequence to join the front and back and attach the sleeves. Before sewing, align the edges the pattern identifies and check that the top, side, and sleeve edges meet in the intended places. Use the pattern’s seam placement rather than improvising a join, since placement affects the garment’s shape and how the sleeves sit.
Thread the yarn needle and work the seam with steady tension. Keep the joined edges together without pulling them so tightly that the fabric gathers or loses its natural width. A seam should hold the pieces together while allowing the sweater to retain the shape of its panels. If the fabric starts to pucker, pause and loosen the stitches before continuing.
Check the alignment regularly as you sew. Match corresponding edges and compare the seam as it develops instead of waiting until the entire side is joined to inspect it. For sleeve attachment, make sure you are joining the intended upper sleeve edge to the body opening described in the pattern. The sleeve’s cuff and balloon shaping should remain oriented as planned.
Work in the order the pattern recommends, finishing one join carefully before moving on. If the instructions call for a specific seam method or joining placement, follow those details; this guide does not supply a substitute seam pattern. After each seam, lay the garment flat and check that the pieces sit evenly. Undoing a short section to correct alignment is preferable to keeping a join that twists or distorts the fabric.
12. Finish the Neckline and Choose a Collar Style
Finish the neckline directly on the assembled garment, following the pattern’s stitch placement and shaping instructions. First, orient the sweater as directed and locate the neckline edge. The pattern determines where to insert the hook and how to work around the opening, so avoid inventing a stitch count or spacing rule where none appears in the instructions.
Keep your tension even as you work around the neckline. If the edge pulls inward, check whether your stitches are too tight or whether you have followed the pattern’s placement guidance. If it ripples, review the stitch placement and count against the instructions. Adjusting a small section early can prevent an uneven finish from continuing around the entire opening.
The design also allows an optional ribbed collar for a more structured finish. Choose this option if you prefer a defined neckline, and use the pattern’s directions for its post stitches, placement, and shaping. The collar is an addition to the neckline finishing, not a reason to change the body panels or sleeve construction.
If you prefer the simpler neckline finish, follow the pattern’s standard option instead of adding the collar. Whichever finish you choose, check that the opening lies comfortably and looks even when the sweater rests flat. Do not stretch or cinch the neckline to force a particular shape; follow the pattern’s instructions and let the finished fabric settle naturally.
13. Weave in Ends and Shape the Finished Sweater
Secure the yarn tails after completing the seams and neckline. Use a yarn needle to weave each end into the fabric in a way that holds it securely, taking care not to pull the surrounding stitches tight or create a visible lump. Trim excess yarn only after the tail feels secure, and check the inside of the sweater for loose ends that could work free with wear.
Lay the garment flat for a final shape check. Smooth the panels and sleeves gently, then compare the sweater with the pattern’s intended proportions. Look for uneven side seams, a twisted sleeve, or a neckline that does not sit as expected. This is a visual check, not a reason to stretch the sweater beyond its natural shape.
Use the yarn label’s care guidance to decide how to wash the finished sweater. Fiber and yarn construction can affect suitable care, so do not assume that every bulky yarn tolerates the same washing method. Check the label before washing, and follow any care instructions provided with the yarn or pattern.
If you plan to block the garment, first confirm that the yarn’s care guidance supports the method you intend to use. Arrange the sweater in its natural shape and avoid forcing it to measurements it was not designed to fit. Let it dry or rest according to the yarn’s care instructions before wearing or storing it. Careful finishing protects the shape you created through the earlier measuring and seaming stages.
14. Troubleshoot Fit, Length, and Sleeve Shape
If the finished sweater feels too wide or too narrow, start with the gauge swatch and the size you selected. Compare your actual gauge with the pattern’s stated gauge, then review whether you followed the stitch counts for that size throughout both body panels. A stitch-count change can affect width even when the fabric looks tidy, so inspect the pattern notes and your progress records before making another adjustment.
If the body is shorter or longer than you intended, compare the front and back panel lengths with the pattern’s guidance. Check whether you added rows to both panels consistently and whether your row gauge differed from the stated gauge. If the sweater is still in progress, use the pattern’s length instructions to decide how to proceed; do not add length to one panel alone and expect the seams to line up.
If the sleeves do not form the planned balloon silhouette, review the increase placement and size-specific counts. Missing increases can reduce the sleeve’s volume, while unevenly placed increases can produce an irregular shape. Compare the two sleeves with each other and with the pattern directions; correct a missed step before seaming when possible.
For assembly problems, check whether you joined the correct edges and followed the pattern’s seam placement. A tight seam can pull panels out of shape, while an incorrect edge join can twist the body or sleeve. If the issue comes from the seam rather than the crocheted pieces, consider undoing the affected section and rejoining it with steadier tension. When a discrepancy remains unclear, consult the pattern’s construction notes rather than guessing at a new stitch count.
Common Mistakes
- Skipping the gauge swatch: A swatch that differs from the pattern’s gauge can lead to panels with unexpected dimensions, even if you follow every stitch count. Check gauge in the main half double crochet stitch before starting, and adjust your hook or tension until your sample matches the pattern’s stated target.
- Using stitch counts for the wrong size: It is easy to follow a neighboring size’s count when several sizes appear together in a pattern. Mark your chosen size before crocheting, then verify the count at the pattern’s checkpoints; a size mix-up can change panel width or sleeve shaping.
- Adding body length to only one panel: Extra rows on the front but not the back can leave edges that do not align for seaming. Decide on the length first, record the adjustment, and make the front and back compatible according to the pattern’s guidance.
- Missing or misplacing sleeve increases: Increases create the balloon shape, so an omitted or misplaced increase can make a sleeve too narrow or uneven. Track each size-specific shaping step and compare the two sleeves before joining them to the body.
- Pulling seams tight or joining the wrong edges: Tight seaming can gather the fabric, while joining a cuff or panel edge in the wrong place can twist the garment. Identify the edges before sewing, follow the pattern’s placement, and check the join as you work rather than trying to fix distortion at the end.
Frequently Asked Questions
Can I use a different yarn weight for this crochet sweater?
The design specifies bulky or chunky #5 yarn, so another weight may change the fabric, gauge, drape, and finished dimensions. If you want to substitute, make a swatch with the new yarn and compare it with the pattern gauge, but expect that matching gauge alone may not make the fabric behave exactly the same.
How much yarn does the pattern require for each size?
The yarn quantities are not included in the project details provided here. Check the full pattern’s materials section for the amount listed for each size, and use the requirement for the size you plan to make rather than estimating from a different size.
Can I make the sleeves less puffy?
You may be able to create a less pronounced balloon shape by changing the sleeve increases, but that changes the pattern’s shaping and could affect how the sleeve joins the body. Review the pattern’s increase instructions and test any modification on a sleeve plan or sample before committing to both sleeves.
Can I work this sweater in the round instead of seaming four pieces?
The design uses a four-piece seamed construction, with shoulder-down panels and cuff-up sleeves. Working it in the round would change the construction, shaping, and assembly, so the supplied instructions would not transfer directly; follow the pattern as written unless you are comfortable redesigning those parts.
How should I wash and care for a bulky crochet sweater?
Check the yarn label before washing because care instructions depend on the yarn’s fiber and construction. Follow the label’s directions for washing and drying, and confirm that the yarn supports any blocking method you plan to use rather than applying one universal care routine.
Conclusion
A first sweater becomes more manageable when you treat it as a sequence of small checks: match gauge, mark your size, measure the panels, track sleeve increases, and confirm the edges before seaming. The four-piece construction gives you clear stages to work through, while the adjustable body length lets you make the silhouette suit your plans.
Take your time with the pieces that affect fit most: consistent gauge, size-specific counts, and even joins. Once those are in place, the half double crochet fabric and post-stitch details can come together into a relaxed sweater with a distinctive sleeve shape.
If you are planning your next handmade wearable, browse crochetsal for more approachable crochet ideas and project inspiration, and choose a design that suits the time and skills you want to put into it.