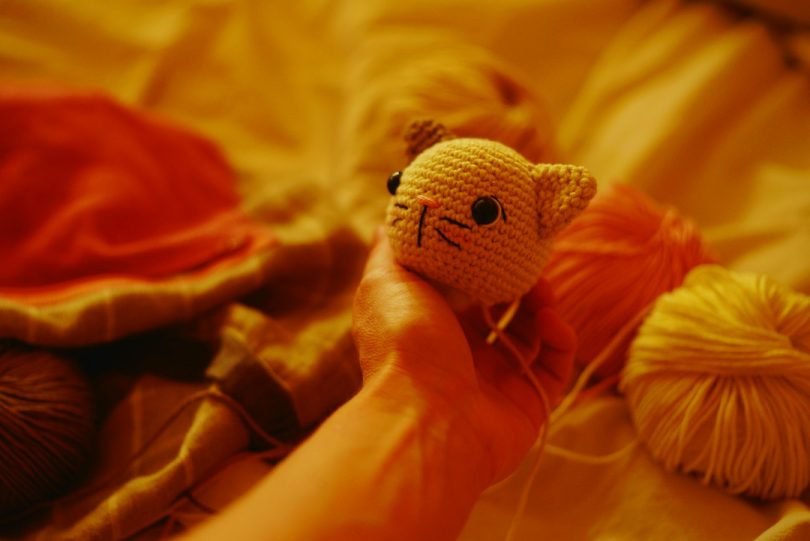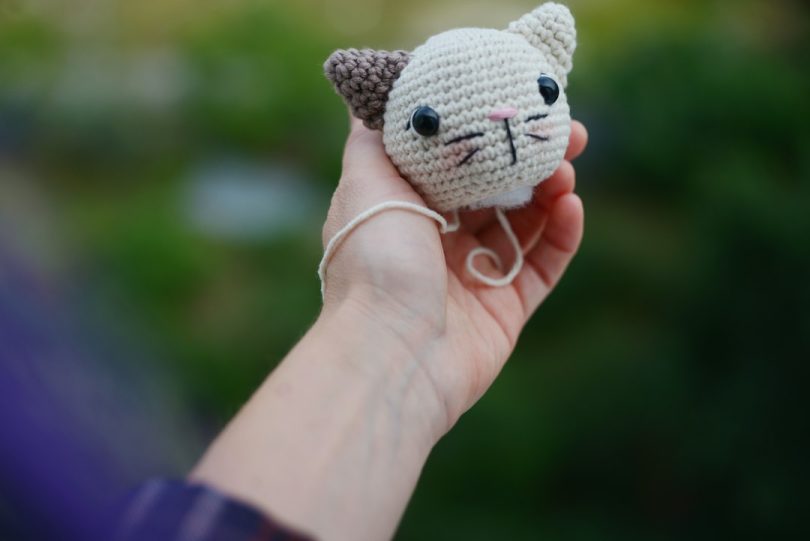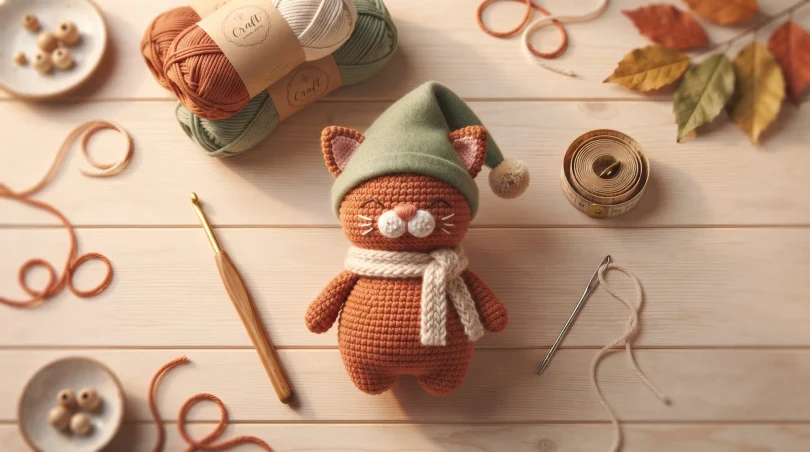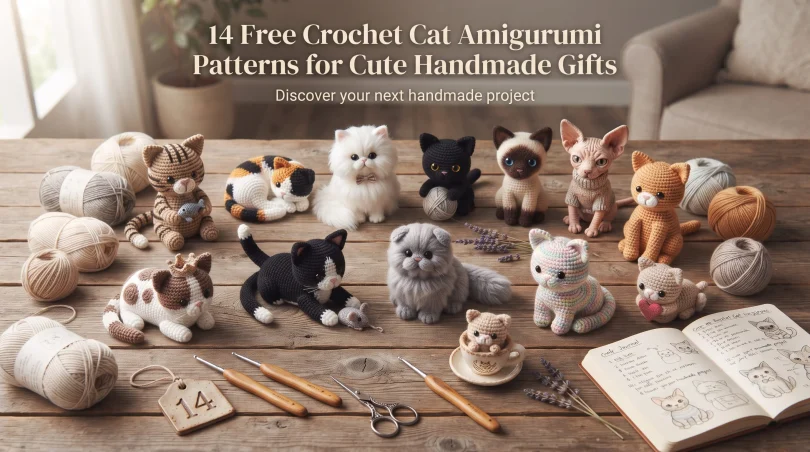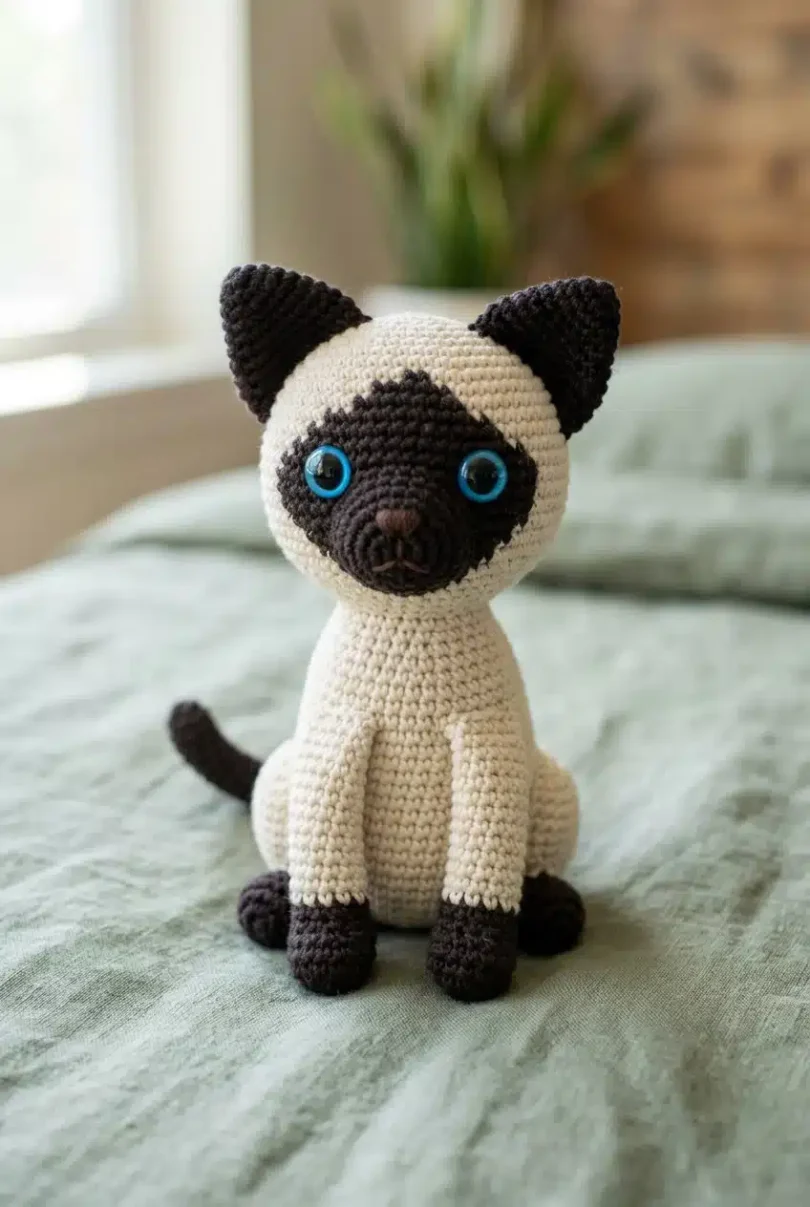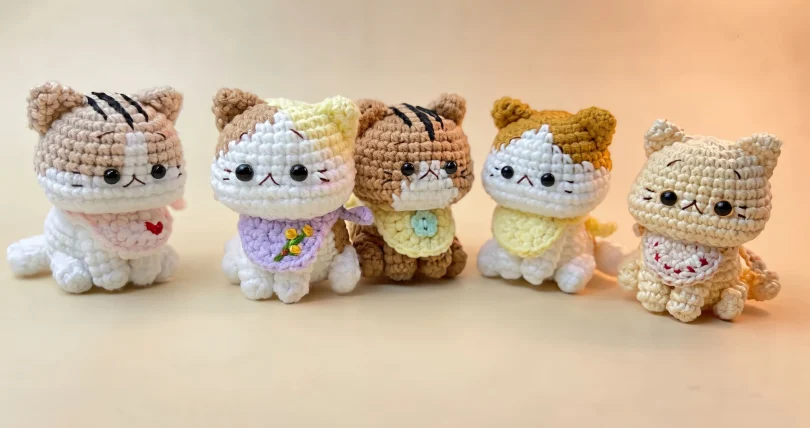
If you love cute miniature amigurumi and adorable handmade plushies, this project is for you! Below you will find everything you need to crochet these charming 7 cm tall kitten amigurumi dolls, including detailed materials, complete step-by-step written patterns covering all the different color variations and designs shown in the pictures, and helpful tips. Skill Level: Beginner to Intermediate Finished Size: Approx. 7 cm tall (depending on your yarn and hook size)
Materials & Tools
- Yarn: Milk cotton yarn (2 mm thickness). Colors vary depending on the model you choose (Brown, White, Yellow, Black, Green, or multicolored combinations).
- Crochet Hook: No. 4/0 (2.50 mm).
- Eyes: Stuffed toy safety eyes with pins or bead/button eyes (6 mm).
- Additional Supplies: Toy stuffing (fiberfill), tapestry needle, embroidery floss for facial details, and scissors.
Abbreviations
- Rnd: Round
- MR: Magic Ring
- sc: Single Crochet
- inc: Single Crochet Increase
- dec: Single Crochet Decrease
- Ch: Chain
- St: Stitch
- Slst: Slip Stitch
- (…)*: Repeat instructions for the specified number of times
Step-by-Step Amigurumi Pattern: Model Variations & Color Changes
Note: This kitten pattern features different color variations depending on the model you want to create. Follow the specific head-starting instructions for each version below.
1. Head (Model A: Brown, Black & White Version)
Black color: change to the white yarn. Start with Brown yarn.
- Head – MR
- Rnd 1: 8 sc (8)
- Rnd 2: 8 inc (16)
- Rnd 3: (sc, inc)*8 time (24)
- Rnd 4: (2sc, inc)*8 time (32)
- Rnd 5: 15sc, 2sc, 15sc (32)
- Rnd 6: 15sc, 2sc, 15sc (32)
- Rnd 7: 15sc, 2sc, 15sc (32)
- Rnd 8: 14sc, 4sc, 14sc (32)
- Rnd 9: 10sc, 4inc, 4sc, 4inc, 10sc (40)
- Change to white yarn:
- Rnd 10-11: 40sc (40)
- Rnd 12: 10sc, 4dec, 4sc, 4dec, 10sc (32)
- Rnd 13: (2sc, dec)*8 time (24)
- Rnd 14: (2sc, dec)*6 time (18)
- Rnd 15: (sc, dec)*6 time (12)
- Rnd 16: 6dec (6)
2. Head (Model B: Multi-Color Variant with Black, Brown & Yellow)
Black color: change to the white yarn. Brown color: change to the Brown yarn. Yellow color: change to the yellow yarn. Start with yellow yarn.
- Head – MR
- Rnd 1: 8 sc (8)
- Rnd 2: inc, 3-inc, 4-inc (16)
- Rnd 3: (sc, inc), (sc, inc)*3 time, sc, inc, (sc, inc)*3 time (24)
- Rnd 4: 2sc, inc, (2sc, inc)*2 time, 2sc, inc, 2sc, inc, (2sc, inc)*3 time (32)
- Rnd 5: 2sc, 2sc, 9sc, 6sc, 13sc (32)
- Rnd 6: sc, 4sc, 7sc, 8sc, 12sc (32)
- Rnd 7: 6sc, 5sc, 10sc, 10sc, sc (32)
- Rnd 8: 23sc, 7sc, 2sc (32)
- Rnd 9: 10sc, 4inc, 4sc, 4inc, 10sc (40)
- Rnd 10-11: 40sc (40)
- Rnd 12: 10sc, 4dec, 4sc, 4dec, 10sc (32)
- Rnd 13: (2sc, dec)*8 time (24)
- Rnd 14: (2sc, dec)*6 time (18)
- Rnd 15: (sc, dec)*6 time (12)
- Rnd 16: 6dec (6)
3. Head (Model C: Green & Brown Tabby Version)
Start with Brown yarn. Green color change to white yarn.
- Head – MR
- Rnd 1: 8 sc (8)
- Rnd 2: 8-inc (16)
- Rnd 3: (sc, inc)*8 time (24)
- Rnd 4: (2sc, inc)*8 time (32)
- Rnd 5-7: 32sc (32)
- Rnd 8: 15sc, 2sc, 15sc (32)
- Rnd 9: 10sc, 4-inc, 4sc, 4-inc, 10sc (40)
- Rnd 10: 17sc, 6sc, 17sc (40)
- Rnd 11: 16sc, 8sc, 16sc (40)
- Rnd 12: 10sc, 3dec, dec, 4sc, dec, 3dec, 10sc (32)
- Rnd 13: (2sc, dec)*3 time, (2sc, dec)*2 time, (2sc, dec)*3 time (24)
- Rnd 14: (2sc, dec)*2 time, (2sc, dec)*2 time, (2sc, dec)*2 time (18)
- Rnd 15: (sc, dec)*6 time (12)
- Rnd 16: 6dec (6)
4. Body (All Models)
MR, start with white yarn.
- Rnd 1: 8sc (8)
- Rnd 2: 8-inc (16)
- Rnd 3: (sc, inc)*8 (24)
- Rnd 4: (sc, inc)*4, 8sc, (sc, inc)*4 (32)
- Rnd 5: 32sc (32)
- Rnd 6: 5sc, 22sc, 5sc (32)
- Rnd 7: 6sc, 20sc, 6sc (32)
- Rnd 8: 6sc, 20sc, 6sc (32)
- Rnd 9: 3dec, 20sc, 3dec (26)
- Change to the white color:
- Rnd 10: dec, 22sc, dec (24)
- Rnd 11: (2sc, dec)*6 time (18)
- Stuff firmly, fasten off, and leave a long tail for sewing to the body.
5. Tail
MR with white yarn.
- Rnd 1: 8sc (8)
- Rnd 2: 8sc (8)
- Rnd 3: 2sc, dec, 2sc, dec (6)
- Rnd 4-7: 6sc (6)
- Fasten off and leave a long tail for sewing to the body.
6. Arms
MR with white yarn.
- Rnd 1: 6sc (6)
- Rnd 2-6: 6sc (6)
- Do not stuff! Fasten off and leave a long tail for sewing to the body.
7. Ears
MR with white yarn (or matching head color).
- Rnd 1: 4sc (4)
- Rnd 2: (sc, inc)*2 time (6)
- Rnd 3: (sc, inc)*3 time (9)
- Fasten off and leave a long tail for sewing to the head.
8. Legs
MR with white yarn.
- Rnd 1: 7sc (7)
- Rnd 2-4: 7sc (7)
- Fasten off and leave a long tail for sewing to the body.
9. Semicircle Collar (Bib Accessory)
- Semicircle Collar – MR
- 4 sc, not connect to next stitch, turn (4).
- Ch 1, 4 inc, turn (8).
- Ch 1, (sc, inc)* 4 time (12).
- Chain 21 (Ch 21), 20 slst, start from second chain from the hook, 9sc, ch 21, and 20 slst (on the chain), slst in next stitch, cut yarn.
Assembly & Facial Details
- Mark the center of the face with pins between Round 8 and 9, sew mouth with embroidery floss.
- Attach safety eyes or beads securely.
- Sew head onto Round 10 of the body.
- Attach ears, arms, legs, tail, and place the custom collar/bib around the kitten’s neck.
Frequently Asked Questions (FAQ)
1. What type of yarn works best for this amigurumi?
Milk cotton yarn (2 mm) is recommended because it provides a soft texture and clear stitch definition, making it ideal for small amigurumi toys.
2. Do I need to stuff the arms and legs?
No, the arms should not be stuffed so they stay flat and flexible against the body. Legs can be lightly stuffed or left unstuffed depending on personal preference.
3. Can I sell items made from this pattern?
Yes, you are allowed to sell finished items made from this pattern. Just remember to credit the original designer.
Conclusion
Creating these adorable amigurumi kittens is a delightful and rewarding experience! Whether you make a classic tabby, a calico, or a sunny kitty, each one turns out full of personality. Grab your hook, pick your favorite color combination, and enjoy bringing your cute little cat to life. Happy crocheting!
Want to see the step-by-step breakdown, specific color changes, and precise yarn quantities for each individual design? Check out the full pattern details above to choose your favorite kitten style and start crafting today!
Get the Free Pattern