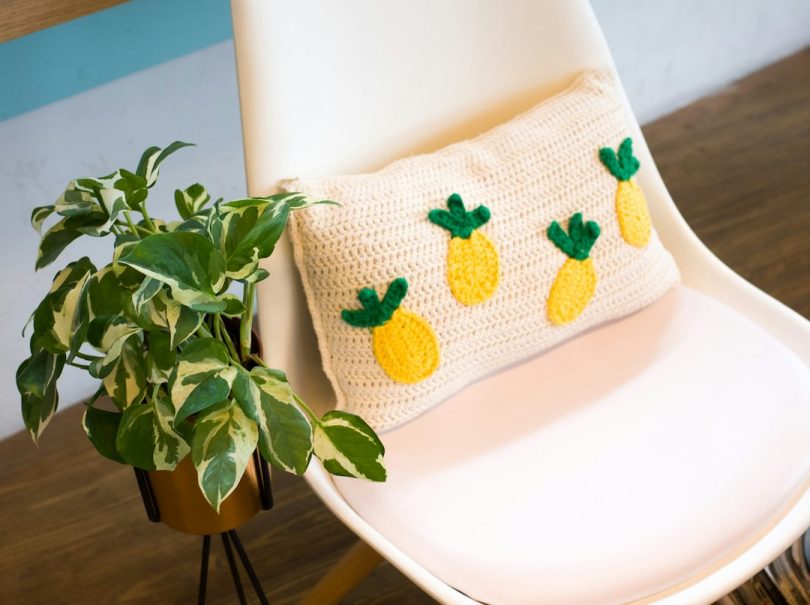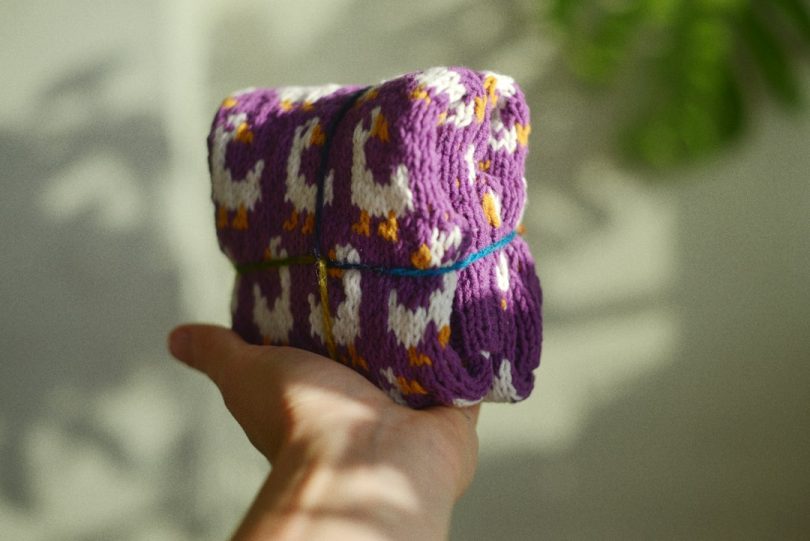
A pillow cover is a good larger practice piece for tapestry crochet: the chart repeats, and the back can be a plain panel. This guide explains a simple stepped diamond in two colors. Choose a pillow insert first and work a swatch to confirm the final width.
Materials and gauge
- Worsted cotton in two contrasting colors, 400–600 yd total
- 4.5 mm hook, stitch markers, yarn needle
- sc = single crochet; ch = chain; BLO = back loop only
Gauge: 15 sc × 17 rows = 4 in / 10 cm. For an 18 in pillow, make a front panel approximately 18½ in square so it fits snugly.
Front panel chart
- Chain enough for your measured width plus one turning chain. Work sc rows until the panel is square, turning with ch 1.
- Draw a 15-stitch chart repeat: the center stitch is Color B; on each following row, add one B stitch to either side of the center to widen the diamond. Work 7 rows, then reverse the sequence to taper it.
- Repeat the 15-stitch chart across the row, offsetting alternate repeats by 7 stitches for a staggered geometric field. Carry the unused yarn inside every stitch and keep the floats loose enough for the fabric to stretch.
- Work the back panel in a single color, or crochet a second charted panel if you want a reversible cover. Block both panels to matching dimensions.
- Join three sides with sc through both layers. Insert the pillow form, then join the last side. For a removable cover, leave a gap and sew in buttons or a zipper instead.
Clean colorwork
Change shade on the last yarn-over of the previous stitch. Do not carry a strand across more than 5 stitches without catching it inside a stitch. Check the reverse side every few rows to make sure floats do not pucker.
Photo: Liana S via Unsplash.