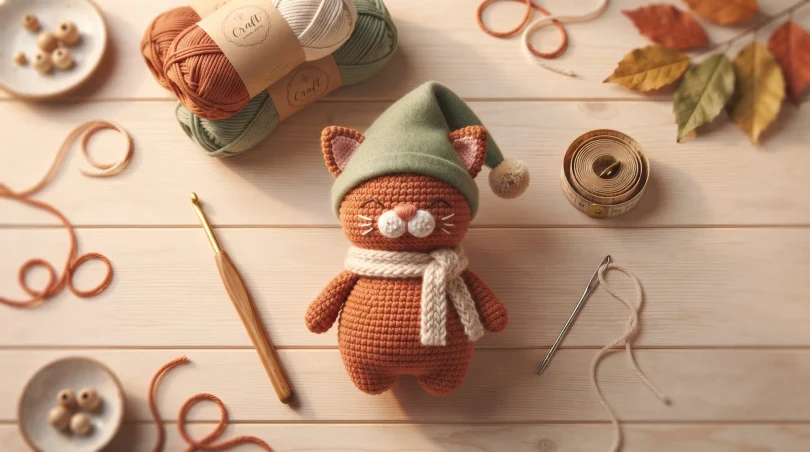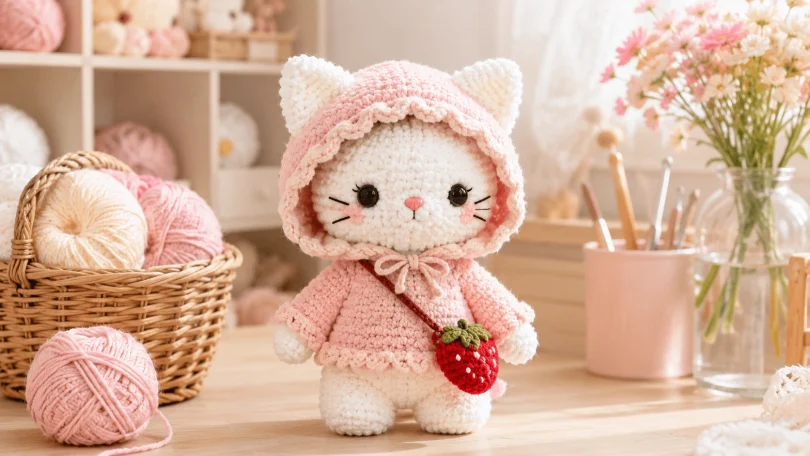
Imagine the cutest little plush kitten, bundled up in a cozy scalloped sweater and a custom-fitted hood with its tiny ears popping out. Now, give that kitten a miniature strawberry cross body purse!
This delightful crochet project uses super-bulky chenille yarn, making it incredibly soft and surprisingly quick to work up. Standing at approximately 28 cm tall, this kitty is the perfect project for intermediate crocheters looking to practice shaping, fitted clothing, and accessory placement.
Because we attach the ears before the hood, they poke through perfectly without getting squished. Plus, the clever design keeps the kitty standing upright, even with its stylish accessories!
Project Info at a Glance
| Detail | Information |
|---|---|
| Skill Level | Intermediate |
| Time to Complete | 8–10 hours |
| Finished Size | Approximately 28 cm tall |
| Hook Size | 5 mm (main), 2.5 mm (accessories) |
| Best For Practicing | Chenille shaping, fitted clothing, and accessory scaling |
Materials and Tools
Yarn Requirements:
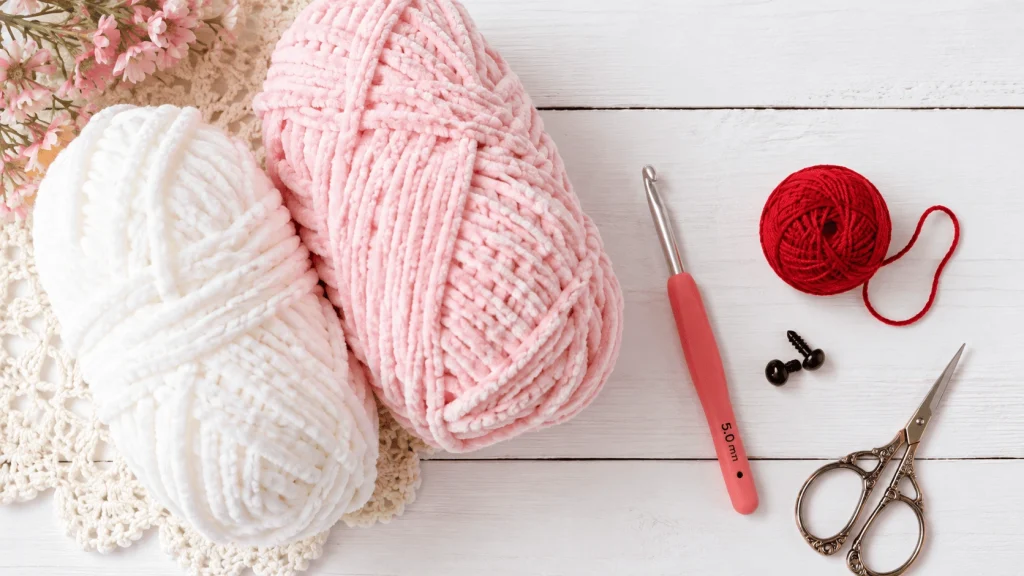
- White: Super-bulky chenille (approx. 90 g) — e.g., Himalaya Dolphin Baby, Hobbii Honey Bunny
- Pastel Pink: Super-bulky chenille (approx. 105 g) — use the same brand as the white
- Strawberry Red: DK weight cotton (approx. 8 g)
- Leaf Green: DK weight cotton (approx. 3 g)
- Pale Pink: Embroidery cotton (approx. 1 g for nose, whiskers, and purse cord)
- White: Embroidery cotton (less than 1 g for strawberry seeds)
Tools & Hardware:
- 5 mm crochet hook (for the plush yarn)
- 2.5 mm crochet hook (for the cotton purse and leaves)
- 12–14 mm safety eyes (one pair)
- Polyester stuffing (approx. 80–100 g)
- Large-eye yarn needle and standard embroidery needle
- Locking stitch markers and dressmaking pins
- Scissors
Stitch Abbreviations (US Terms)
| Abbreviation | Meaning |
|---|---|
| MR | Magic Ring |
| sc / hdc / dc | Single crochet / Half double crochet / Double crochet |
| inc / dec | Increase (2 sc in one stitch) / Decrease (invisible decrease recommended) |
| sl st / ch | Slip stitch / Chain |
| BLO / FLO | Back loop only / Front loop only |
Pro Tip for Invisible Decreases: Insert your hook through the front loops of the next two stitches, yarn over, pull through both front loops, and complete one single crochet. This stops white stuffing from peeking through!
The Pattern: Step-by-Step
Work in a continuous spiral unless joined rounds or rows are specified. Always move your stitch marker to the first stitch of every new round.
1. The Head
Yarn: White
R1: 6 sc in MR (6)
R2: inc ×6 (12)
R3: (1 sc, inc) ×6 (18)
R4: (2 sc, inc) ×6 (24)
R5: (3 sc, inc) ×6 (30)
R6: (4 sc, inc) ×6 (36)
R7–R13: sc around (36)
R14: (4 sc, dec) ×6 (30)
R15: (3 sc, dec) ×6 (24)
R16: (2 sc, dec) ×6 (18)
Note: Insert safety eyes between R10 and R11 with 7 visible stitches between them. Stuff the forehead firmly, distributing smaller pieces around the eye posts.
R17: (1 sc, dec) ×6 (12)
R18: dec ×6 (6)
Fasten off, leaving a 25 cm tail. Close the opening through the front loops.
2. Muzzle & Cheeks
Muzzle (White):
R1: 6 sc in MR (6)
R2: inc ×6 (12)
R3: sc around (12)
Fasten off with a 20 cm tail. Add a tiny bit of stuffing.
Cheek Patches (Make 2 – Pale Pink DK cotton):
R1: 6 sc in MR (6)
R2: inc ×6 (12)
Fasten off with a 12 cm tail. (Optional: You can skip these and embroider whiskers instead!)
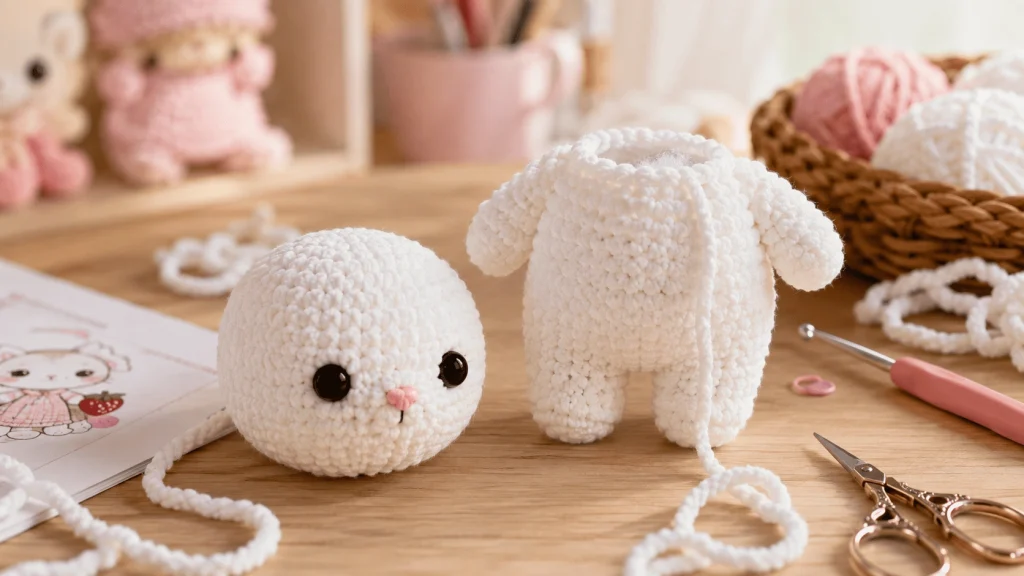
3. The Body
Begin with White, change to Pastel Pink later.
R1: 6 sc in MR with white (6)
R2: inc ×6 (12)
R3: (1 sc, inc) ×6 (18)
R4: (2 sc, inc) ×6 (24)
R5: (3 sc, inc) ×6 (30)
R6: (4 sc, inc) ×6 (36)
R7–R9: sc around (36)
R10: Change to pastel pink, BLO sc around (36)
R11–R13: sc around (36)
R14: (4 sc, dec) ×6 (30)
R15–R16: sc around (30)
R17: (3 sc, dec) ×6 (24)
R18: sc around (24)
Note: Stuff the lower body firmly. Add small pieces near the neck to keep it circular.
R19: (2 sc, dec) ×6 (18)
R20: (1 sc, dec) ×6 (12)
Fasten off with a 30 cm tail.
4. Limbs, Ears & Tail
Arms (Make 2 – White):
R1: 6 sc in MR (6)
R2: inc ×6 (12)
R3–R5: sc around (12)
R6: (2 sc, dec) ×3 (9)
R7–R11: sc around (9)
R12: (1 sc, dec) ×3 (6)
Stuff paws firmly, upper arms lightly. Flatten the final round before sewing. Fasten off.
Back Legs (Make 2 – White):
R1: 6 sc in MR (6)
R2: inc ×6 (12)
R3: (1 sc, inc) ×6 (18)
R4–R8: sc around (18)
R9: (1 sc, dec) ×6 (12)
R10–R14: sc around (12)
R15: dec ×6 (6)
Stuff firmly through R11, leaving the top soft. Fasten off.
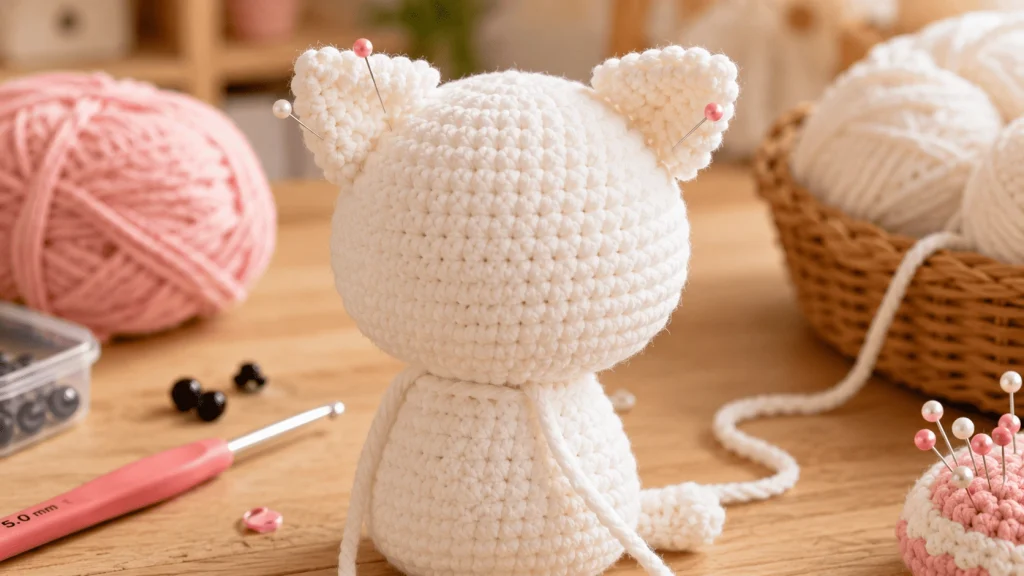
Cat Ears (Make 2 – White):
R1: 6 sc in MR (6)
R2: sc around (6)
R3: inc ×6 (12)
R4: sc around (12)
R5: (1 sc, inc) ×6 (18)
R6: sc around (18)
R7: (1 sc, dec) ×6 (12)
R8: sc around (12)
Do not stuff. Flatten and fasten off.
Tail (White):
R1: 6 sc in MR (6)
R2–R12: sc around (6)
R13: (1 sc, dec) ×2 (4)
Leave mostly unstuffed so it remains flexible. Fasten off.
5. Clothing & Accessories
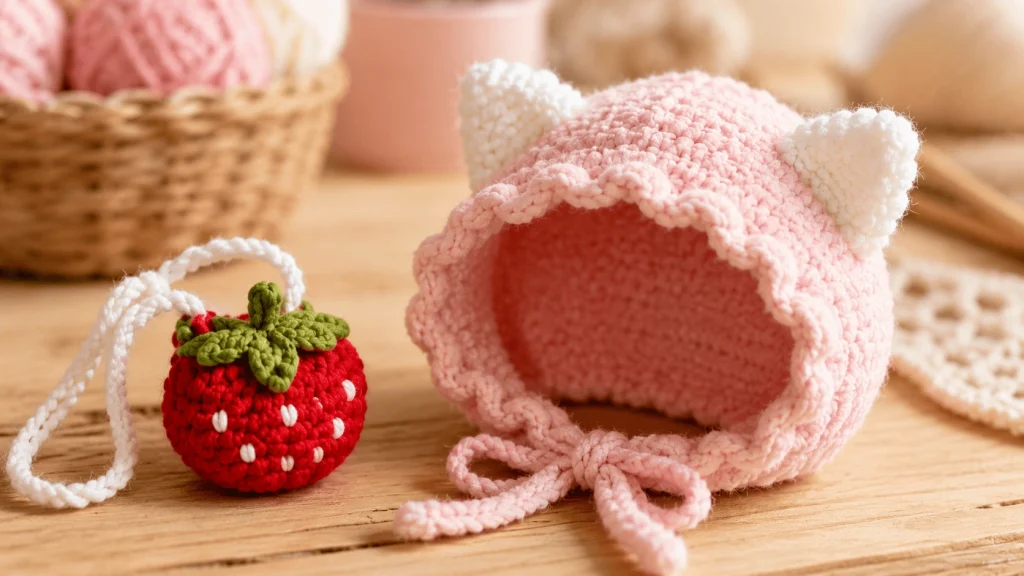
Hood (Pastel Pink – Joined rounds):
R1: 6 sc in MR, join (6)
R2: inc ×6, join (12)
R3: (1 sc, inc) ×6, join (18)
R4: (2 sc, inc) ×6, join (24)
R5: (3 sc, inc) ×6, join (30)
R6: (4 sc, inc) ×6, join (36)
R7–R9: sc around, join (36)
R10: 6 sc, ch 6, skip 6, 12 sc, ch 6, skip 6, 6 sc, join (36) (These are the ear holes!)
R11: sc in every stitch and chain around, join (36)
R12–R14: sc around, join (36)
R15: (4 sc, dec) ×6, join (30)
Test fit the hood on the head before fastening off.
Hood Pom-Pom (Pastel Pink):
R1–R2: Standard MR to 12 sc.
R3–R4: sc around.
R5: dec ×6. Stuff lightly and sew to the hood crown.
Thick Collar (Pastel Pink):
Ch 37, join without twisting.
R1–R5: Mix of regular sc and BLO sc to create a ribbed look. Fold outward by 1.5 cm once on the neck.
Scalloped Garment Hem (Pastel Pink):
Attach to unused front loops of body R10.
R1: inc in each FLO (72)
R2: sc around (72)
R3: Create the scallops using a mix of sc, hdc, and dc stitches across the round.
Strawberry Purse (Red & Green Cotton – 2.5 mm hook):
Crochet a simple cone shape with the red, embroidering white seeds. Create a leaf cap with the green cotton, and chain a 60-stitch cord using double-held pale pink embroidery thread.
Step-by-Step Assembly
- Attach the Head: Sew the head to the body, adding a final pinch of stuffing before closing the seam to prevent “head tilt.”
- Place the Ears: Pin between head rounds 3 and 7 (about 5 stitches apart) and sew securely.
- Face Details: Center the muzzle below the eyes. Embroider a pink triangular nose and add three whiskers to each side.
- Attach Limbs: Sew arms to body rounds 16–18. Attach legs beneath body rounds 5–8, testing the balance so the cat stands up!
- Add the Tail: Sew to the center back (below R9), curving it slightly.
- Dress Your Cat: Pull the ears through the hood holes and anchor the hood to the back of the head. Add the collar, slip on the strawberry purse diagonally, and you are done!
7 Pro-Tips for a Perfect Finish
- Don’t Lose Your Place: Plush yarn hides stitches easily. Use two stitch markers—one at the start of the round, and one halfway through.
- Prevent Head Wobble: Pack the final 3 cm of the torso incredibly tight before sewing the head on.
- Hide the Stuffing: Always use Front-Loop-Only (FLO) invisible decreases so white stuffing doesn’t stretch through the stitches.
- Safety Eye Timing: Don’t wait too long to add the eyes! Secure them before finishing round 16.
- Check Hood Alignment: Make sure your skipped chains for the ear holes are perfectly symmetrical before moving to the next round.
- Align the Scallops: Mark the center-back of the body so your hem starts and ends neatly out of sight.
- Purse Positioning: If the purse cord is too long, the strawberry will drag. Pin it on first and shorten the chain if needed so it rests perfectly above the hem.