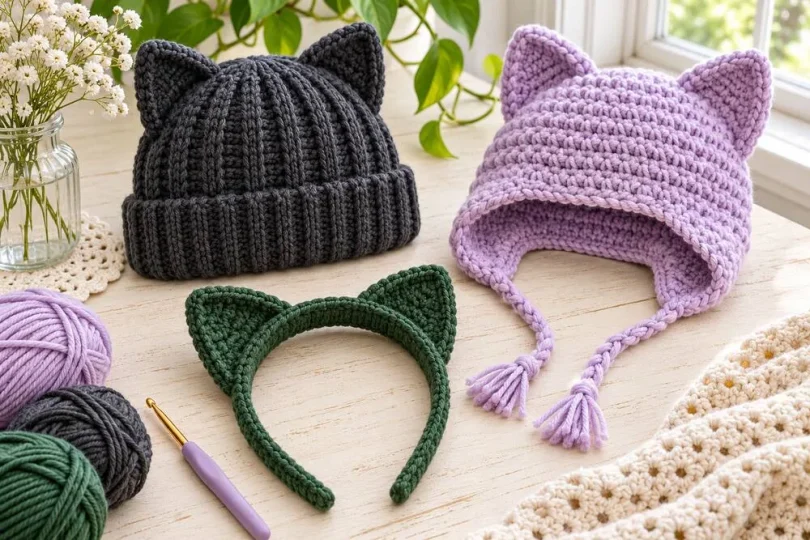
Looking for an easy crochet project that feels playful and wearable? Cat-ear beanies and headbands are beginner-friendly accessories with plenty of personality. Some are made from a flat rectangle whose corners become ears; others add crocheted ears to a headband or shape a hat with a more defined crown. This guide compares ten free patterns and tutorials so you can choose the construction, size support, and learning format that suit you.
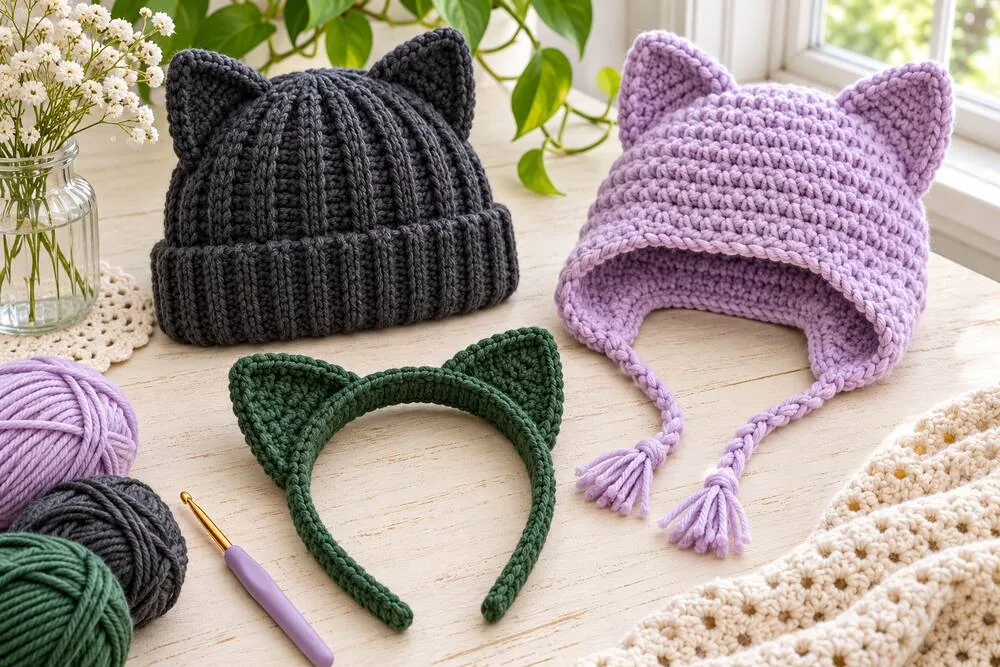
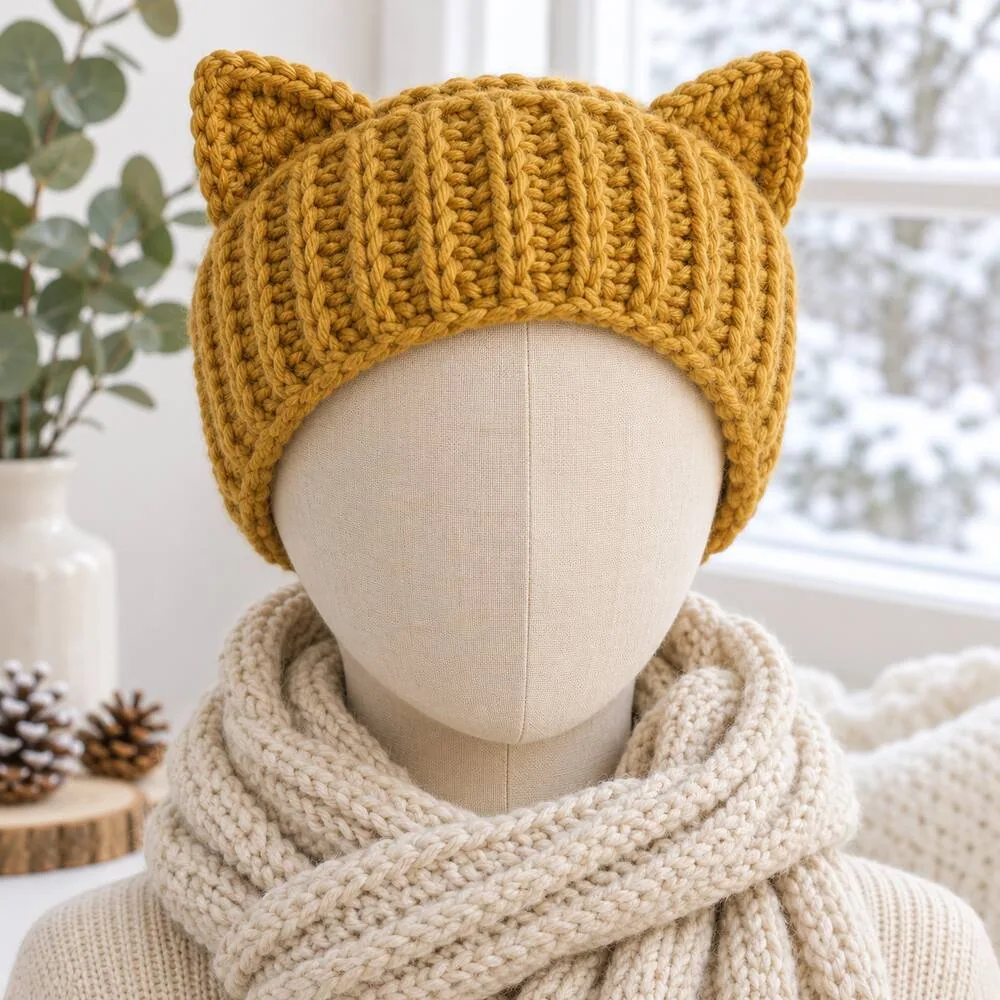
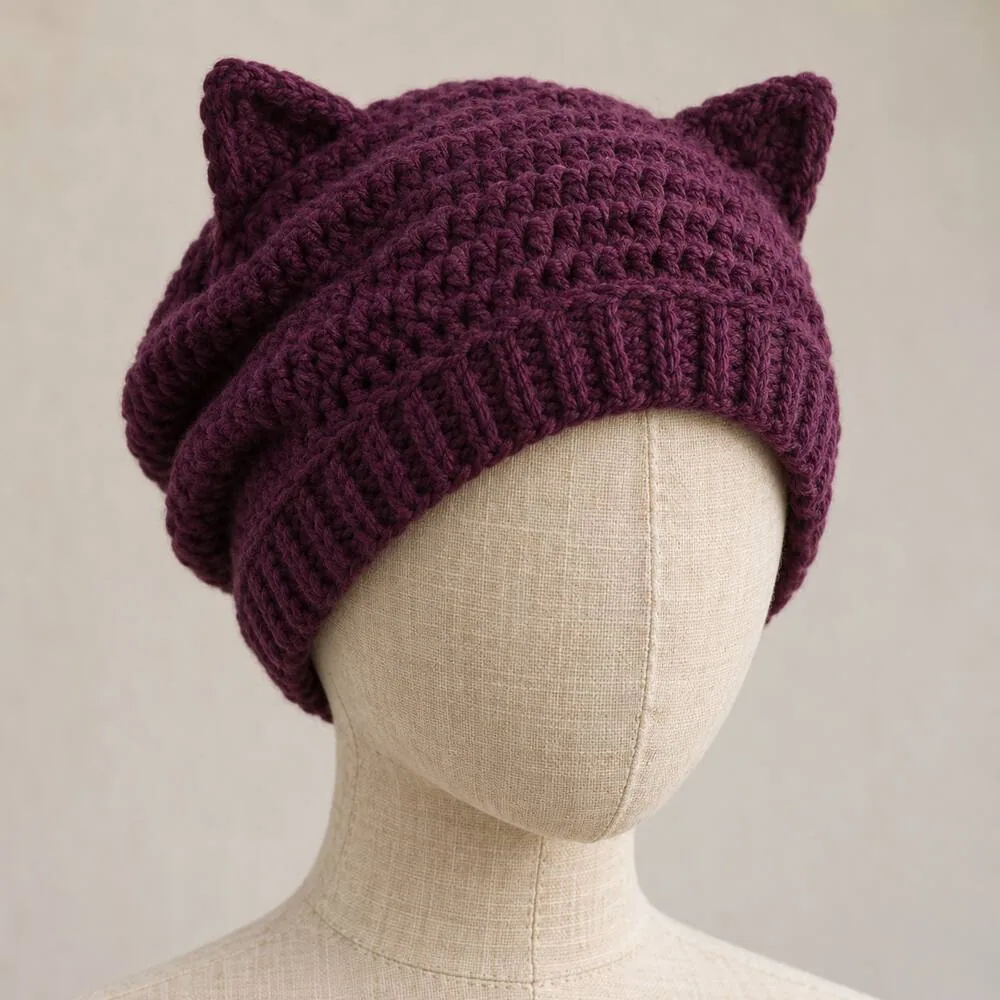
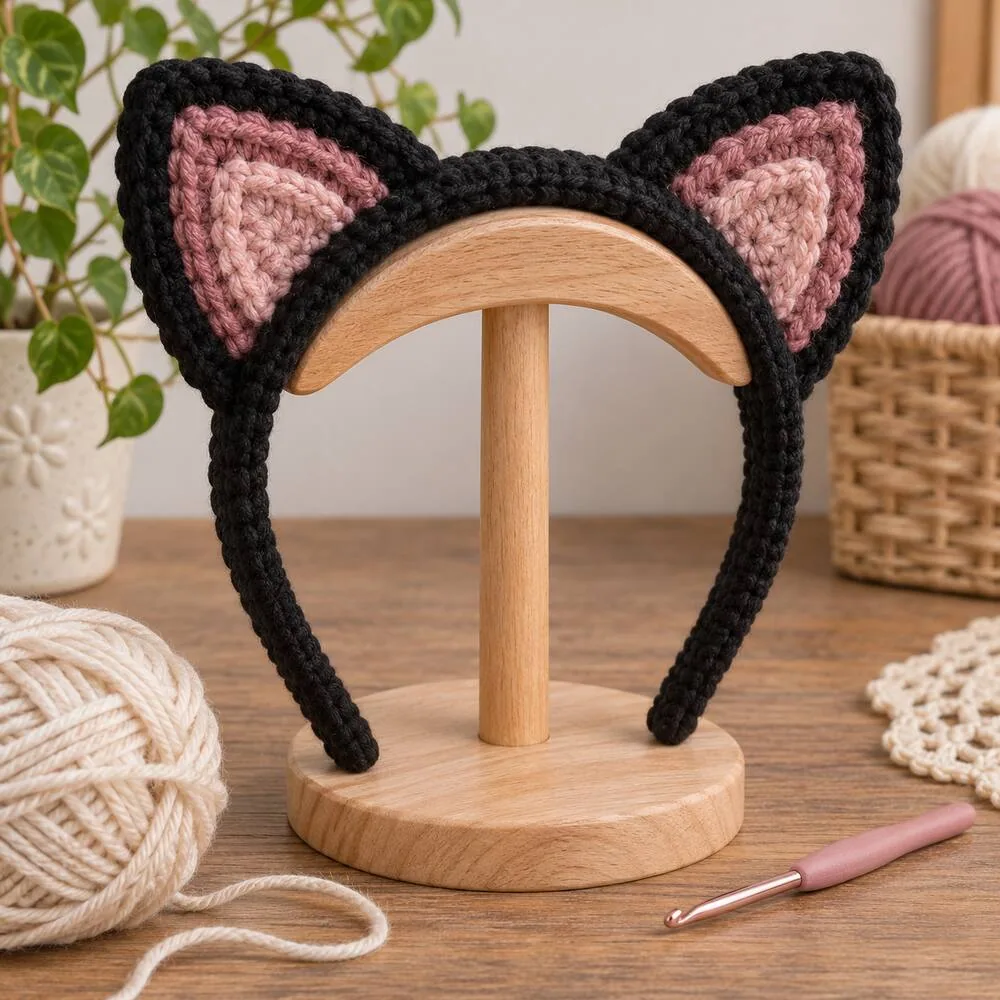
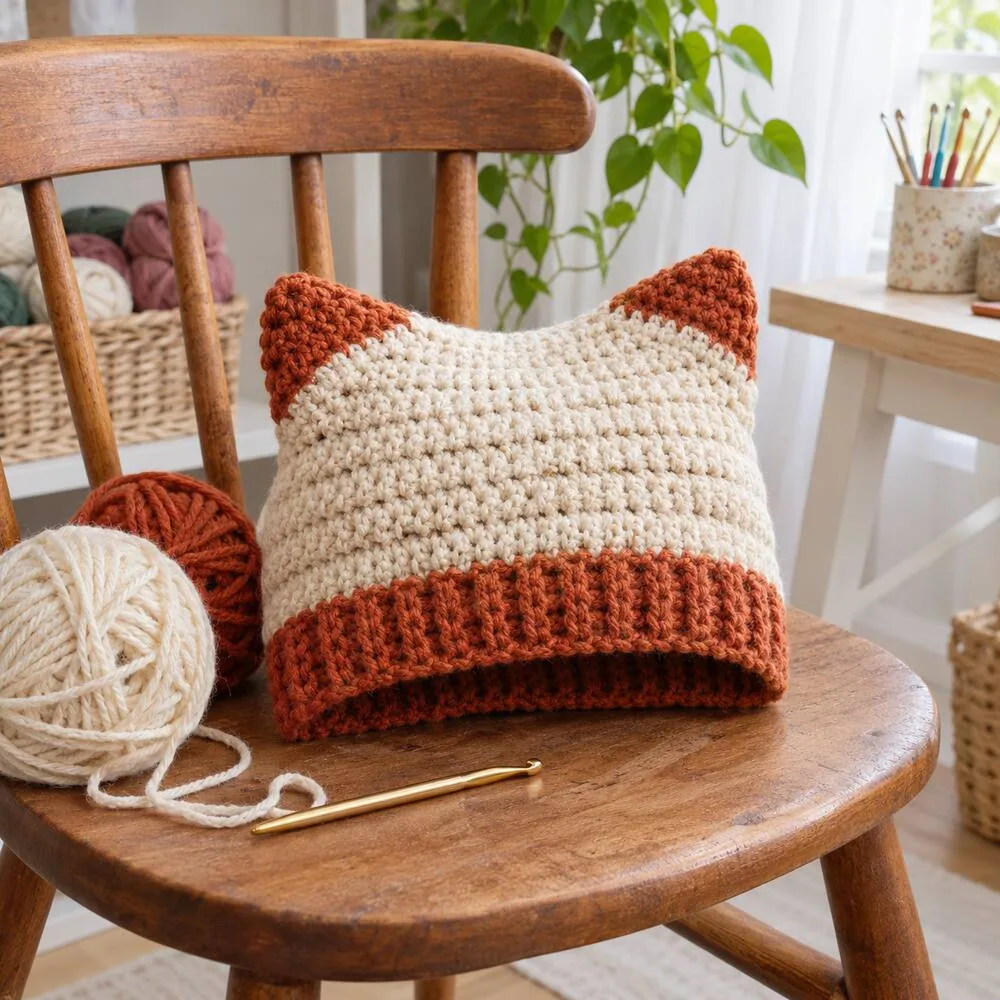
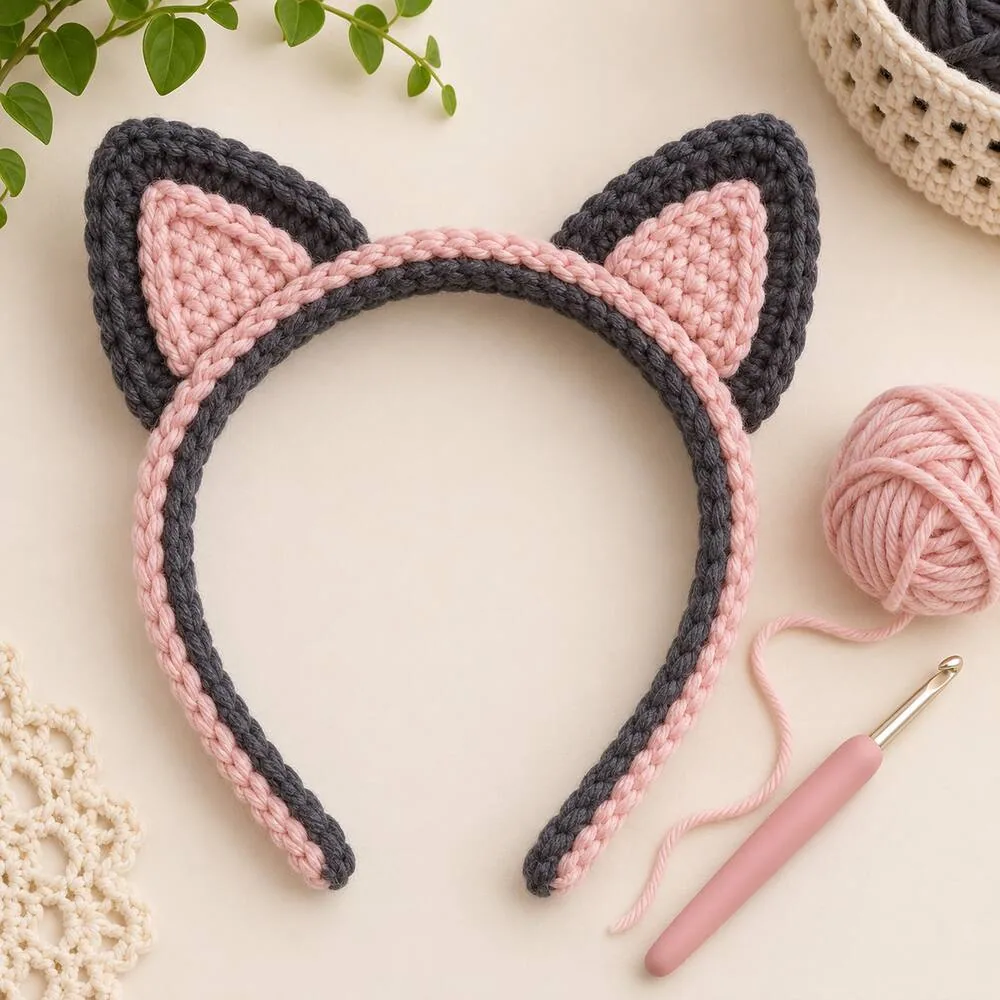
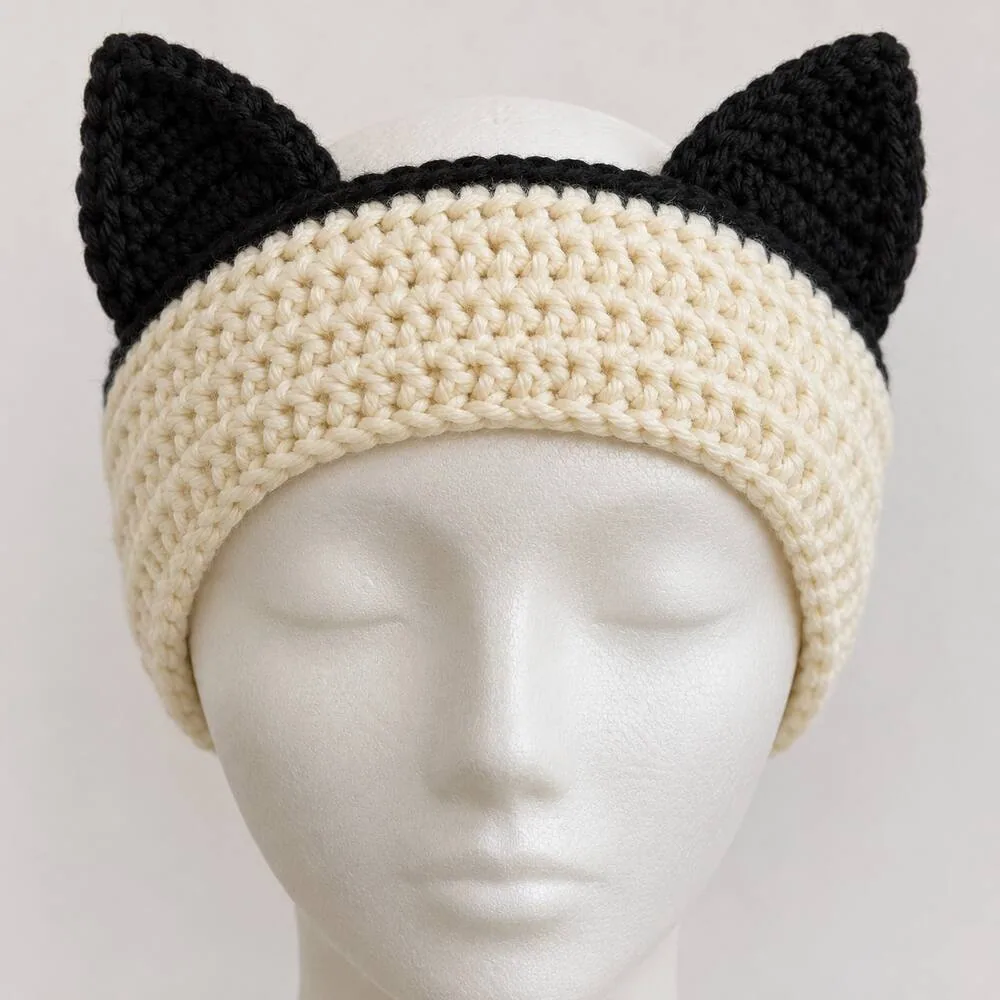
Image note: the pictures below are original AI-generated styling illustrations, not the designers’ actual sample photos. Use each linked creator page for the exact design, materials, gauge, size, and instructions. Pattern formats and access terms can change; confirm the current details at the source.
At a glance: which cat-ear crochet project should you choose?
| Project | Best for | Instructions |
|---|---|---|
| VivCrochets sack hat | A simple rectangle-and-seam construction | Free written pattern + video |
| Lovable Loops beanie | Teen/adult sizing and step photos | Free written pattern |
| Zamiguz cat-ear hat | Regular or slouchy bulky hat | Free pattern + photos |
| The Knotty Lace beanie | Multiple sizes and a textured stitch | Free pattern + video |
| Lincraft headband | Infant, child, and adult fit | Free written pattern |
| Jenny & Teddy headband | Small quick accessory | Free pattern + video |
| Ashley Charmed ear warmer | Reusable cat-ear detail | Free linked pattern |
| Rika’s video beanie | Watching the full process | Free YouTube tutorial |
| ABoC Studio beanie | Video-led beginner project | Free YouTube tutorial |
| Persia Lou slouch hat | A chunky, relaxed winter style | Free written/photo pattern |
10 easy crochet cat-ear hats and headbands
Not every design below is equally simple. I’ve marked the construction and learning format so you can start with a flat rectangle or headband if you are new, then move toward textured stitches or a shaped slouch hat when you feel ready.
1. VivCrochets: beginner cat-ear sack hat
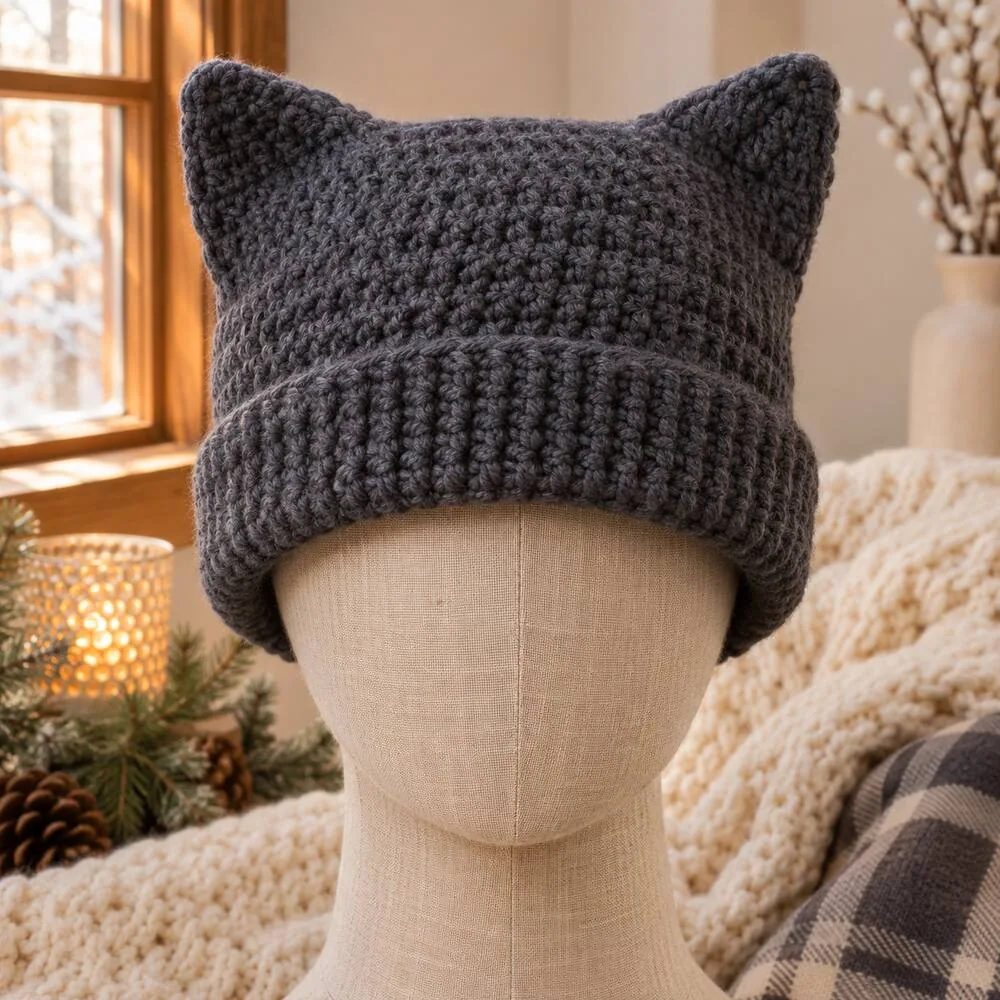
Pattern format: Free written pattern and video tutorial; an ad-free printable PDF is an optional purchase.
This is the easiest construction to understand at a glance: crochet a flat rectangle, fold it, seam the sides, and let the top corners become the ears. The designer calls it beginner friendly and includes both written instructions and a video, so you can switch between reading and watching. It is a practical first hat if you already know the basic stitches and want a wearable project without shaping a crown in the round. Check the pattern’s current yarn, hook, and sizing notes before choosing your yarn; the designer’s video demonstrates the process and the webpage carries the pattern.
Open the free pattern and instructions
2. Lovable Loops: worked-flat cat-ear beanie
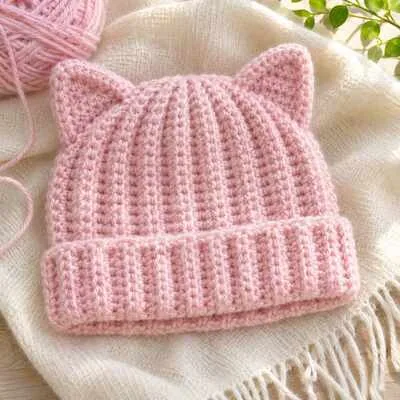
Pattern format: Free written pattern with step-by-step photos; an ad-free PDF is optional.
Melissa Hassler’s version is designed for teens and adults and uses a simple rectangle worked in rows before it is seamed into a hat. The pattern lists worsted-weight yarn, a 5.5 mm hook, and a gauge of 14 double crochet stitches by 9 rows per 4 inches. Its stated fit is for a 20–23-inch head circumference, and the folded brim lets the wearer adjust the depth. These specific measurements belong to this designer’s pattern, so follow the source instructions rather than combining them with another hat’s stitch counts. This is a strong option if you want clear sizing guidance and photos.
Open the free pattern and instructions
3. Zamiguz: cat-ear hat with regular or slouchy fit
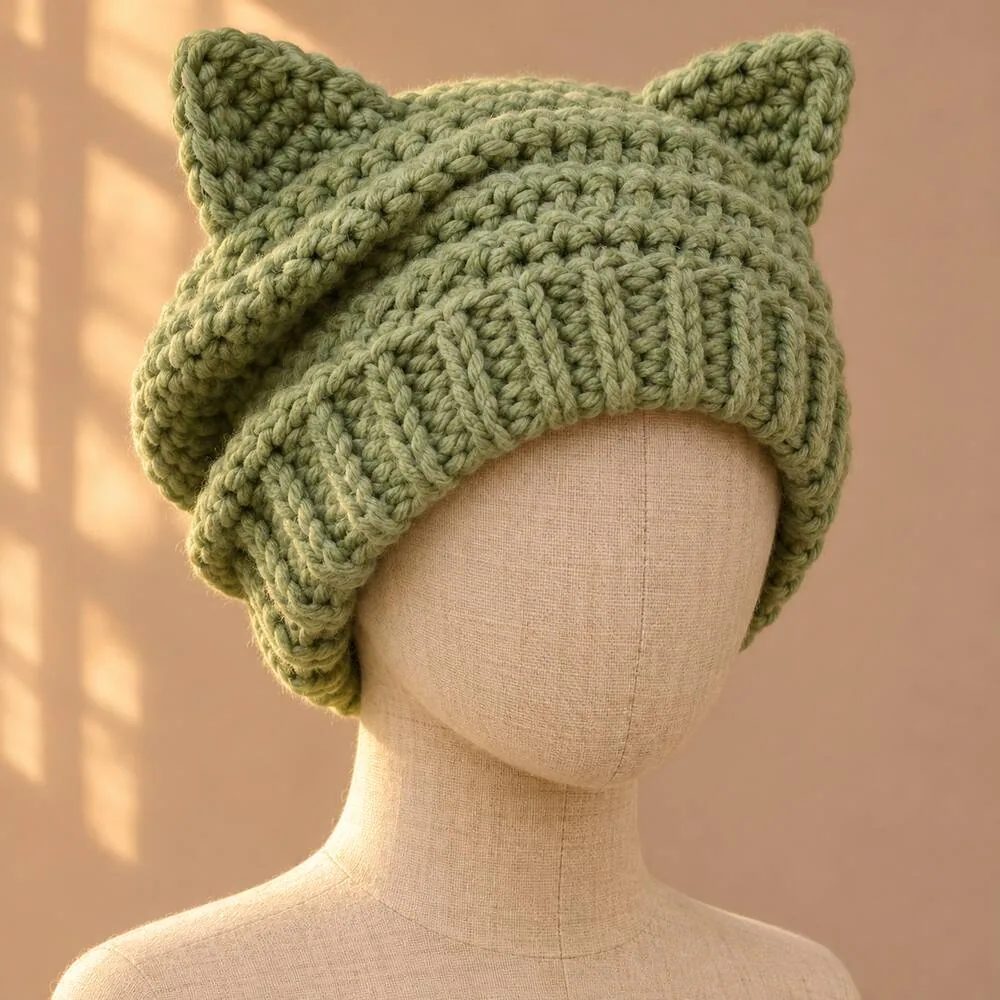
Pattern format: Free written pattern with step-by-step pictures; optional ad-free PDF; video support for the brim.
Zamiguz offers a thicker, warmer cat-ear hat with a choice between a regular fit and a slouchy version. The source recommends bulky-weight yarn and a 6 mm hook, and gives separate adult measurements: about 21–22 inches for teen/small adult and 23–24 inches for adult large. A ribbed brim and optional seam shaping help define the ears. Before you begin, make the gauge swatch the designer specifies; changing yarn weight or hook size can alter the fit. This pattern suits someone who wants more structure than the simple rectangle style but appreciates lots of photos and sizing notes.
Open the free pattern and instructions
4. The Knotty Lace: quick beanie with customizable ears
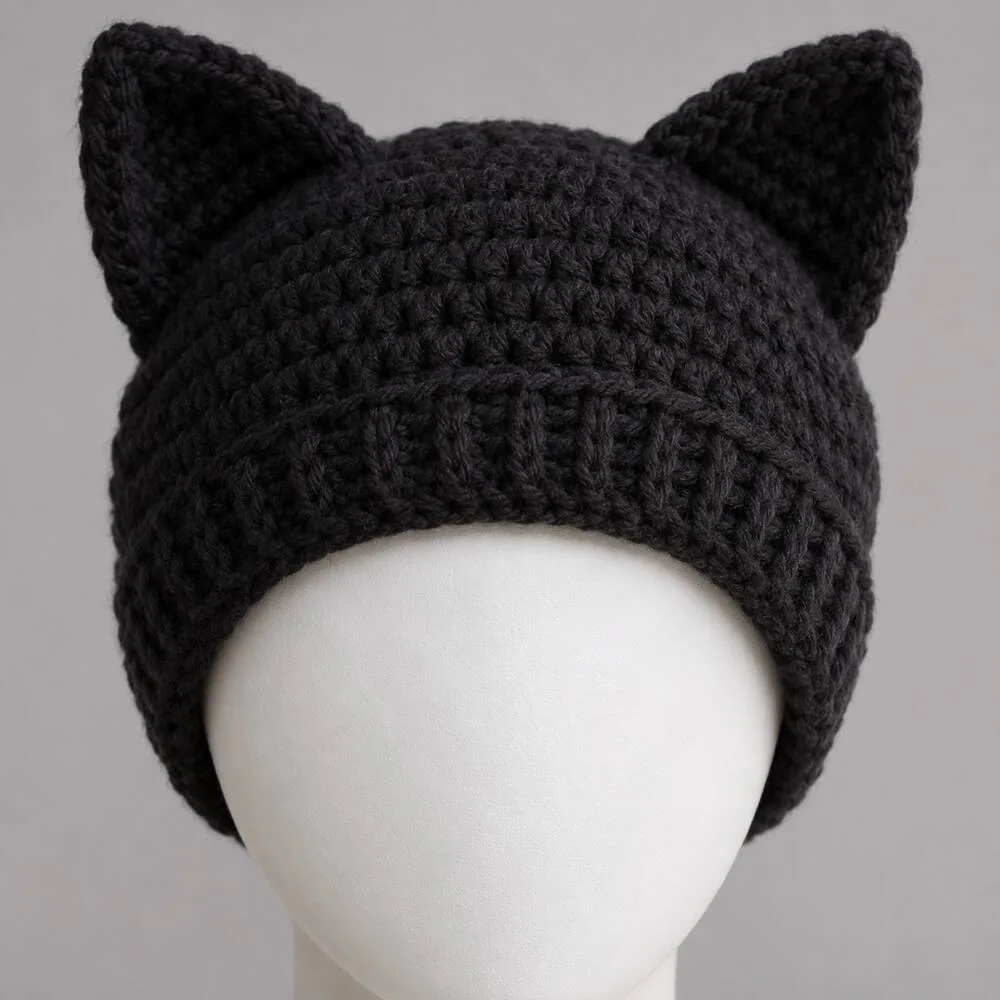
Pattern format: Free written pattern and step-by-step video; printable PDF is optional.
This beanie uses a textured alpine stitch and includes multiple sizes, from preemie through adult large. The designer describes it as beginner friendly, though the stitch texture and working in the round make it a small step up from a plain rectangle hat. The ears can be shaped more sharply or softened into rounded points, making this a useful option if you want to personalize the silhouette. The page includes video support, which helps when you are learning how the texture is formed. The listed quick finish time assumes familiarity with the instructions, so allow yourself extra time on a first project.
Open the free pattern and instructions
5. Lincraft: size-inclusive cat ears headband
Pattern format: Free written pattern; no separate video is required to use the instructions.
A headband is a quicker alternative to a full beanie and uses less yarn. Lincraft’s design is labeled easy and includes infant, child, and adult sizing, with measurements listed for each. The band is worked to fit the wearer’s head circumference, and the ears are made from layered sections and sewn on afterward. One important detail: the pattern uses UK crochet terms. If you normally follow US terminology, check stitch names before starting; a UK double crochet is not the same stitch as a US double crochet. The source also advises keeping the ear construction counts unchanged if you customize the colors.
Open the free pattern and instructions
6. Jenny & Teddy: 30-minute cat-ear headband
Pattern format: Free written instructions and a step-by-step video; optional printable PDF.
This playful design adds two cat ears to a crocheted band, and the designer describes it as a quick project using basic stitches such as single crochet, chain, and slip stitch. The materials list includes medium-weight yarn and a 3.5 mm hook. The page also explains how to wrap a ready-made headband and attach crocheted ears, which gives the finished piece a stable base. If you want to make a costume accessory or a small handmade gift, this is a convenient option. Treat the 30-minute label as the designer’s estimate rather than a promise for a first attempt.
Open the free pattern and instructions
7. Ashley Charmed: double-sided cat-ear ear warmer
Pattern format: Free pattern linked from the Ravelry listing to the designer’s blog.
This pattern focuses on the ears as a reusable accessory: the designer notes that the double-sided ears can be used on a headband and adapted for different head sizes, or attached to other projects such as hats and sweaters. That makes it more flexible than a single fixed-size beanie. Open the Ravelry listing and follow the source link to the designer’s instructions; use the pattern’s own yarn and hook details rather than guessing from the photo. It is a good choice if you want a cat-ear detail you can reuse across more than one accessory.
Open the free pattern and instructions
8. Rika’s Crochet: beginner video tutorial with measurements
Pattern format: Free YouTube video tutorial with materials, measurements, and demonstrations.
Rika’s tutorial is especially useful for learners who want to see each stage. It covers materials, measuring, rows, back-loop-only double crochet, slip stitching, and finishing. The video gives a head measurement of about 20 inches / 50 cm for its example and works the rectangle to about 11 inches / 28 cm wide, or roughly half the head measurement. Use those numbers as the creator’s example, not a universal size chart; measure the intended wearer and follow the video’s method. The tutorial has more than 1.1 million views, a sign of strong audience interest in this style, though views are not the same as search-volume data.
9. ABoC Studio: quick cat beanie video
Pattern format: Free beginner-oriented YouTube tutorial; the creator’s description says the free pattern is included.
ABoC Studio’s tutorial presents a beginner-friendly cat-ear beanie and is a useful alternative if you prefer to follow a video from start to finish. The creator describes the free pattern as included with the tutorial and frames the hat as a gift or personal accessory. Before crocheting, pause at the materials section and note the recommended yarn, hook, and any sizing guidance. Video instructions are easy to replay, but keep a notebook handy for stitch counts or measurements you want to remember. This tutorial has accumulated substantial views, indicating that crocheters continue to seek approachable cat-ear hat projects.
10. Persia Lou: Black Cat Slouch Hat
Pattern format: Free written pattern with photo tutorial, linked from Ravelry.
For a roomier, chunkier look, Persia Lou’s Black Cat Slouch Hat is a distinctive option. The Ravelry listing links to the free designer pattern and identifies it as a written pattern with photo tutorial, for teen and adult sizes. The listed materials include super-bulky yarn and an 8 mm hook, so this one uses a different yarn weight from the lighter, more fitted hats above. It is best for a beginner who is comfortable with basic stitches and wants to try a thicker yarn. Follow the original instructions for gauge and fit, especially if you substitute yarn.
Open the free pattern and instructions
Why cat-ear crochet accessories are a promising seasonal topic
Cat-ear beanies combine two clear search interests: warm handmade headwear and playful cat-inspired accessories. Video interest is visible too: Rika’s beginner tutorial has passed 1.1 million views, while ABoC Studio’s beginner beanie video has attracted a substantial audience. These view counts show that people watch this type of project, but they are not Google search-volume estimates.
Pinterest’s 2026 Hobbies Trend Report describes a wider shift toward hands-on, personal, giftable crafts that beginners can make without a studio setup, and it reports a 56% increase in searches for “unique amigurumi.” The report does not identify cat-ear beanies as a specific breakout trend, so treat that as broad context for handmade, customizable projects—not proof of a cat-hat trend. The seasonal angle is practical: a cozy accessory is especially relevant as colder weather arrives. Read Pinterest’s report.
How to choose your first cat-ear hat pattern
Choose the construction you can follow
A rectangle worked flat is often easiest to visualize: crochet rows, seam the sides, close the top, and turn the hat right side out. A headband uses less yarn and is a shorter commitment, but may require sewing or shaping the ears. A hat worked in rounds can fit closely, though it asks you to track rounds and shaping more carefully. Pick the method you would enjoy learning instead of choosing only by the finished photo.
Measure the wearer before starting
Measure around the head where the hat will sit, then compare that number with the pattern’s size range. Do not assume “one size” means every head circumference. A rectangle hat needs enough stretch to go on comfortably, while a close-fitting beanie needs the designer’s recommended ease. Use the exact designer measurements for that pattern; do not transfer stitch counts from one source to another.
Check yarn weight and gauge
Yarn weight affects warmth, drape, stitch definition, and finished dimensions. Several projects here use worsted or medium yarn, while the Zamiguz hat uses bulky yarn and Persia Lou’s slouch hat lists super-bulky yarn. Make the gauge swatch when the designer provides one. A different yarn or hook can change the fit even if you follow the same row count.
Check US or UK crochet terms
The Lincraft headband uses UK terms, while some other pages use US terms. The names for a few common stitches differ between the two systems. Check the pattern’s terminology note before you begin, and keep its stitch key open beside your project.
Beginner tips for neat cat ears and a comfortable fit
- Use a stitch marker when working in rounds. It helps you find the start of each round and keep the stitch count consistent.
- Test the stretch before seaming. If the hat feels tight around the head, compare your gauge and measurements with the pattern before you close the seam.
- Pin the ears before sewing. Put the hat on a flat surface, mark matching points on both sides, and check that the ears sit evenly.
- Keep seams flexible. A bulky, overly tight seam can make a rectangle hat uncomfortable. Use the joining method recommended by the designer.
- Choose smooth yarn for your first attempt. It makes the stitches easier to see than fuzzy novelty yarn. Save faux fur or textured yarn for a later project.
- Weave in ends securely. Accessories are handled and washed, so secure the yarn tails and follow the yarn label’s care instructions.
Color ideas that work with the same design
You can change the personality of a cat-ear hat without changing its construction. Try charcoal with pink inner ears for a classic black-cat look, oatmeal and cream for a quiet neutral, lilac with a pale contrast for a soft playful finish, forest green for a woodland style, or rust and cream for an autumn palette. If the pattern uses separate ear pieces, keep the outside shade consistent with the hat and use a small contrasting inner section.
For a first make, use the same yarn type and weight in both colors. Very different yarns may stretch or feel differently, which can make the ear shape uneven. Keep decorative additions lightweight so the ears stay comfortable.
Frequently asked questions
Which cat-ear crochet hat is easiest for an absolute beginner?
Start with a pattern that is worked flat in rows and clearly shows the seam and finishing. VivCrochets and Lovable Loops provide written directions, and VivCrochets also includes video support. Read the source’s skill notes before choosing.
Are these patterns free?
The listed webpages or video tutorials provide free access to the pattern instructions described here. Some designers also offer optional paid ad-free PDFs. Check each original source for current access terms, because those can change.
Can I make a cat-ear hat without sewing?
Some sack-hat constructions create ears from the corners of the finished rectangle, while other patterns attach ears or seam the top. Check the assembly section of the specific pattern before starting if you want to minimize sewing.
How do I make the hat fit a different head size?
Use the designer’s sizing instructions and measure the intended wearer. Some patterns provide several sizes; others allow adjustment by changing the foundation chain or row count. Do not alter stitch counts without checking how the change affects the ear placement and fit.
Can I crochet these hats for cats to wear?
The patterns in this collection are for human accessories. They are not designed or sized for pets. If you are making anything for an animal, prioritize its comfort and supervision and never leave a garment or accessory on a pet if it causes stress or restricts movement.
What should I make next?
If you want a flat cat motif rather than a wearable accessory, see our easy crochet cat appliques for beginners. For a wider mix of shapes and techniques, browse the beginner crochet cat pattern guide or visit the Crochet Cat Patterns category.
Choose a style and start with the source pattern
A cat-ear beanie or headband makes a fun winter accessory and a useful way to practice rows, seams, sizing, or simple shaping. Start with the format that matches how you learn, use the designer’s materials and measurements, and make a swatch if gauge is provided. Then customize the color and enjoy wearing a handmade piece with a little cat-inspired character.
All illustrations in this article are AI-generated concept images and are not the designers’ original pattern photos.