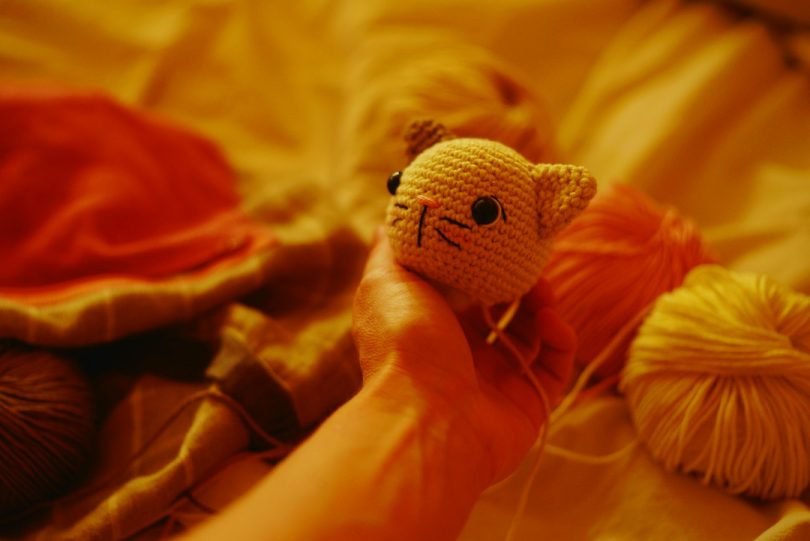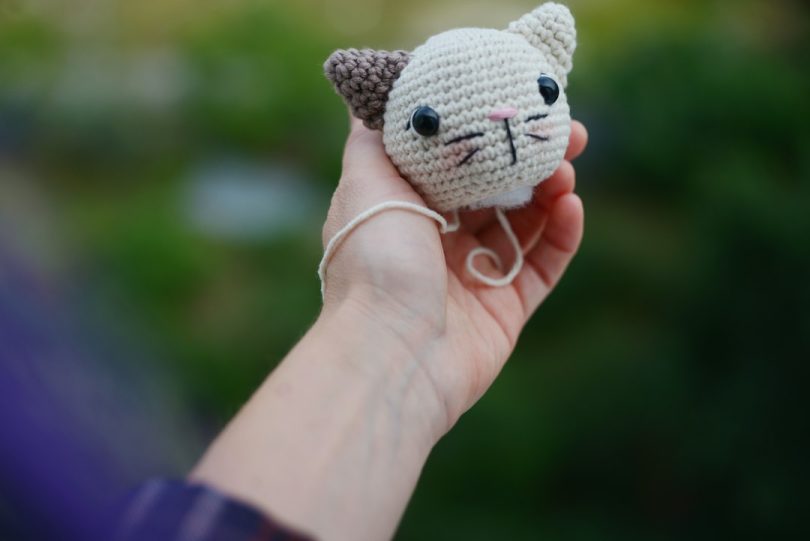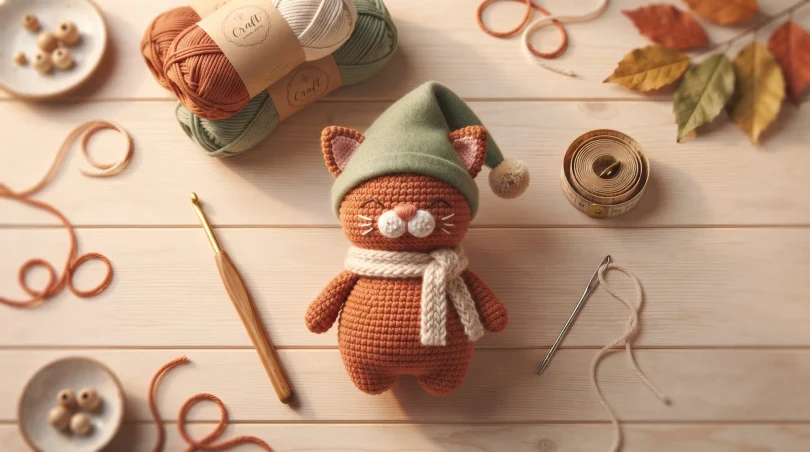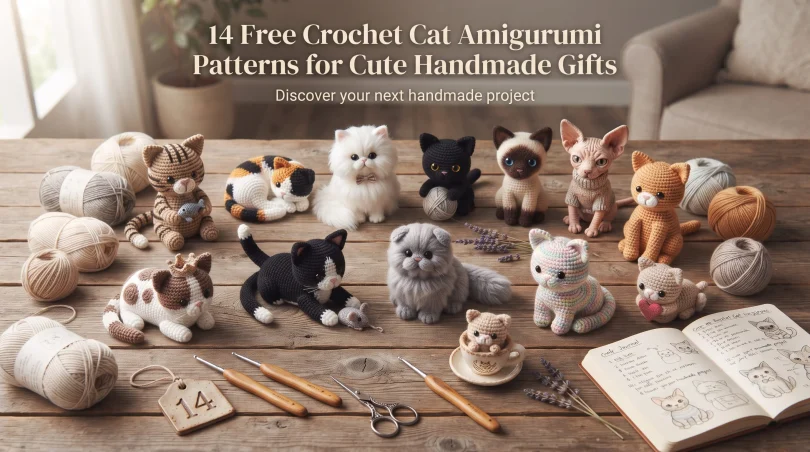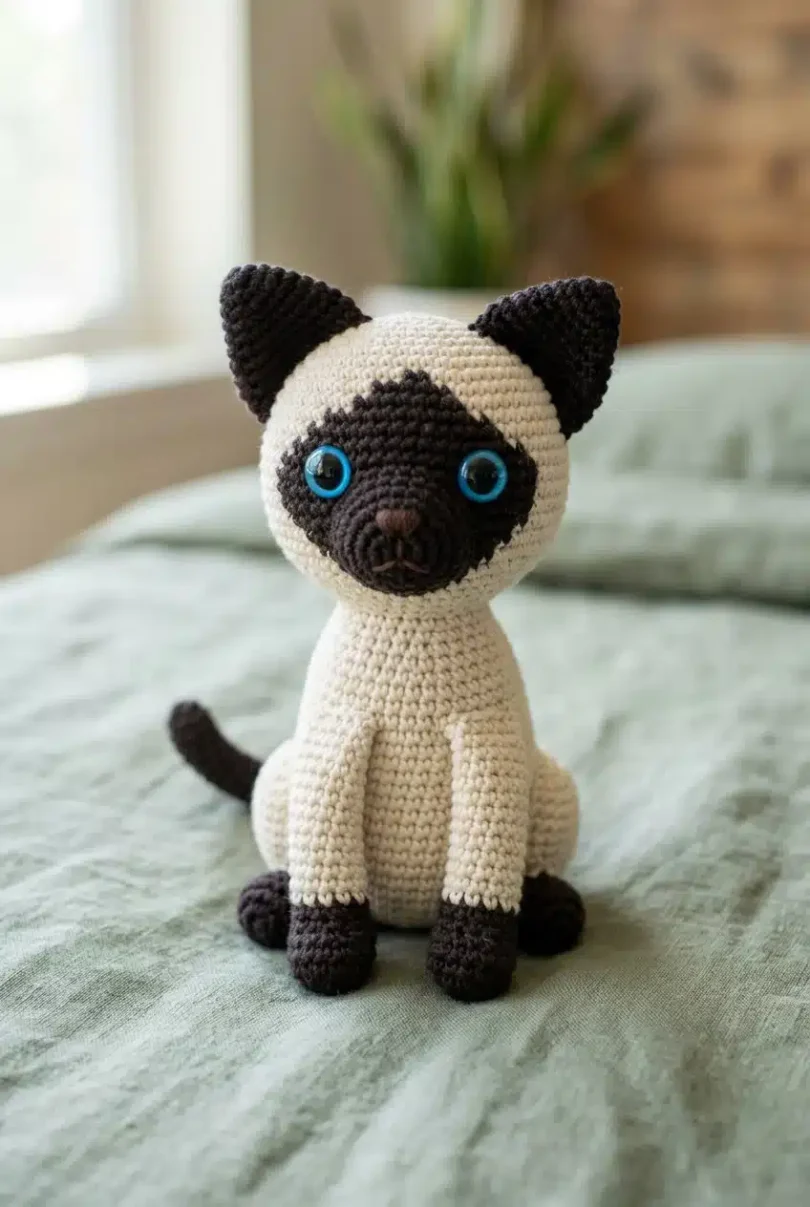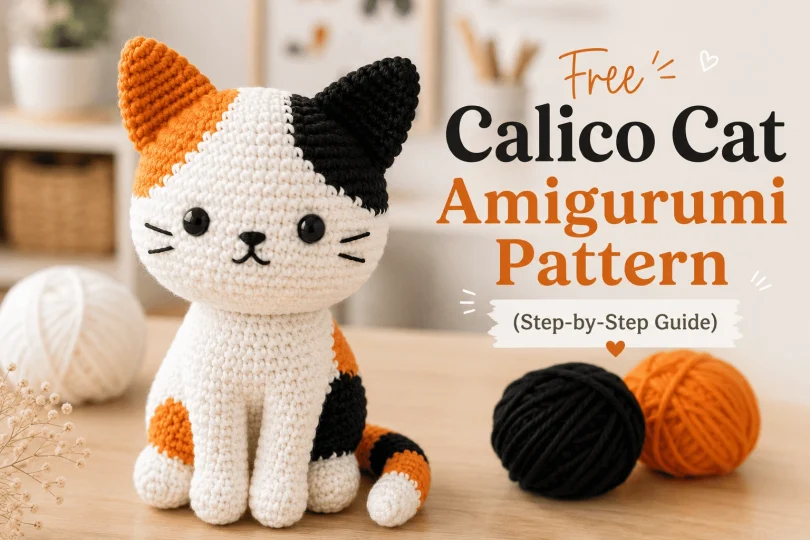
Crafting your own tricolor amigurumi calico cat is a rewarding 12 to 16-hour project that results in a beautiful 28 cm plushie. This intermediate-level pattern simplifies continuous spiral rounds and complex color changes, making it easier to follow for a flawless finish.
Materials Used
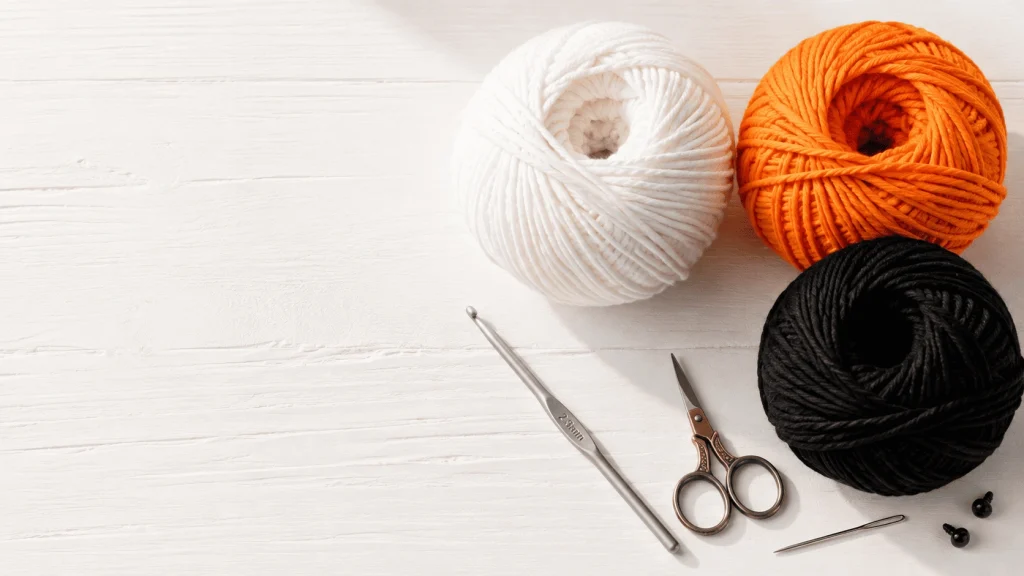
- Yarn: Medium-weight cotton yarn (8/6) in White (main color), Black, and Orange.
- Hook Size: 2.5 mm to 3.0 mm crochet hook.
- Eyes: Two 8 mm safety eyes.
- Stuffing: Polyester fiberfill.
- Hardware & Notions: Yarn needle for seaming, scissors, stitch markers, and sewing pins.
- Details: Black embroidery thread for the nose and mouth.
Stitch Abbreviations (US Terms)
| MR: Magic Ring | ch: Chain |
| sc: Single Crochet | inc: Increase (2 sc in same stitch) |
| dec: Invisible Decrease | sl st: Slip Stitch |
| BLO: Back Loop Only | R: Round / Row |
| [ … ] x n: Repeat the sequence in brackets ‘n’ times | |
Section 1: Head
- R1: Start with Orange yarn. Ch 15. Starting in the 2nd ch from hook: (Orange) 1 inc, 6 sc. (White) 1 sc. (Black) 5 sc, 4 sc in the last ch. Working down the opposite side of the chain: (Black) 5 sc. (White) 1 sc. (Orange) 6 sc, 1 inc in the first ch. (32)
- R2: (Orange) 2 inc, 5 sc. (White) 2 sc. (Black) 5 sc, 4 inc, 5 sc. (White) 2 sc. (Orange) 5 sc, 2 inc. (40)
- R3: (Orange) 1 sc, 1 inc, 7 sc. (White) 2 sc. (Black) 7 sc, 1 inc, 2 sc, 1 inc, 7 sc. (White) 2 sc. (Orange) 7 sc, 1 inc, 1 sc. (44)
- R4: (Orange) 10 sc. (White) 3 sc. (Black) 18 sc. (White) 3 sc. (Orange) 10 sc. (44)
- R5: (Orange) 2 sc, 1 inc, 7 sc. (White) 4 sc. (Black) 5 sc, 1 inc, 4 sc, 1 inc, 6 sc. (White) 3 sc. (Orange) 7 sc, 1 inc, 2 sc. (48)
- R6: (Orange) 11 sc. (White) 5 sc. (Black) 17 sc. (White) 4 sc. (Orange) 11 sc. (48)
- R7: (Orange) 3 sc, 1 inc, 6 sc, 1 inc. (White) 5 sc. (Black) 4 sc, 1 inc, 7 sc, 1 inc, 4 sc. (White) 4 sc. (Orange) 2 sc, 1 inc, 7 sc, 1 inc. (54)
- R8: (Orange) 16 sc. (White) 5 sc. (Black) 18 sc. (White) 2 sc. (Orange) 13 sc. (54)
- R9: (Orange) [1 inc, 6 sc] x 2, 1 inc, 6 sc, 1 inc, 2 sc. (White) 4 sc. (Black) 1 inc, 6 sc, 4 sc. (White) 2 sc. (Orange) 1 inc, 12 sc. (60)
- R10: (Orange) 14 sc. (White) 10 sc. (Black) 10 sc. (White) 10 sc. (Orange) 16 sc. (60)
- R11: (Orange) 1 inc, 7 sc, 1 inc, 1 sc. (White) 6 sc. (Black) 1 inc, 7 sc, 1 inc, 2 sc. (White) 5 sc, 1 inc, 10 sc. (Orange) 3 sc, 1 inc, 1 sc, 12 sc. (66)
- R12: (Orange) 10 sc. (White) 41 sc. (Orange) 15 sc. (66)
- R13: (Orange) 1 inc, 8 sc. (White) 1 inc, 3 sc. (Black) 5 sc, [1 inc, 8 sc] x 2, 1 inc, 14 sc. (White) 1 inc, 9 sc. (Orange) 5 sc. (72)
- R14: (Orange) 10 sc. (White) 47 sc. (Orange) 15 sc. (72)
- R15: (Orange) 10 sc. (White) 7 sc, 1 inc, [17 sc, 1 inc] x 2, 14 sc. (Orange) 3 sc, 1 inc. (76)
- R16: (Orange) 15 sc. (White) 57 sc. (Orange) 4 sc. (76)
- R17: (Orange) 10 sc. (White) 8 sc, 1 inc, 5 sc. (Black) 5 sc, 8 sc, 1 inc, 18 sc, 1 inc, 1 sc. (White) 17 sc, 1 inc. (80)
- R18: (Orange) 5 sc. (White) 23 sc. (Black) 10 sc. (White) 38 sc. (80)
- R19: (White) 38 sc. (Black) 6 sc. (White) 36 sc. (80)
- R20: (White) [8 sc, 1 dec] x 2, 8 sc, 1 dec, 2 sc. (Black) 6 sc, 1 dec. (White) [8 sc, 1 dec] x 4. (72)
- R21: (White) [10 sc, 1 dec] x 6. (66)
- R22: (White) [9 sc, 1 dec] x 6. (60)
- R23: (White) [8 sc, 1 dec] x 6. (54)
- R24: (White) [7 sc, 1 dec] x 6. (48)
- R25: (White) Working in BLO, [2 sc, 1 dec] x 12. (36)
- R26: (White) [4 sc, 1 dec] x 6. (30)
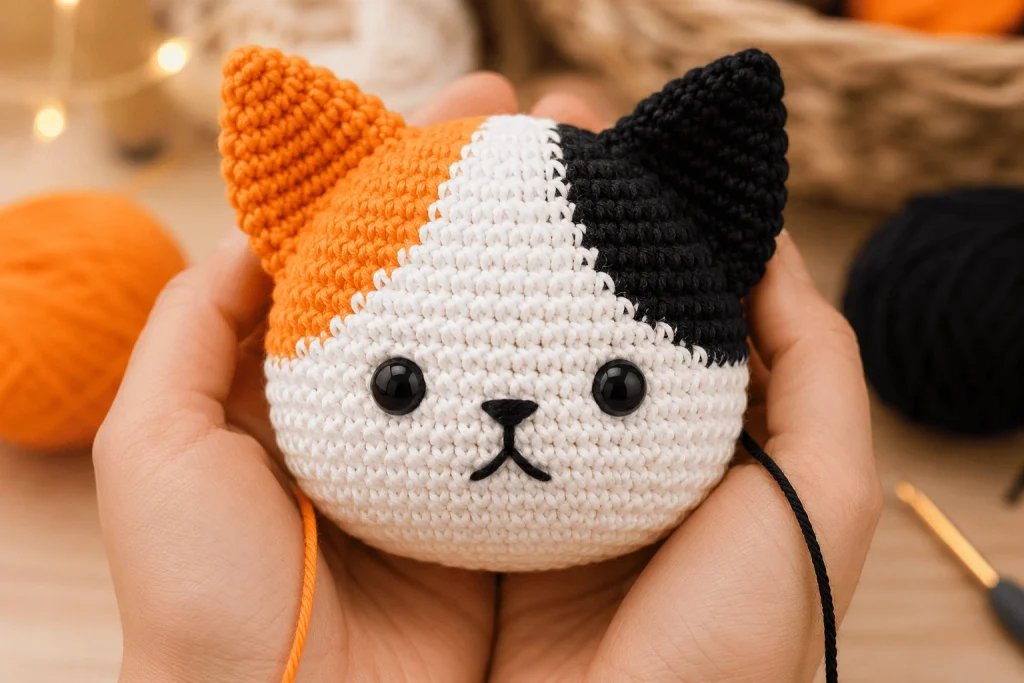
Fasten off and weave in the ends. Insert 8 mm safety eyes between R13 and R14, leaving 13 stitches between them. Stuff the head firmly and embroider the nose and mouth on the front face with black thread.
Section 2: Ears (Make 2)
Make one ear entirely in Orange, and one ear entirely in Black.
- R1: MR, 5 sc. (5)
- R2: [1 sc, 1 inc] x 2, 1 sc. (7)
- R3: [2 sc, 1 inc] x 2, 1 sc. (9)
- R4: [3 sc, 1 inc] x 2, 1 sc. (11)
- R5: [4 sc, 1 inc] x 2, 1 sc. (13)
- R6: [5 sc, 1 inc] x 2, 1 sc. (15)
- R7: [6 sc, 1 inc] x 2, 1 sc. (17)
- R8: [7 sc, 1 inc] x 2, 1 sc. (19)
Fasten off, leaving a long tail for sewing.
Section 3: Body
Ch 30 and join into a circle with 1 sl st in the first ch (ensure it is not twisted).
- R1: (White) 30 sc around the ring. (30)
- R2: (White) Ch 6. Switch to (Orange) and ch 11. (Total of 17 chains). Starting in the 2nd ch from the hook, work down the chain strip: (White) 1 inc, 9 sc. (Orange) 6 sc. To join back to the neck, sc 1 in the origin ch of the strip, then 30 sc around the neck ring. Working up the opposite side of the chain strip: (Orange) 6 sc. (White) 9 sc, 1 inc in the base of the first ch. (65)
- R3: (White) 2 inc, 10 sc. (Black) 42 sc. (Orange) 10 sc, 1 inc. (68)
- R4: (White) 2 inc, 12 sc. (Black) 42 sc. (Orange) 10 sc. (White) 1 sc, 1 inc. (71)
- R5: (White) [1 inc, 1 sc] x 3. (Orange) 10 sc. (Black) 42 sc. (Orange) 3 sc. (White) 12 sc. (74)
- R6: (White) 7 sc. (Orange) 9 sc. (Black) 43 sc. (Orange) 4 sc. (White) 11 sc. (74)
- R7: (White) 5 sc. (Orange) 10 sc. (Black) 44 sc. (Orange) 5 sc. (White) 10 sc. (74)
- R8: (White) 59 sc. (Black) 6 sc. (White) 4 sc. (Black) 2 sc. (White) 3 sc. (74)
- R9: (White) 60 sc. (Black) 6 sc. (White) 5 sc. (Black) 3 sc. (74)
- R10: (White) 61 sc. (Black) 4 sc. (White) 6 sc. (Black) 3 sc. (74)
- R11: (White) 71 sc. (Black) 3 sc. (74)
- R12: (White) 72 sc. (Black) 2 sc. (74)
- R13 to R15: (White) 74 sc. (74)
Fasten off and weave in the ends.
Section 4: Belly Patch
Crocheted in flat back-and-forth rows using White yarn. Ch 28. Start in the 2nd ch from the hook:
- Row 1: 27 sc, ch 1, turn. (27)
- Row 2: 1 dec, 23 sc, 1 dec, ch 1, turn. (25)
- Rows 3 to 7: 25 sc, ch 1, turn. (25)
- Row 8: 1 dec, 21 sc, 1 dec, ch 1, turn. (23)
- Row 9: 1 dec, 19 sc, 1 dec, ch 1, turn. (21)
- Row 10: 21 sc. (21)
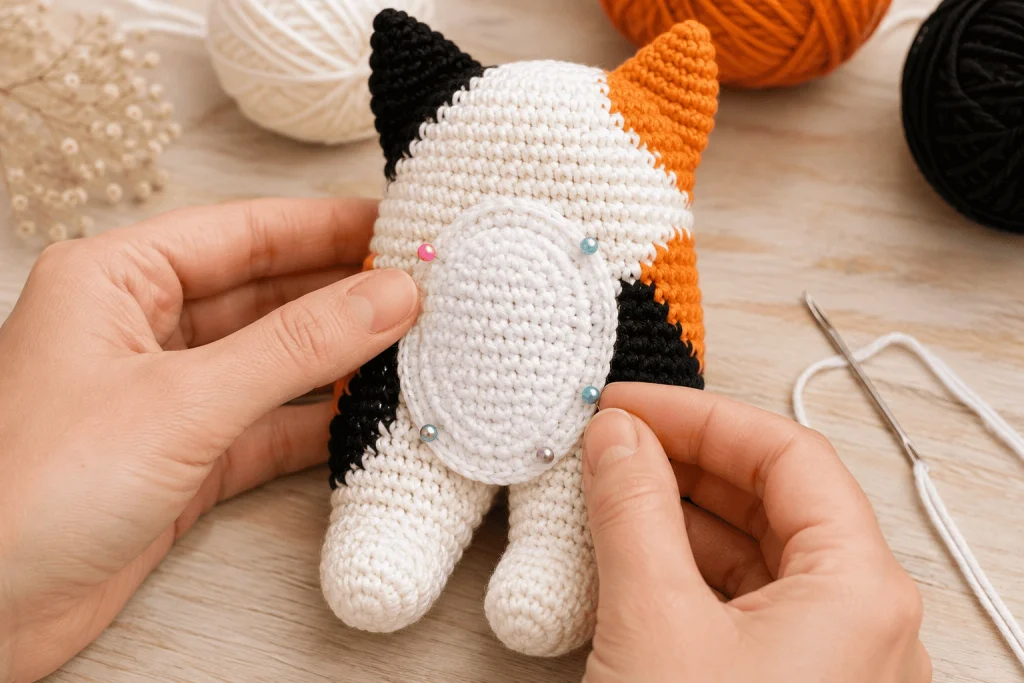
Edging: Do not cut the yarn. Sc around the entire outer edge (place 1 sc at the end of each row side, and 3 sc together in the corners for smooth curves). Fasten off, leaving a long tail. Pin the patch to the lower abdomen of the body. Sew edge-to-edge. Stuff the body firmly before closing the last few stitches.
Section 5: Legs (Make 4)
Use White yarn.
- R1: MR, 6 sc. (6)
- R2: [2 sc, 1 inc] x 2. (8)
- R3: [3 sc, 1 inc] x 2. (10)
- R4: 1 inc, 9 sc. (11)
- R5 to R10: 11 sc. (11)
Fasten off, leaving a long tail for sewing.
Section 6: Tail
- R1: (Black) MR, 6 sc. (6)
- R2: (Black) [2 sc, 1 inc] x 2. (8)
- R3: (Black) [3 sc, 1 inc] x 2. (10)
- R4: (Black) 1 inc, 9 sc. (11)
- R5 to R7: (Black) 11 sc. (11)
- R8 to R11: (Orange) 11 sc. (11)
- R12 to R27: (White) 11 sc. (11)
Fasten off, leaving a long tail for sewing.
Section 7: Assembly
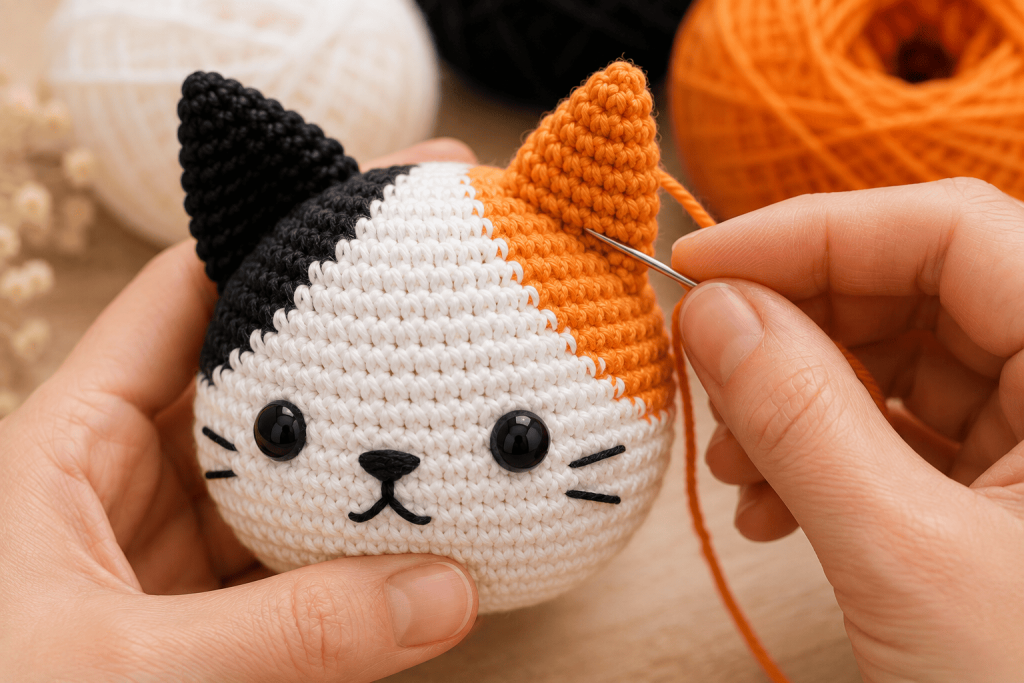
- Flatten the ears slightly and sew them with invisible stitches to the top of the head, checking for symmetry.
- Position the 4 legs evenly on the base of the body and sew them securely to ensure a stable, standing posture.
- Sew the tail firmly to the lower back of the body.
- Attach the head to the body stitch by stitch using a tapestry needle, maintaining tight tension to prevent wobbling.
Frequently Asked Questions (FAQ)
Can I use acrylic yarn instead of cotton?
Yes, acrylic yarn works perfectly fine for this project and often yields a softer plushie. Just ensure all three colors (White, Orange, Black) are the same brand and weight to avoid uneven tension during color changes.
How do I prevent holes when changing colors?
Always complete the final step of the stitch prior to the color change with the new color. Drop your old yarn, pick up the new yarn loop, and pull it through the remaining loops on your hook to finish the single crochet seamlessly.
Is this toy safe for babies?
If you are gifting this to a child under 3 years old, do not use plastic safety eyes, as they are a choking hazard. Instead, use black embroidery thread to stitch French knots or sleeping half-moon shapes for the eyes.
To keep your finished calico cat looking fresh, hand wash it gently in cold water using mild soap, squeeze out any excess moisture with a towel, and let it air dry completely. Feel free to customize your plushie with tiny accessories like a crocheted collar or a tiny fish. Happy crocheting!