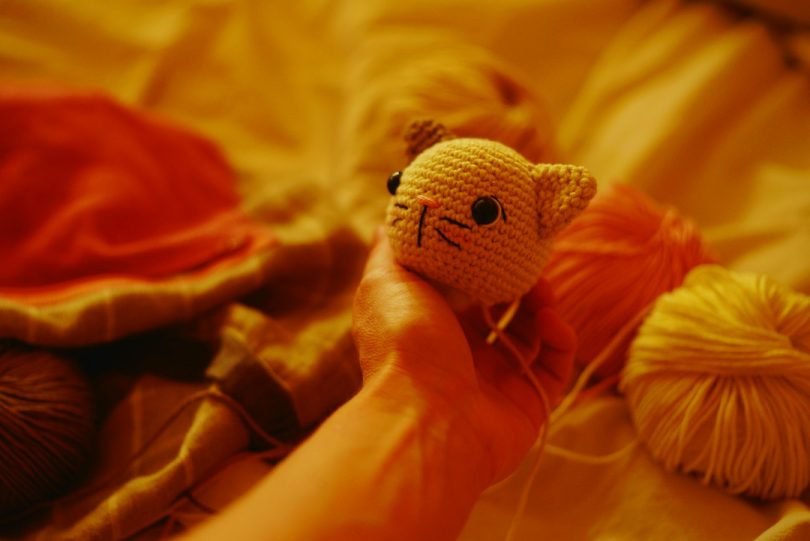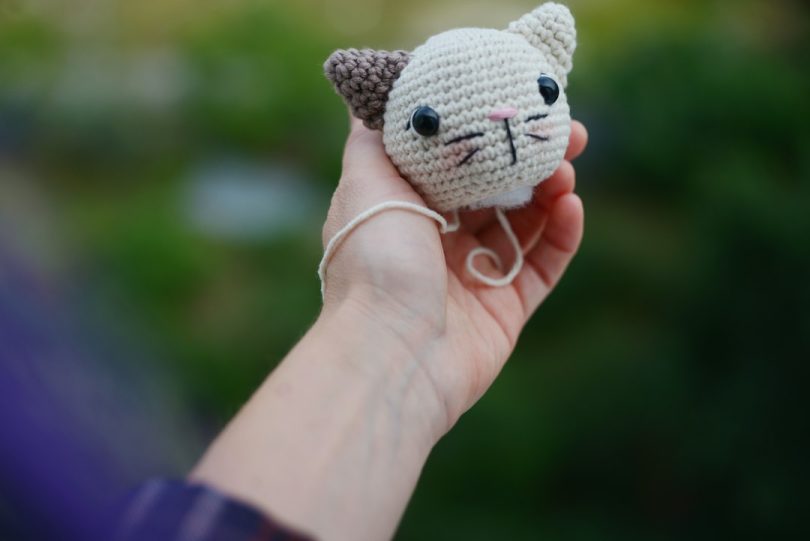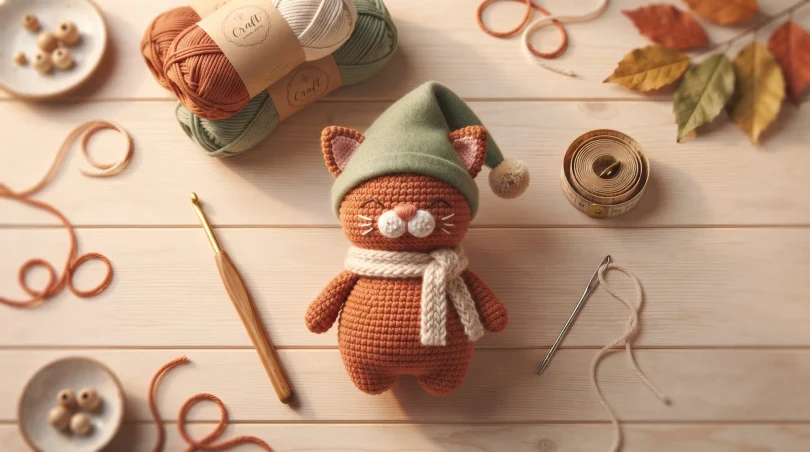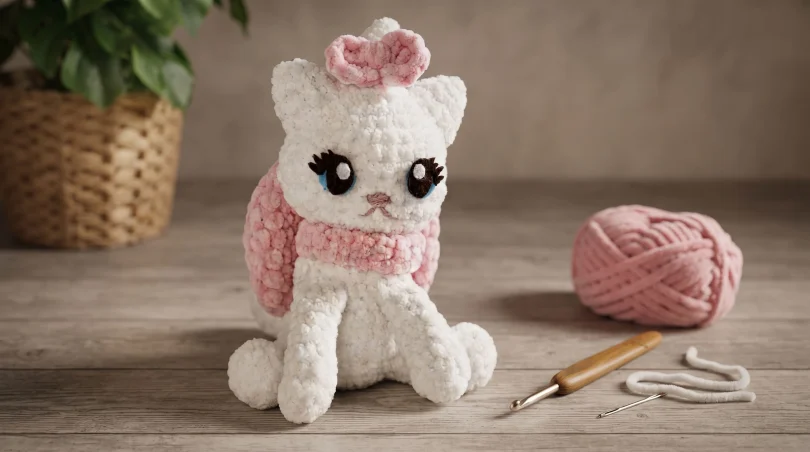
Welcome to a wonderful new amigurumi tutorial! If you love tender, soft, and charmingly detailed crochet projects, you are going to fall in love with this pattern. Today we will teach you step by step how to crochet Marie, a gorgeous elegant cat amigurumi with a bowtie-shaped collar and a head bow, originally designed by snugglescrochetbyjamie.
Crafted using plush or chenille yarn (such as Premier Parfait Chunky) in sweet white and pink shades, this lovely cat features an exceptionally soft texture and an irresistible facial expression. Best of all, this tutorial has been meticulously adapted so that beginners can follow along without frustration, explaining every technique from scratch, the proper use of stitch markers, and key tips for getting the perfect stuffing.
Why You Will Love Crocheting Marie the Lady Cat
The art of amigurumi (crocheting small stuffed toys) is a relaxing and highly rewarding activity. This specific pattern is perfect whether you are taking your first steps into the crochet world or looking for a quick, highly decorative project to give as a gift or sell. Unlike other complex patterns, Marie is worked in separate pieces that are then assembled logically, allowing you to watch her come to life step by step.
Materials & Tools Needed
Before getting started, it is essential to gather all your materials. Working with the right tools ensures that your final result looks identical to the pattern photos:
- Main Yarn (White Color): Plush, velvet, or chenille yarn (recommended: Premier Parfait Chunky) to achieve that ultra-soft look.
- Bow & Accent Yarn (Pink Color): Used for the head bow and the collar accessory.
- Crochet Hook: A 4.5 mm crochet hook is recommended.
- Tapestry Needle: With a large eye for sewing pieces together comfortably.
- Toy Stuffing (Fiberfill / Silicone fluff): To shape the body, head, and limbs.
- Stitch Marker: An indispensable tool so you don’t lose track of the beginning of your rounds while working in continuous spiral rounds.
- Sharp Scissors.
- Facial Details (Choose one option): Safety eyes, button eyes, or black felt (along with fabric glue, a pencil, and paper for a template if you choose the felt method).
Key Crochet Abbreviations
To read and interpret this pattern without any confusion, here is the breakdown of every abbreviation used throughout the step-by-step instructions:
- ch: Chain
- slst: Slip Stitch
- sc: Single Crochet
- hdc: Half Double Crochet
- inc: Increase (two single crochets in the same stitch)
- dec: Decrease (crochet two single crochets together into a single stitch)
- fo: Finish Off / Cut the yarn and secure the loop
- dc inc: Double Crochet Increase (two double crochets in the same stitch)
- MR: Magic Ring
Step-by-Step Instructions for Each Piece
Let’s crochet Marie section by section. Remember to use your stitch marker at the beginning of each round to keep an accurate count.
1. The Head
The head is one of the main pieces and is worked from the top down, creating signature cheek pockets on both sides.
- R1: 6 sc in MR (6)
- R2: inc around (12)
- R3: (1 sc, 1 inc) x6 (18)
- R4: sc around (18)
- R5: (2 sc, 1 inc) x6 (24)
- R6: sc around (24)
- R7: (3 sc, 1 inc) x6 (30)
- R8: sc around (30)
- R9: 6 sc, 3 inc, 12 sc, 3 inc, 6 sc (36)
- R10: sc around (36)
- R11: 7 sc, 3 dec, 10 sc, 3 dec, 7 sc (30)
- R12: (3 sc, 1 dec) x6 (24)
Beginner Tip: Attach safety eyes or felt pieces around R8-R9, paying careful attention to where the front of the face is (aligning with the cheek pockets on both sides). Start stuffing. Stretch and shape the fabric so the top of the head does not become pointy, which is common when working with chenille yarn. Make sure you firmly stuff the cheek pockets.
- R13: (2 sc, 1 dec) x6 (18)
Finish off (fo), and leave a long tail to sew. Do not close the hole shut!
2. The Arms (Make 2)
The arms are worked in a tubular shape and lightly stuffed as you go.
- R1: 5 sc in MR (5)
- R2: 2 inc, 3 sc (7)
- R3: sc around (7)
- R4: 1 dec, 5 sc (6)
Note: Fill the arms with stuffing as you progress.
- R5-R7: sc around (6) (3 rows)
- R8: 4 sc to align the yarn tail to the side of the arm (you may need to adjust this depending on your personal tension!) (6)
- R9: 3 sc working through both sides of the round to shut the arm flat (3)
Finish off (fo). No need to leave a sewing tail since they will be crocheted directly into the body.
3. The Hair / Top Tuft
- R1: Surface crochet 4 sc in a small circle at the top of the head (4)
- R2: sc around (4)
- R3: inc around (8)
- R4: 4 sc, 2 dec (6)
- R5: dec around (3)
Finish off (fo) and leave enough tail length to completely close the hole.
4. The Legs (Make 2)
- R1: Ch 4
- R2: Starting from the 2nd chain from the hook: 2 sc, 3 sc in the last stitch. Turn to work on the reverse side of the chain: 1 sc, 1 inc (8). It should form an oval shape.
- R3: (1 sc, 1 inc) x4 (12)
- R4: 3 sc, 2 dec, 3 sc, 1 dec (9)
- R5: 3 sc, 2 dec, 2 sc (7)
- R6: (1 sc, 1 inc) x3, 1 sc (10)
- R7: (2 sc, 1 inc) x3, 1 sc (13)
Finish off (fo) and leave a long tail to sew. Stuff the legs firmly.
5. The Ears (Make 2)
- R1: 4 sc in MR (4)
- R2: inc around (8)
- R3: (3 sc, 1 inc) x2 (10)
- R4: (4 sc, 1 inc) x2 (12)
Finish off (fo) and leave a long tail to sew onto the head.
6. The Tail
Stuff lightly as you go.
- R1: 4 sc in MR (4)
- R2: (1 sc, 1 inc) x2 (6)
- R3: 2 inc, 4 sc (8)
- R4: (3 sc, 1 inc) x2 (10)
- R5-R7: sc around (10) (3 rows)
- R8: (3 sc, 1 dec) x2 (8)
- R9: dec around (4)
Finish off (fo) and leave a long tail to sew. Do not close the hole.
7. The Body
- R1: 6 sc in MR (6)
- R2: inc around (12)
- R3: (1 sc, 1 inc) x6 (18)
- R4: (2 sc, 1 inc) x6 (24)
- R5: 10 sc, (1 sc, 1 inc) x2, 10 sc (26)
- R6-R7: sc around (26) (2 rows)
- R8: 10 sc, (1 sc, 1 dec) x2, 10 sc (24)
- R9: (2 sc, 1 dec) x6 (18)
Arm Attachment Tip: In the stitches indicated with brackets < > below, you will attach the arms by inserting your hook first through the stitches on the arm, and then through the corresponding stitches on the body. Start stuffing, and keep stuffing as you go.
- R10: 15 sc, <3 sc attaching first arm> (18)
- R11: 1 sc, <3 sc attaching second arm>, 14 sc (18)
- R12: sc around (18)
- R13: (1 sc, 1 dec) x6 (12)
- R14: dec around (6)
Finish off (fo) and leave a long tail to sew if you didn’t leave one for the head. Close the hole completely shut.
8. Accessories: Head Bow & Large Bow with Collar
Head Bow (Using Pink Yarn):
- R1: 8 sc in MR (8)
- R2: 3 dc inc, 1 slst, 3 dc inc, 1 slst (6)
Finish off (fo) and leave a long tail to sew. The 2 slip stitches will form the center of the bow. Use the yarn tail to scrunch the middle of the bow, then wrap the yarn tightly around the center 3-4 times. You can leave the bow as it is to sew directly, OR attach extra pink yarn and chain a length matching the circumference of her hair to create a hair band.
Large Bow & Collar (Using Pink Yarn – Pieces 1 & 2):
- Piece 1 (The Bow): R1: Ch 35. R2: 1 sc into the 1st chain to create a loop, 34 sc (35). R3-R8: 35 hdc (35) (6 rows). Finish off and weave in the tail.
- Piece 2 (The Band & Collar): R1: Ch 4. R2: 1 sc into 2nd chain from hook, 2 sc, turn (3) (no need to ch 1 before turning, but you can if you’d like!). R3-R17: sc across, turn (3) (15 rows). Adjust so this band wraps snugly around the center of Piece 1 to cinch it. R18: Ch 1, and instead of turning, work 2 sc along the side edge of the band. R19-R48: Turn, 2 sc (2) (30 rows). Adjust so the collar reaches comfortably around Marie’s neck. Finish off (fo) and leave a medium-length tail to sew the collar closed. In the end, Piece 2 should look like a large capital “L” shape.
Assembly & Final Details
The body will sit slightly slanted forward, so keep that in mind when putting all the pieces together:
- Ears: Stuff lightly and sew onto each side of the head, spanning a width of 4 rows (R3-R4 and 8-9).
- Head: Sew the head slightly behind the last round of the body. A great beginner tip is to tilt the body until the arms touch the floor, and attach the head wherever it sits straight.
- Legs: Sew 4-5 visible stitches apart (they will face slightly outwards), spanning 4 rows high (R3-R4 and 7-8). Make sure the toes are pointing up!
- Tail: Sew onto the body spanning 2 rows wide (R6-R8). The curve should be facing upwards!
- Head Bow: Sew directly onto the hair, or if you created a band, secure it through the hair tuft.
- Large Bow Assembly: 1. With a strand of pink yarn, cinch the middle of Piece 1 to create a bow shape, and tighten securely with a knot. 2. Take Piece 2, wrap the thicker side of the band around the center of Piece 1, and sew the band closed. 3. Make sure the thinner band aligns cleanly with the middle of the bow. You now have a bow with an unattached collar strip. 4. Wrap the thin band around Marie’s neck, and use the yarn tail to secure it neatly behind the bow.
Facial Features (Mouth & Eyes)
The Mouth: Embroider an upside-down “V” shape around R11 using black embroidery floss. On the exact same row as the tip of the V, embroider a nose 2 stitches wide. (Tip: Embroider around 3-4 strands for a nice textured look!)
The Eyes (Felt Method): If you are using felt for the eyes, cut out cute oval shapes and attach them securely around R9-R10.
Frequently Asked Questions (FAQ)
1. What type of yarn is best for this pattern if I am a beginner?
Chenille or plush yarn (such as Premier Parfait Chunky) is heavily recommended. This kind of textured yarn hides beginner stitch imperfections very well and gives your amigurumi cat an exceptionally soft, huggable finish.
2. Do I have to use felt for the eyes?
Not at all! This pattern is very versatile. You can use traditional plastic safety eyes with washers, small buttons, or hand-cut felt glued down with fabric glue. If you are gifting this toy to a baby or toddler, embroidered or felt eyes are the safest choice.
3. Why shouldn’t I close the head hole completely when fastening off?
Leaving the bottom of the head open makes it much easier to position, shape, and sew the head firmly onto the body’s neck without it wobbling or looking unstable.
Conclusion
Congratulations! If you have followed along with these steps, you have successfully completed your adorable Marie cat amigurumi complete with her signature bowtie collar and cute hair bow. This project is not only a fantastic way to practice working in continuous spirals with textured yarn, but it also creates a gorgeous handmade keepsake or gift. Keep practicing, try experimenting with other yarn colors, and above all, enjoy the wonderful journey of crochet!