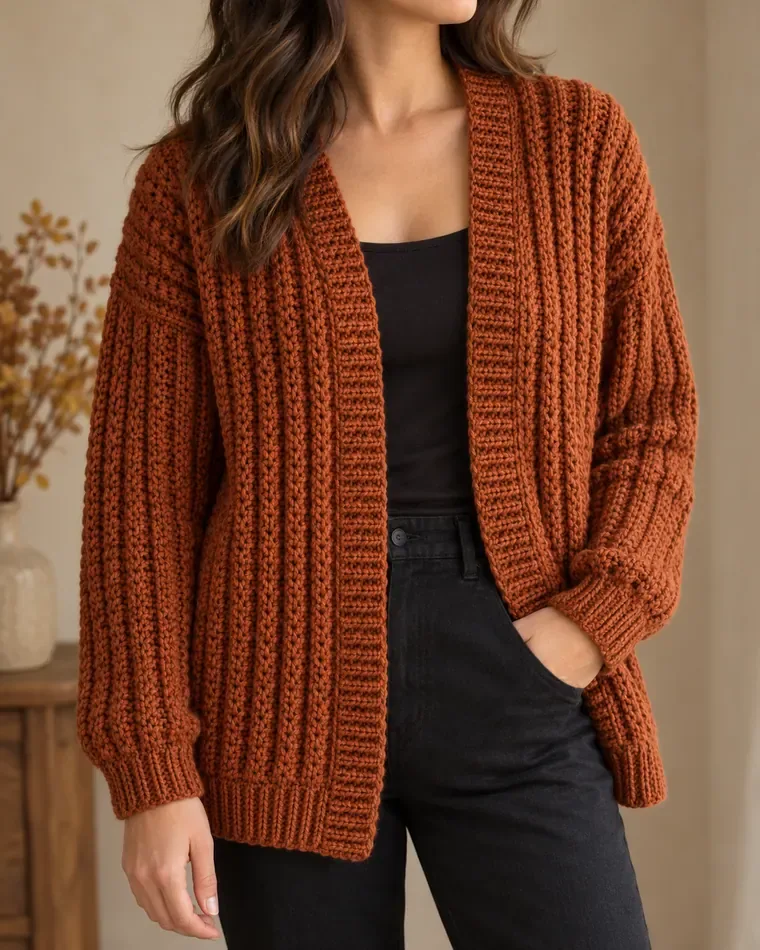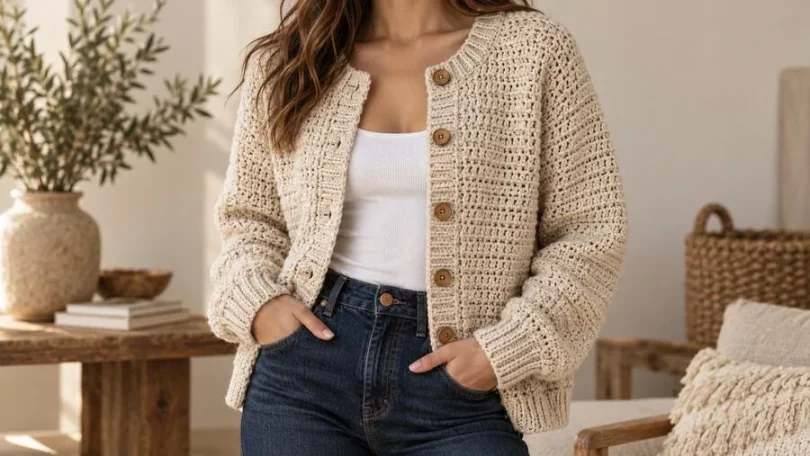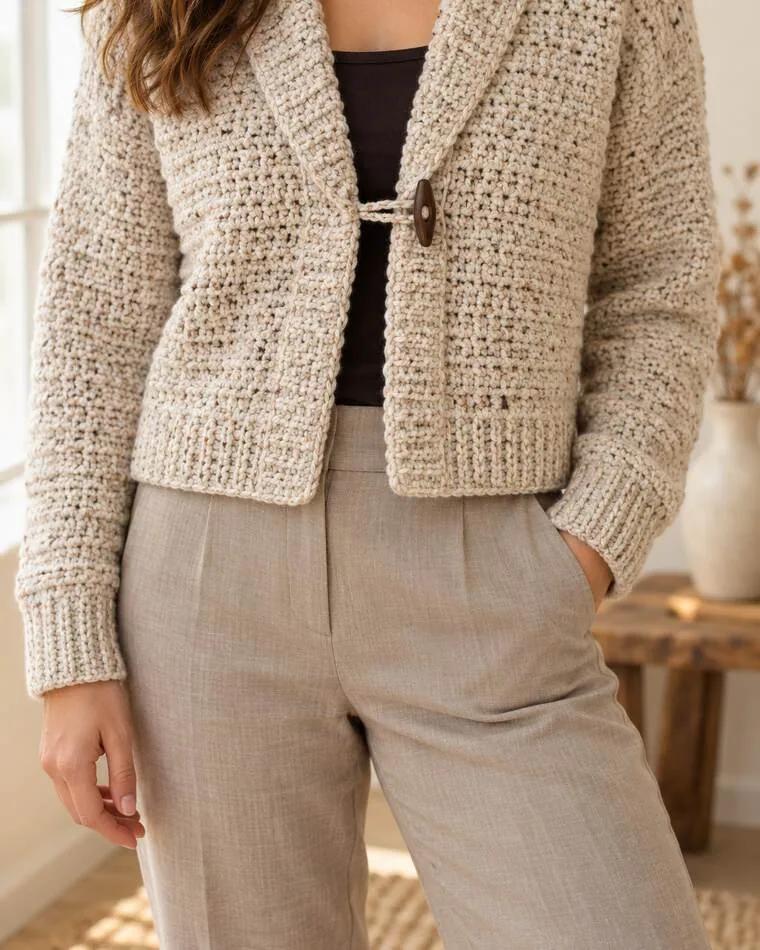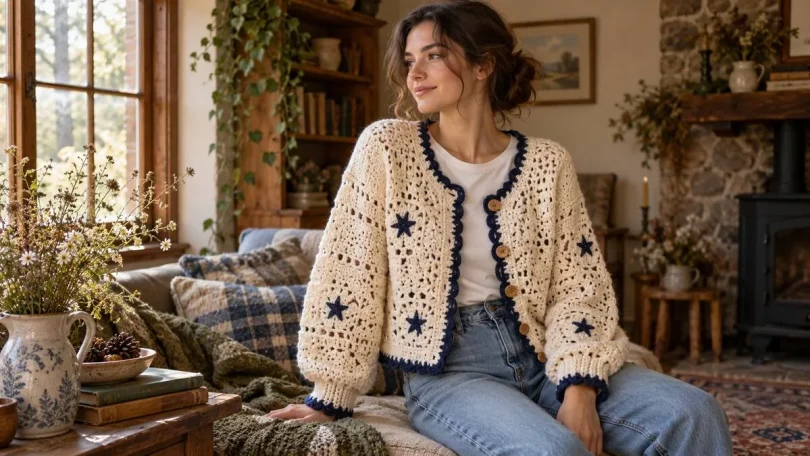
If you spend any time scrolling through crochet TikTok or Instagram, you have likely fallen in love with the ultra-trendy, pastel patchwork cardigans that seem to be everywhere right now. They look like high-end boutique pieces, but the best part? You can make them entirely by hand!
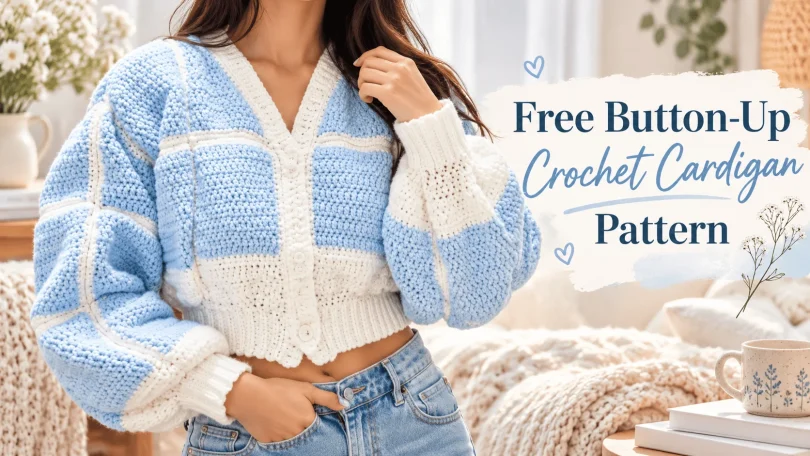
One of the most viral and beginner-friendly designs taking the crafting community by storm is the Button-Up Crochet Cardigan Pattern created by @ime.ra (find her on Instagram and TikTok) . Featuring a dreamy sky-blue and white color-blocked design, puffy statement sleeves, and a cozy button-up front , this cardigan is the ultimate DIY fashion project.
Whether you are looking to expand your handmade wardrobe or searching for a satisfying weekend project, this complete guide will walk you through everything you need to know about the pattern, materials, and steps to create your own wearable masterpiece!
1. Pattern At-A-Glance
- Designer: @ime.ra (Instagram & TikTok)
- Skill Level: Beginner to Intermediate (Uses basic stitches like double crochet, single crochet, and decreasing)
- Sizing: Closely fits a size Small (approx. ~28-inch waist and 6.5-inch wrists), but easily adjustable to your own body measurements.
- Key Features: Color-blocked squares, clean white borders, cinched puffy sleeves, ribbed cuffs, and custom buttonholes
2. Materials & Tools Needed
Before you pick up your hook, gathering the right supplies will ensure your cardigan turns out neat, structured, and cozy.
- Yarn:
- Light Blue (Sky Blue): 4 skeins (approx. 380 yards per skein)
- White: 3 skeins (approx. 380 yards per skein)
- Designer Recommendation: Big Twist Value Yarn (Worsted Weight) from Joann . Buying a bit extra ensures you won’t run short mid-project.
- Tools & Notions:
- 5.50 mm crochet hook
- Scissors
- Tapestry needle and white thread
- A set of 3 buttons (approx. 3/4 inch)
- Beginner Video References (Provided by the Designer):
- How to Double Crochet (dc): Watch on YouTube
- How to Single Crochet (sc): Watch on YouTube
- How to Do a Decreasing Double Crochet: Watch on YouTube
- How to Half Double Crochet (hdc): Watch on YouTube
- How to Do a Single Crochet Ribbing Stitch: Watch on YouTube
3. Understanding the Construction
Instead of working in one continuous piece, this cardigan uses a modular panel and square method:
- The Body Squares: Each individual square measures approximately 4.5 x 5.0 inches. You will crochet a grid of squares for the back and front panels .
- Neckline Shaping: Special angled and triangular neck shapes are created using decreasing double crochets to form a smooth V-neck opening .
- The Sleeves: Built from a grid of squares (typically 3 x 4 squares per sleeve) that get seamed together and attached to the body .
- Borders & Cuffs: Clean white single-crochet borders frame each square, while ribbed cuffs and a bottom band pull the oversized silhouette together .
4. Step-by-Step Overview
- Step 1: Crocheting the Squares: Chain 18 and work double crochet stitches for 12 to 13 rows per square . For the neckline sections, incorporate regular decreases along one side to shape the collar slopes .
- Step 2: White Borders: Frame every single square and panel with two rows of single crochets, chaining 2 at the corners to keep them neat and rounded .
- Step 3: Joining Panels: Place right sides together and weave your white yarn through using a slip stitch method to connect all squares securely .
- Step 4 & 5: Sleeve & Bottom Cuffs: Add rows of double crochets and strategic decreases to create that gorgeous, voluminous “puffy sleeve” look , finished off with a stretchy back-loop-only single crochet ribbing .
- Step 6: Front Borders & Buttons: Add half-double crochet rows down the front opening, creating custom buttonholes along the way, and sew on your 3 buttons .
5. Top Tips for Success
- Measure As You Go: While the pattern is optimized for a size small (~28-inch waist), you can easily add extra rows or squares to fit your unique measurements .
- Don’t Skip the Border: Giving every square its own white border creates that gorgeous, high-contrast grid effect that defines the viral aesthetic.
- Embrace the Puff: Using decreasing stitches before starting your sleeve ribbing is optional, but it is the secret trick to getting that dramatic, balloon-sleeve shape .
6. Support and Find the Creator
Handmade fashion is all about community and giving credit to the talented creators who share their work for free. If you want to show your support, check out her mirror selfies and video tutorials, and share your finished creation online!
Tag the Creator: Make sure to tag @ime.ra on Instagram and TikTok if you try out this pattern—she loves seeing others bring her design to life!