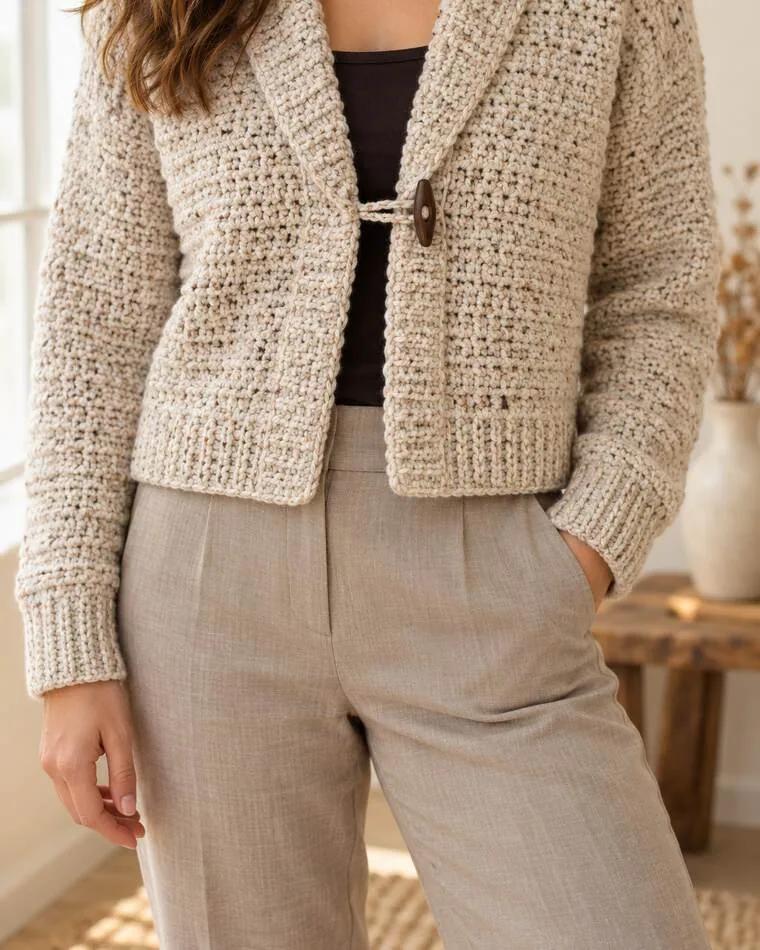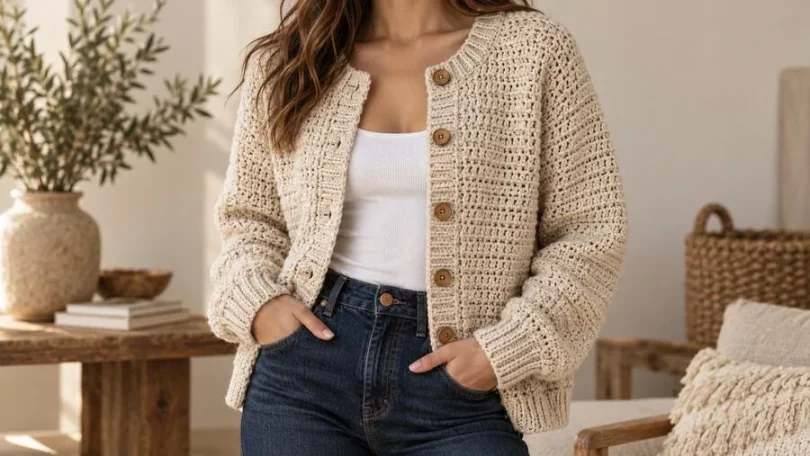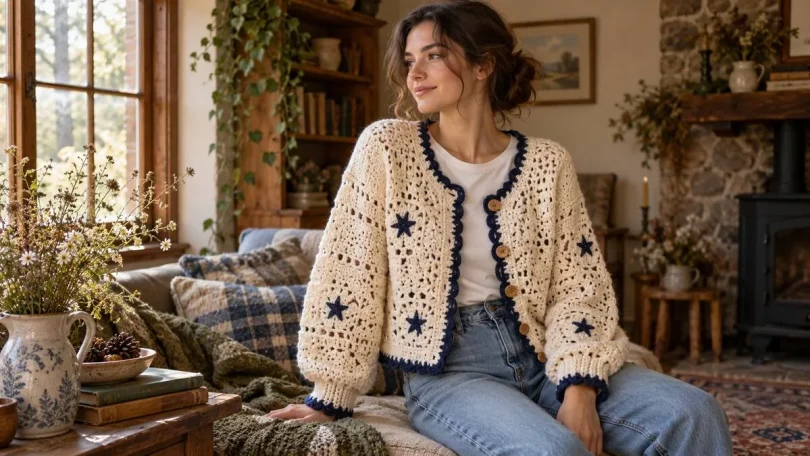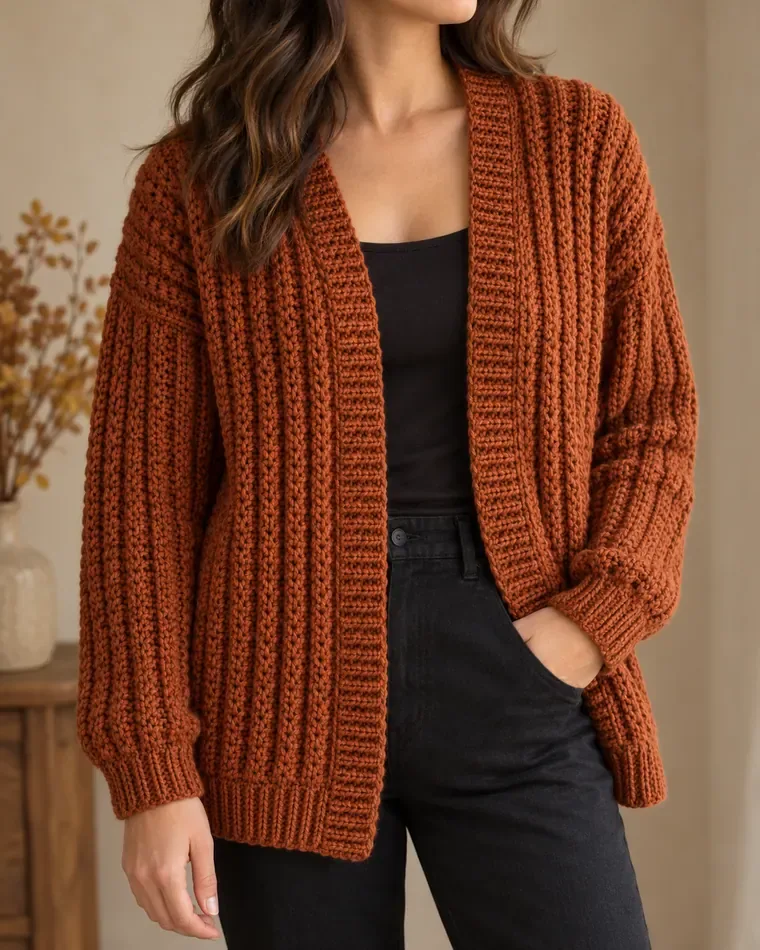
When the weather starts to cool, a textured cardigan is one of the most useful projects to keep on your hook. The Autumn Brioche Crochet Cardigan has a plush, raised surface and a relaxed open-front shape that works well over a tee, a blouse, or a simple dress. Its fabric has a brioche-inspired look, while the construction uses crochet techniques and a straightforward repeat after the setup.
This article is an original companion guide to help you understand the project before you begin: what yarn and tools to gather, how to choose a size, what the published measurements mean, how the pieces come together, and how to avoid common finishing problems. It does not replace the designer’s full stitch-by-stitch pattern. Use the button below for the complete written instructions and the creator’s video tutorial, especially when you reach the shaping sections.
What to Expect from This Crochet Cardigan
This is an intermediate project for crocheters who are comfortable reading abbreviations, repeating a stitch pattern, and sewing garment pieces together. The textured stitch may look elaborate at first glance, but the designer builds it from a repeatable crochet motion. Take time with the setup rows and make a swatch before committing to the full garment; once the stitch placement feels familiar, the fabric becomes easier to read.
The body is made as one connected piece worked sideways, rather than as separate front and back rectangles crocheted from the hem upward. That direction is important: the foundation chain helps establish the cardigan’s length, while the rows build across the body. The sleeves are made separately and sewn in. The front opening and neckline are finished with a long ribbed band, which gives the soft textured fabric a cleaner edge.
Materials and Pattern Details
- Yarn: medium / worsted-weight yarn, category 4. The designer’s sample uses Lion Brand Jeans, a 100% acrylic yarn with approximately 225 m (246 yd) per 100 g ball.
- Yarn quantity: 7, 8, 8, 9, 9, or 9 balls for sizes S through 3XL respectively, using the specified yarn and gauge. If substituting yarn, compare meterage rather than relying on ball count alone.
- Hook: 6 mm, or the size needed to match gauge.
- Other tools: yarn needle, scissors, stitch markers, measuring tape, and a row counter or notes app.
- Language: US crochet terminology.
- Construction: sideways one-piece body; two separate sleeves; seamed shoulders and sleeve seams; attached ribbed front and neckline band.
- Fit: relaxed, with the finished bust larger than the suggested body bust range.
For a substitution, look for a yarn whose fiber, thickness, and drape are close to the sample. A very stiff yarn can make the cardigan feel heavy; a slippery or loosely spun yarn may hide the definition of the raised columns. If you choose wool or a wool blend, check the care label and make a larger swatch so you can see how the fabric behaves after washing.
Gauge, Sizing, and Finished Measurements
The published gauge is 13 stitches and 11 rows = 4 in (10 cm). Make your swatch in the cardigan’s textured stitch, not in plain half double crochet. Measure across the center after the swatch has rested or been gently blocked. If you have more stitches in 4 inches, try a larger hook; if you have fewer, try a smaller hook. Row gauge matters too, because it affects how the body width and sleeve length develop.
Choose a size by comparing your full bust measurement with the “to fit” range, then look at the finished bust to understand the ease. Do not choose by letter alone. Measure over the kind of top you expect to wear underneath and consider whether you prefer a close cardigan or a roomier layer.
| Size | To fit bust | Finished bust | Length | Armhole depth | Yarn balls | Body foundation chain |
|---|---|---|---|---|---|---|
| S | 32–34 in (81–86 cm) | 42 in (107 cm) | 22 in (56 cm) | 7.5 in (19 cm) | 7 | 74 |
| M | 36–38 in (91–97 cm) | 46 in (117 cm) | 23 in (58 cm) | 8 in (20 cm) | 8 | 77 |
| L | 40–42 in (102–107 cm) | 50 in (127 cm) | 24 in (61 cm) | 8 in (20 cm) | 8 | 81 |
| XL | 44–46 in (112–117 cm) | 54 in (137 cm) | 24 in (61 cm) | 8.5 in (22 cm) | 9 | 81 |
| 2XL | 48–50 in (122–127 cm) | 58 in (147 cm) | 25 in (64 cm) | 9 in (23 cm) | 9 | 84 |
| 3XL | 52–54 in (132–137 cm) | 62 in (157 cm) | 25 in (64 cm) | 9 in (23 cm) | 9 | 84 |
Important: the foundation-chain counts and measurements above follow the designer’s published size information. They are included as a planning reference. Follow the linked pattern for the exact row sequence, stitch placement, shaping, and finishing instructions for your selected size.
Step-by-Step Construction Roadmap
The steps below explain the order of the work and what to check at each stage. For the exact repeat and shaping instructions, keep the designer’s pattern open beside you. The armhole and front shaping are size-specific, so do not improvise those sections from the overview.
1. Measure yourself and select a size
Measure around the fullest part of your bust while wearing a light layer. Compare that number with the size chart, then compare the finished bust measurement with a cardigan you already like. The finished bust includes ease; it is not intended to match your body measurement exactly. If you fall between sizes, check your gauge first and consider how much room you want for layering.
2. Make and measure a textured gauge swatch
Use the 6 mm hook as a starting point and work enough repeats to create a swatch larger than 4 inches in both directions. Measure the center 4-inch area, away from the edges. Check that the raised columns look even and that the fabric bends comfortably. If the fabric feels dense or board-like, the hook or yarn may be too small for the intended drape.
3. Prepare yarn and mark your size information
Wind any skeins that tangle easily, label them by dye lot, and write down the size-specific chain and row references from the original pattern. Place a marker or sticky note at each shaping instruction. This project uses a repeating texture, so having clear checkpoints helps prevent accidentally continuing through a shaping row as if it were an ordinary repeat.
4. Work the body sideways
Begin with the foundation chain specified for your size. Because the cardigan is worked sideways, this chain is tied to the garment’s length. Work the setup and textured rows in the sequence provided by the designer, keeping the edge stitches consistent. Count at the end of each row, especially across the border sections, where a missed stitch can make the opening edge uneven.
5. Follow the front and armhole shaping exactly
At the marked points, the body is shaped to create the cardigan’s front sections and openings. These transitions involve working across some stitches while creating or bridging another section; they are the places most likely to go wrong if the row count is off. Pause before each shaping row, confirm the size, and use stitch markers to identify the relevant boundaries. Keep the linked pattern’s diagrams or video nearby for this stage.
6. Finish the body and check its dimensions
Once the full body section is complete, lay it flat without stretching. Compare the measured length and width with the selected size. Small differences can come from yarn, tension, or how the fabric relaxes, but a large difference is a signal to recheck gauge and row counts before sewing. This is much easier to fix before the seams are closed.
7. Crochet two sleeves
The published pattern begins each sleeve with a chain of 61 stitches for all six sizes, then uses size-specific row counts to build the sleeve. Work the same stitch texture and keep the first and last stitches easy to identify. Measure both sleeves as you go so they match in length and width; put a marker in the first sleeve where you finish and use it as a guide for the second.
8. Seam the garment in a controlled order
Lay the body with the right side facing as directed and fold the front sections into position. Join the shoulder edges with a yarn needle, keeping the seam flexible but secure. Close each sleeve seam, then set the sleeve into its armhole, matching the top of the sleeve with the shoulder seam and distributing the remaining fabric evenly. Use several markers before sewing to prevent twisting or puckering.
9. Add the ribbed front and neckline band
The finishing band is worked as a narrow ribbed strip and attached around the inner front opening and neckline. The designer starts this strip with a chain of 9; continue it to the length required by the garment edge, then sew it on without stretching either piece. Stitch markers spaced around the neckline help distribute the band evenly and make the final edge look balanced.
10. Weave in, shape, and try it on
Secure yarn tails on the wrong side, then gently block according to the fiber label. Avoid pulling the raised stitch columns flat. Let the cardigan dry fully before trying it on, and check sleeve comfort, front drape, and hem position over the layer you plan to wear beneath it.
Six Color Ideas for the Same Cardigan
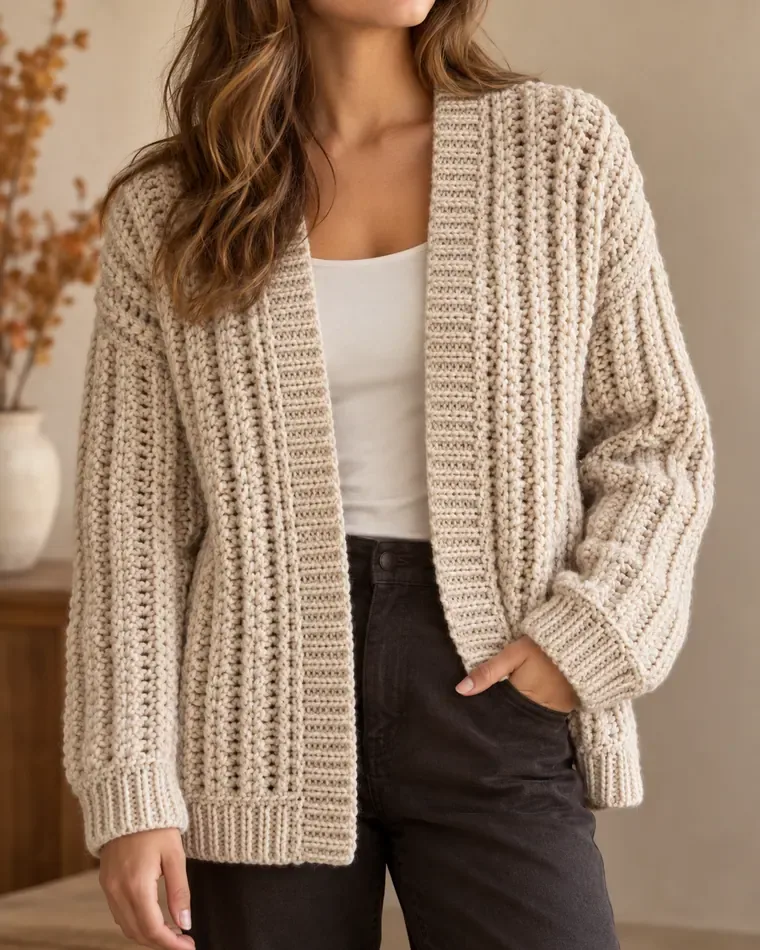
The stitch texture is already the main design feature, so a solid shade is a reliable choice for a first version. The cardigan’s shape and stitch placement stay the same in each option below; changing color changes the mood without adding extra construction steps. Use the photos as original colorway illustrations rather than exact representations of a specific yarn brand or shade.
Burnt sienna: the classic autumn choice
A rusty burnt sienna brings out the warm, dimensional look of the raised columns. Wear it with dark denim, cream, camel, or charcoal. It is the strongest seasonal option if you want the finished cardigan to look cozy and noticeable without using multiple yarn colors.
Oatmeal cream: a versatile neutral
Oatmeal works with almost everything and makes the cardigan suitable beyond autumn. Pair it with blue jeans, black trousers, floral dresses, or earthy skirts. A slightly heathered neutral can add depth, but choose a yarn with clear stitch definition so the brioche texture does not disappear.
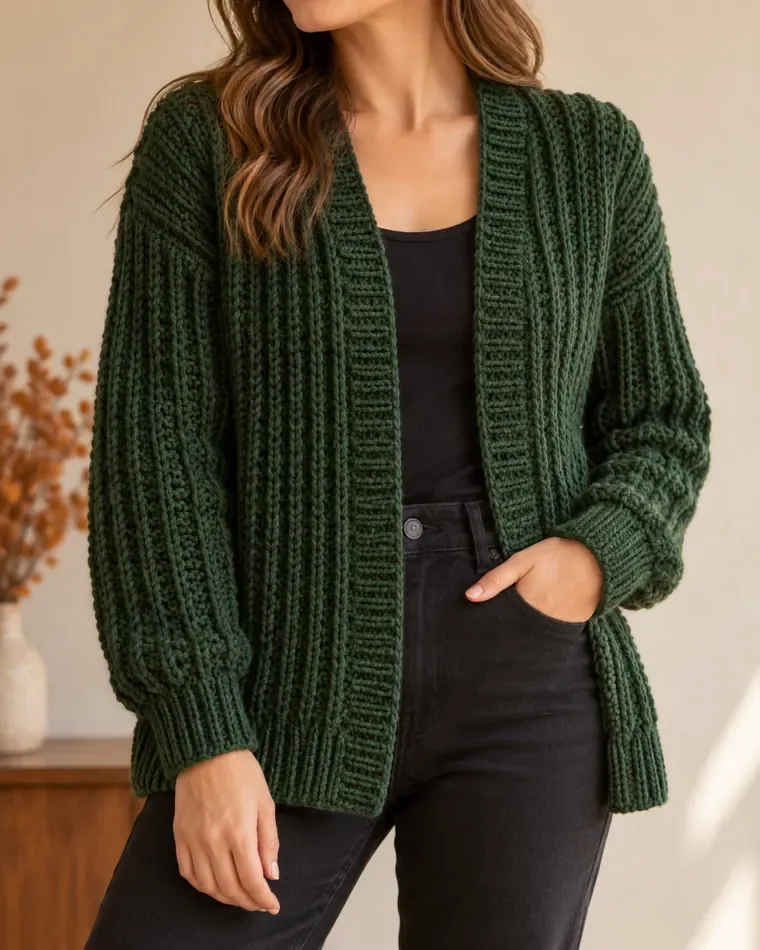
Forest green: rich and understated
Deep green feels seasonal but less expected than rust. It pairs naturally with cream, tobacco brown, black, and denim. Because dark yarn can make it harder to see individual stitches while working, use good lighting and place a removable marker at the start of each row.
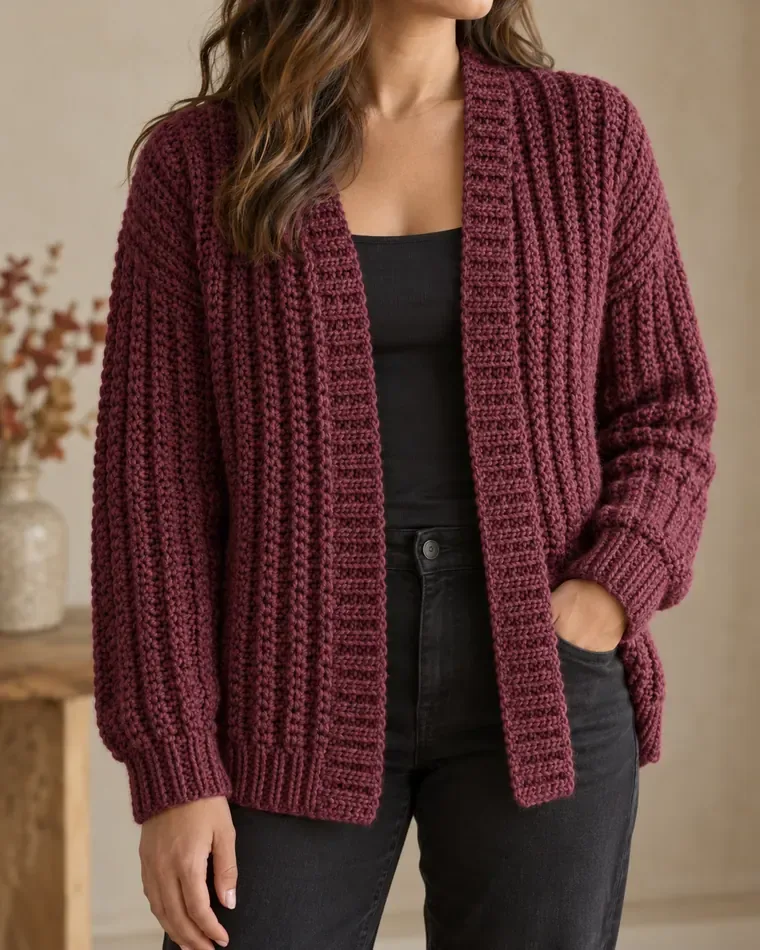
Berry wine: a softer statement shade
Muted berry or wine gives the cardigan color while remaining easy to style. It looks especially good with charcoal, navy, cream, and faded denim. This shade can be a good alternative if you want something warmer than blue but less earthy than rust.
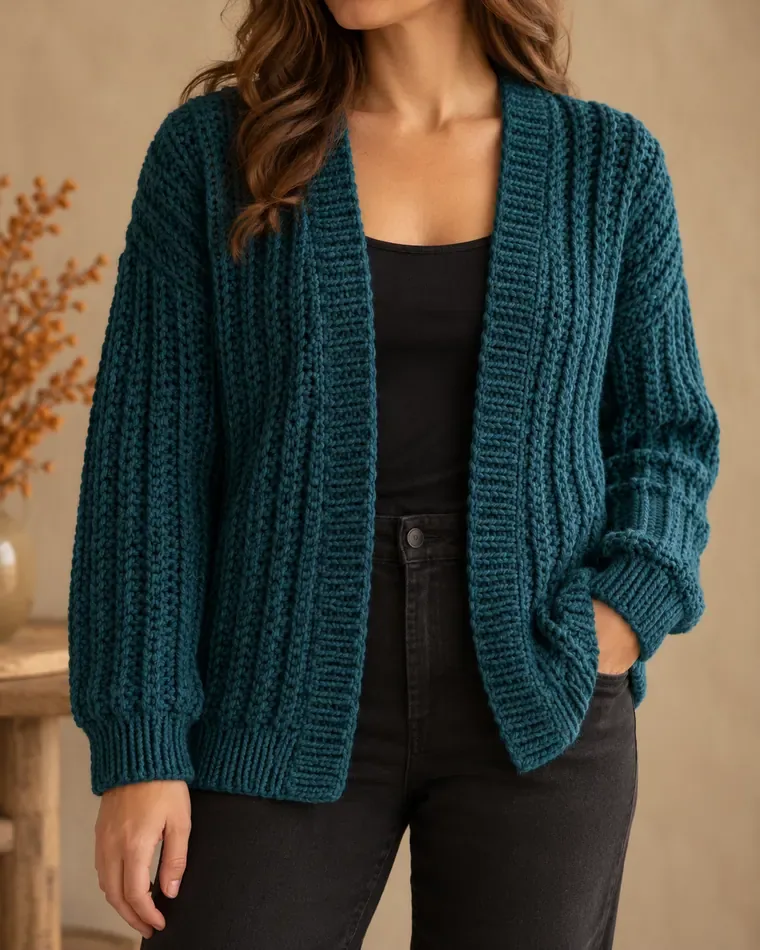
Deep teal: cool contrast for autumn basics
Deep teal sits between blue and green, making it a useful accent with black jeans, beige trousers, or a simple white tee. Choose a saturated teal rather than a very bright one if you want a calm, wearable result. Check the yarn under daylight, because teal shades can shift noticeably between indoor and outdoor lighting.
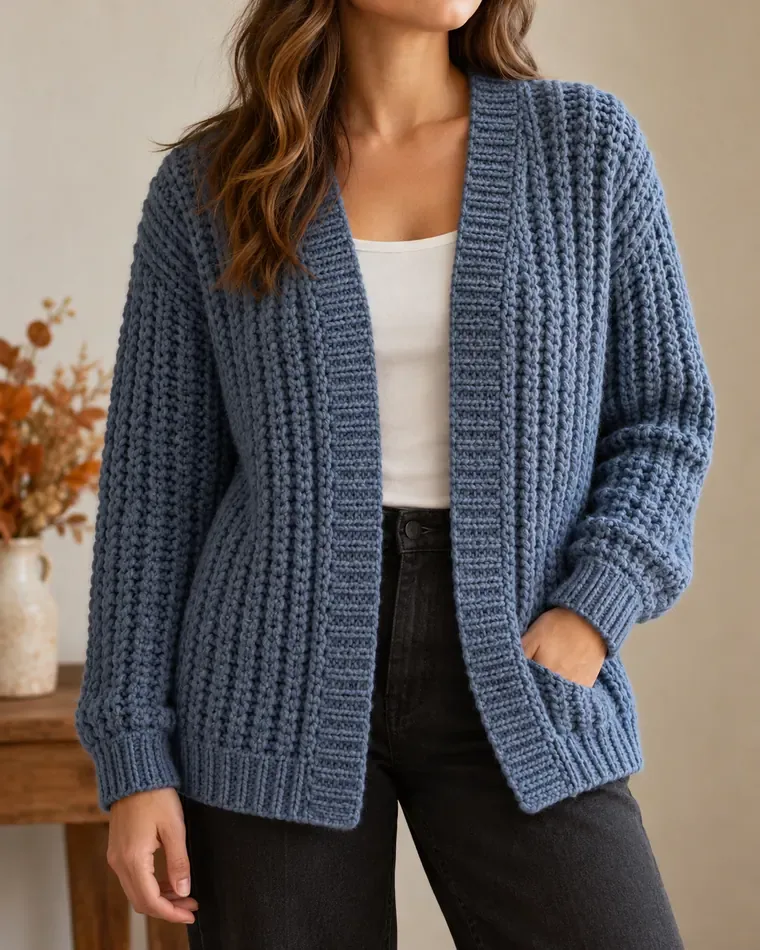
Slate blue: calm and easy to layer
Slate blue gives the cardigan a softer, quieter finish than navy. It works with cream, gray, denim, and muted rose. If choosing a pale blue, swatch before buying all the yarn: pale colors reveal stitch irregularities more easily, while a slightly heathered shade can disguise minor tension changes.
Tips for a Neater Crochet Finish
- Use a proper gauge swatch. The stitch pattern consumes yarn and behaves differently from a plain fabric. Matching the stated gauge protects the finished measurements.
- Count the border stitches. The edges frame the cardigan and help the ribbed band sit neatly. Use stitch markers if the edge stitches are hard to see.
- Keep a row log. Write down the last completed row and any shaping row you have finished. This is especially useful when working on both sleeves separately.
- Check the texture every few rows. The raised stitch should form consistent columns. If the fabric suddenly looks flatter, inspect the placement before continuing.
- Do not pull the yarn tight. A tight tension makes the fabric rigid and can make the next row difficult to work into. Let the hook move freely and adjust hook size if needed.
- Compare both sleeves before seaming. Match their lengths and check the cuffs side by side. Small differences are easier to fix before the sleeve seam is closed.
- Pin before sewing. Mark the shoulder points and sleeve centers, then distribute the sleeve evenly around the armhole. This helps prevent a twisted sleeve cap.
- Test blocking on the swatch. Acrylic, wool, and blends respond differently to steam and water. Follow the yarn label, and never apply heat directly unless the fiber permits it.
- Buy enough yarn from the same dye lot. The pattern uses 7–9 balls depending on size. A substitution or longer sleeves can require extra yardage, so use meterage and allow a small cushion.
- Photograph your progress. A quick picture before you put the work away can help you remember which side is the right side and where the shaping began.
If you would like to compare another textured cardigan construction before choosing your next project, take a look at our Wetherby Crop Cardigan size and construction guide.
Frequently Asked Questions
Is the Autumn Brioche Cardigan suitable for a beginner?
The designer labels it intermediate. A confident beginner who already knows basic stitches and can follow a repeat may manage it, but the shaping, textured stitch, and seaming make it more comfortable for someone with a few projects completed.
What sizes does the pattern include?
The published pattern covers sizes S, M, L, XL, 2XL, and 3XL. The finished bust measurements range from 42 to 62 inches (about 107 to 157 cm). Use the chart above and the original pattern’s size-specific directions before beginning.
Can I use a different yarn?
Yes, but choose a worsted-weight yarn with a similar drape and match the 13-stitch by 11-row gauge over 4 inches. If your yarn has a different meterage per ball, calculate the total required length rather than buying the same number of balls.
Can I make the cardigan longer or shorter?
The designer notes that the sideways construction allows length changes through the foundation chain. Any adjustment can affect yarn use and how the body shaping aligns, so check the source pattern’s modification guidance and make a swatch before changing the chain count.
Do the sleeves use different starting chains by size?
The source pattern uses a 61-chain sleeve foundation for all listed sizes and varies the row count by size. Follow its exact instructions for sleeve length and shaping, and compare the two sleeves before attaching them.
Does the article include the complete stitch-by-stitch pattern?
No. This is a measurement and construction guide that helps you prepare and understand the project. The designer’s page contains the complete written instructions and video tutorial, including the exact stitch placement and size-specific shaping.
Which color is best for showing the stitch texture?
Medium-value shades such as burnt sienna, oatmeal, or muted teal show the raised columns clearly in photographs. Very dark yarn can make individual stitches harder to see while crocheting, so use bright task lighting if you choose forest green or deep wine.
Ready to Begin?
Check your bust measurement, make a gauge swatch, choose your yarn color, and keep the original instructions nearby for the shaping and stitch repeat. The most important accuracy checks are matching gauge, following the selected size throughout, and measuring the finished body before sewing.
When the seams are complete and the ribbed band is attached, you will have a textured open-front cardigan that can be styled with everyday layers throughout the cooler months. Choose the color that best fits your wardrobe, and take your time with the first rows—the stitch will become easier to recognize as the fabric grows.
Follow the complete free pattern by Crochet With Carrie →
Pattern design and full instructions belong to Crochet With Carrie. This guide summarizes the project’s published specifications and construction approach; for the exact stitch-by-stitch pattern, follow the designer’s page and video.