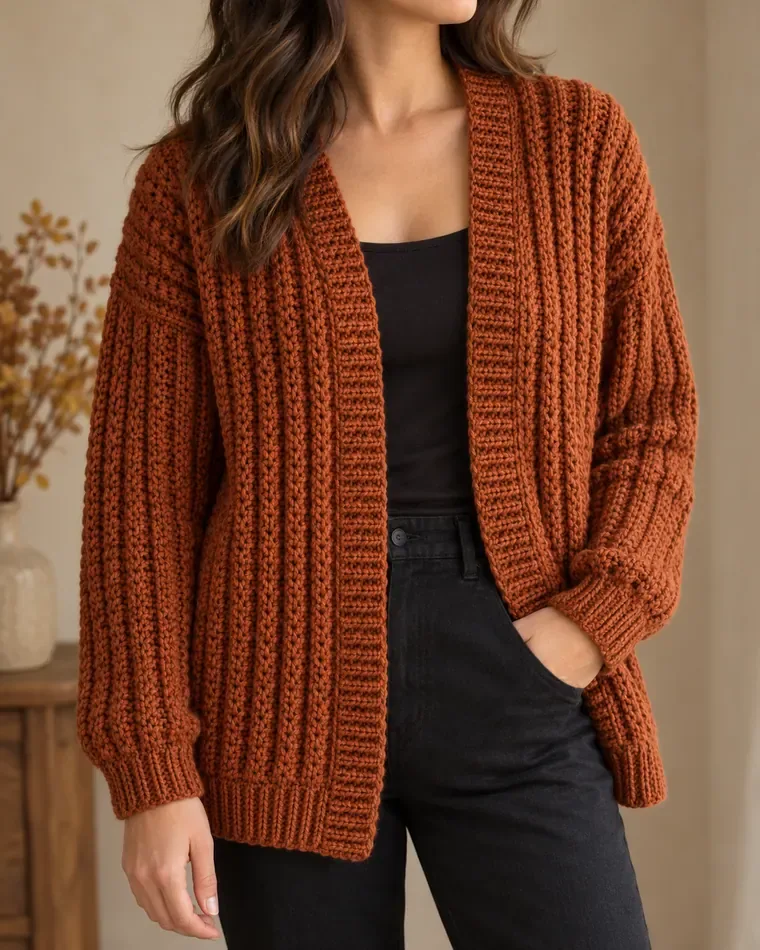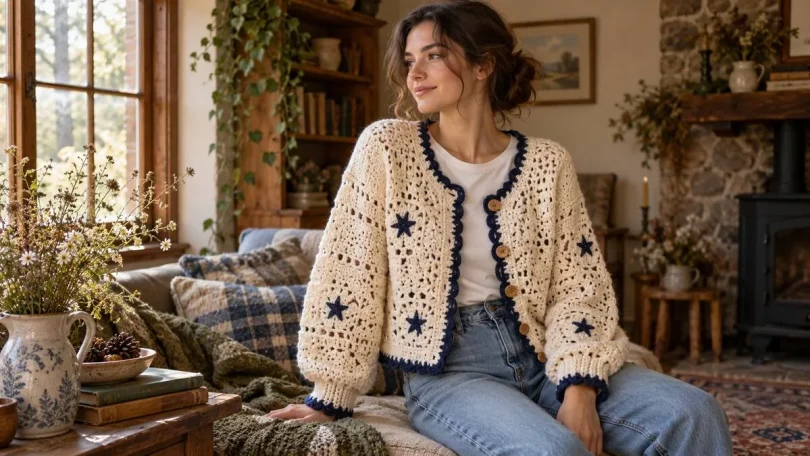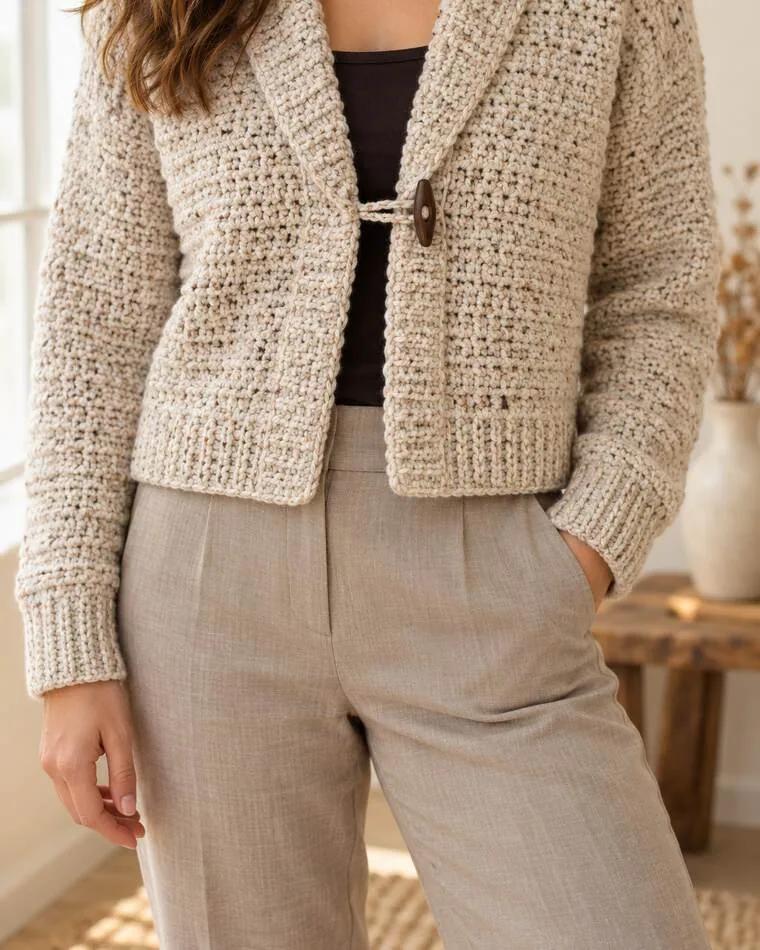
The Wetherby is a textured crochet cardigan designed in a cropped length, with adult sizing from XS to 5XL. This make-along companion helps you choose a size, prepare the right amount of yarn, check your gauge, and understand how the pieces come together before you begin.
Pattern source: the designer, HanJan Crochet, provides the complete Wetherby instructions on the original pattern page. The measurements and yarn estimates below are taken from that page; centimetre and metre figures are rounded conversions. Use the designer’s size-specific stitch and row counts as you crochet.
What you will make
This is a relaxed cropped cardigan with a substantial textured fabric, long sleeves, and a collar. The designer’s broader Wetherby pattern collection also includes longer lengths and optional details such as pockets, a belt, and collar or fastening variations. Check the pattern page to see which options are included in the free on-page instructions and which are part of the printable PDF.
The pattern is written in US crochet terms. Its construction is approachable for garment makers who are ready to work from a size chart, keep track of shaping, and seam pieces neatly. You can also follow the linked video tutorial while working through the official instructions.
Materials for the cropped version
- Yarn: approximately 875–1,525 yd (800–1,394 m), depending on size. The designer’s sample yarn is Brava Tweed by WeCrochet, listed as 100% acrylic, 218 yd (200 m) per 100 g. Choose a yarn that lets you match the stated gauge; a different fiber or texture may change the drape and yardage.
- Main hook: 5.5 mm (I/9), or the size needed to match gauge.
- Smaller hook: 5 mm (H/8) for the collar or finishing sections where the pattern specifies it.
- Tools: scissors, tapestry needle, measuring tape, and a few stitch markers to mark the armholes and garment sections.
The yardage is an estimate for the cropped version. Longer lengths, pockets, or other custom options need additional yarn; use the designer’s instructions for those versions and allow extra yarn if you are between amounts or substituting a different yarn.
Wetherby size chart and finished measurements
Choose your size from your body chest measurement, then compare the finished circumference with a cardigan you already like. The finished garment is designed with roughly 4.5–6 in (11–15 cm) of positive ease over the body chest measurement, depending on size.
| Size | Body chest to fit | Finished width laid flat | Finished garment circumference | Armhole depth | Approx. yarn |
|---|---|---|---|---|---|
| XS | 30 in / 76 cm | 17.5 in / 44 cm | 35 in / 89 cm | 7 in / 18 cm | 875 yd / 800 m |
| S | 34 in / 86 cm | 19.5 in / 50 cm | 39 in / 99 cm | 7.5 in / 19 cm | 985 yd / 901 m |
| M | 38 in / 97 cm | 21.75 in / 55 cm | 43.5 in / 110 cm | 8 in / 20 cm | 1,035 yd / 946 m |
| L | 42 in / 107 cm | 23.25 in / 59 cm | 46.5 in / 118 cm | 8.5 in / 22 cm | 1,090 yd / 997 m |
| XL | 46 in / 117 cm | 25.5 in / 65 cm | 51 in / 130 cm | 9 in / 23 cm | 1,200 yd / 1,097 m |
| 2XL | 50 in / 127 cm | 27.5 in / 70 cm | 55 in / 140 cm | 9.5 in / 24 cm | 1,255 yd / 1,148 m |
| 3XL | 54 in / 137 cm | 29.75 in / 76 cm | 59.5 in / 151 cm | 10 in / 25 cm | 1,265 yd / 1,157 m |
| 4XL | 58 in / 147 cm | 31.75 in / 81 cm | 63.5 in / 161 cm | 10.5 in / 27 cm | 1,420 yd / 1,298 m |
| 5XL | 62 in / 157 cm | 34 in / 86 cm | 68 in / 173 cm | 11 in / 28 cm | 1,525 yd / 1,394 m |
Length notes: the cropped cardigan length is 16 in (40.6 cm) across sizes, and the sleeve length is 18.75 in (47.6 cm) across sizes. The listed finished width is measured flat; the finished circumference is approximately twice that width. The original pattern page is the authority for the selected size and any grading details.
For a closer fit, do not automatically size down: first check the finished garment circumference and armhole depth. If you are between sizes, consider how you plan to layer the cardigan and compare the chart with a garment whose fit you enjoy.
Gauge: check this before making the cardigan
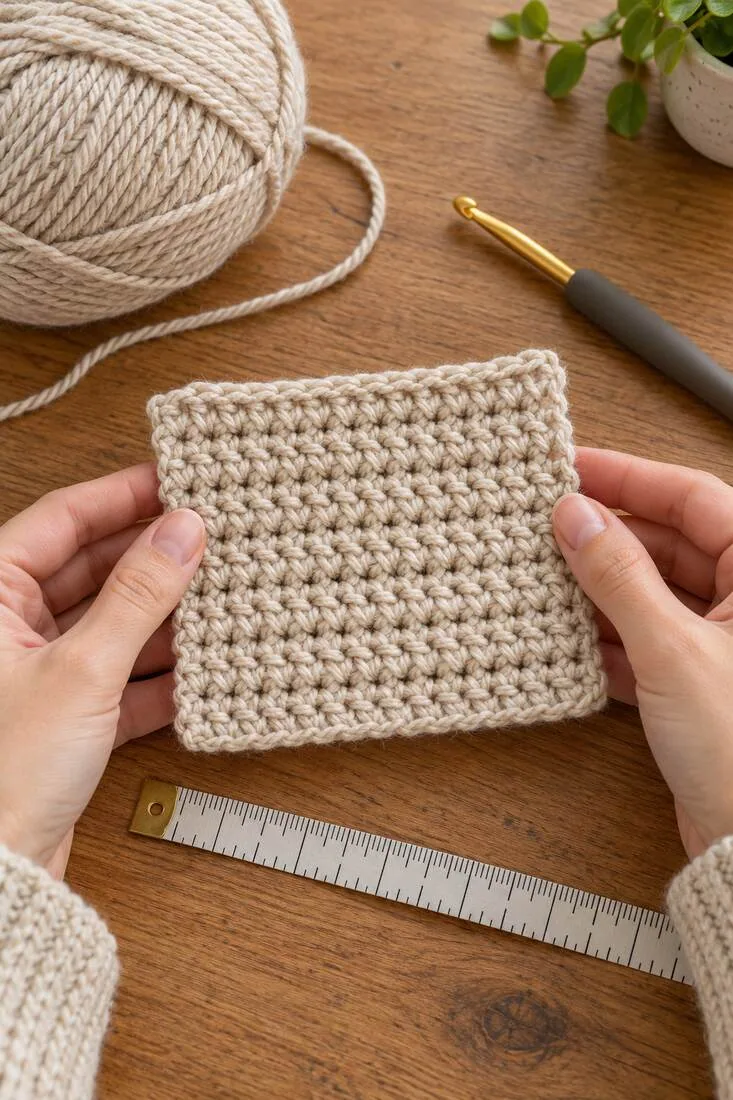
The pattern’s stated gauge is 12 stitches and 11 rows over 4 × 4 in (10 × 10 cm) in the main set pattern, using a 5.5 mm hook or the hook size needed to match. Make the swatch in the same stitch pattern and yarn you plan to use, then block it as you intend to care for the finished cardigan before measuring.
- If you have more stitches across 4 in than the pattern calls for, try a larger hook.
- If you have fewer stitches across 4 in, try a smaller hook.
- Recheck the row gauge as well: it affects the length and shaping of a garment worked sideways.
A small swatch can save a lot of reworking. Measure the center 4 in (10 cm), avoiding the edges, and only begin the cardigan when your blocked swatch is close to both stitch and row gauge.
How the cardigan is constructed
The body is crocheted sideways as one connected front-and-back piece. The rows run vertically when the cardigan is worn, and the shaping creates a U-like outline around the neckline and armholes. The sleeves are made separately, attached to the armholes, and then the underarm and side seams are closed. The collar is worked along the front and neckline edges.
This construction means stitch markers and a row counter are useful: they help you identify where each shaping section begins and where the neckline is formed. Keep the right side and wrong side clearly marked as you work.
Step-by-step make-along guide
1. Prepare your yarn and confirm your size
Measure your chest over the kind of top you expect to wear under the cardigan. Match that measurement to the “body chest to fit” column, then check the finished circumference and width. Gather enough yarn from the same dye lot, especially if you are making a larger size.
2. Make and measure your gauge swatch
Use the main hook and the designer’s swatch instructions. Wash or block the swatch the way you will care for the cardigan, let it dry fully, and count stitches and rows over the center 4 in (10 cm). Change hook size if needed and repeat the swatch until both measurements are close.
3. Crochet the body sections in order
Follow the official instructions for your size through the first armhole shaping, the straight panel, the back-neck opening, the second straight panel, and the second armhole shaping. The stitch counts change by size, so keep to one size line throughout rather than mixing numbers from neighboring sizes. Place markers at each transition and tick off every completed row.
4. Make two matching sleeves
Work the sleeve instructions twice, checking that both sleeves have the same length and cuff treatment. The pattern offers cuff choices; follow the selected version consistently. If you want a sleeveless vest, the designer notes that the sleeves can be omitted, but still use the official finishing instructions for the armhole edges.
5. Add the collar and chosen fastening
Choose the collar style and fastening option available for the version you are making. Work the collar evenly along the front edges and neckline, checking that it lies flat or rolls as intended. Attach toggles or other closures securely, measuring their placement so the fronts meet evenly.
6. Assemble and finish
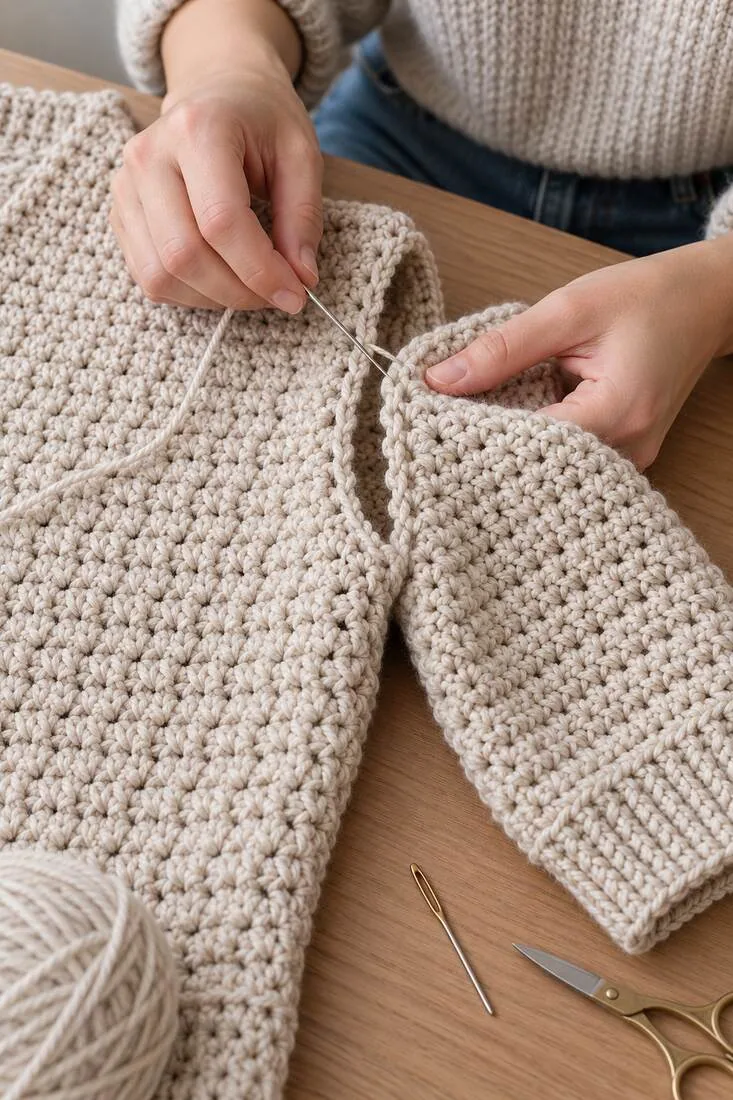
Block the pieces to the measurements before seaming. Attach each sleeve to its corresponding armhole with the wrong sides together, then close the underarm and side seams. Weave in the ends securely and try the cardigan on before trimming any remaining yarn tails. Check that both sleeves hang evenly and the front edges meet comfortably.
Stitch terms used in the pattern
The original instructions use US abbreviations. These are the main terms you may see while following the pattern:
- ch: chain
- sc: single crochet
- hdc: half double crochet
- Exhdc: extended half double crochet
- ss: slip stitch
- blo / flo: back loop only / front loop only
- RS / WS: right side / wrong side
If US and UK terminology is unfamiliar, double-check the abbreviations before starting: stitch names differ between the two systems.
Tips for a neat, comfortable finish
- Keep edges even: count stitches at the end of shaping rows and use markers where the pattern indicates transitions.
- Check the fit as you go: lay the body flat and compare its width with the size chart before adding the sleeves.
- Seam without pulling: use a relaxed, consistent mattress or whip stitch so the underarm does not feel stiff.
- Block gently: shape the pieces to the listed measurements without stretching the fabric beyond your gauge.
- Plan optional details early: pockets and longer lengths affect yarn use and proportions, so follow the matching option from the designer’s pattern.
Frequently asked questions
Is the Wetherby cardigan beginner-friendly?
The designer presents it as an accessible garment pattern. It is most comfortable for someone who can work the listed stitches, read size-specific counts, track shaping, and sew seams. If this is your first wearable, make the gauge swatch and take the body sections one at a time.
Does the pattern include plus sizes?
Yes. The adult size range runs from XS through 5XL. Use the “body chest to fit” measurement to choose a size and check the finished circumference for the amount of ease.
Can I make the Wetherby longer or add pockets?
The designer offers longer lengths and optional features in the wider Wetherby pattern collection. The free blog instructions focus on the cropped version; check HanJan’s page and printable pattern listing for the exact options and yardage for each version.
Where can I find the full row-by-row pattern?
Open the official HanJan Crochet pattern page linked above. The free on-page instructions are in US terms; the designer also offers an ad-free printable PDF with additional options.
A closer look at the crochet details
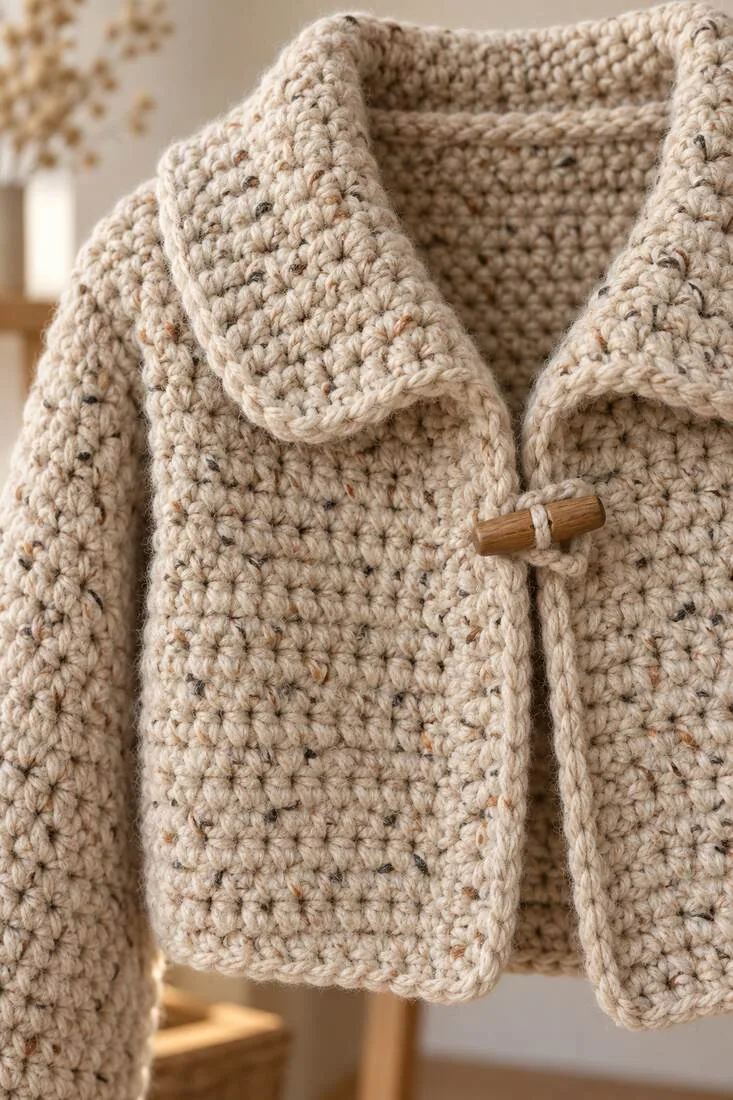
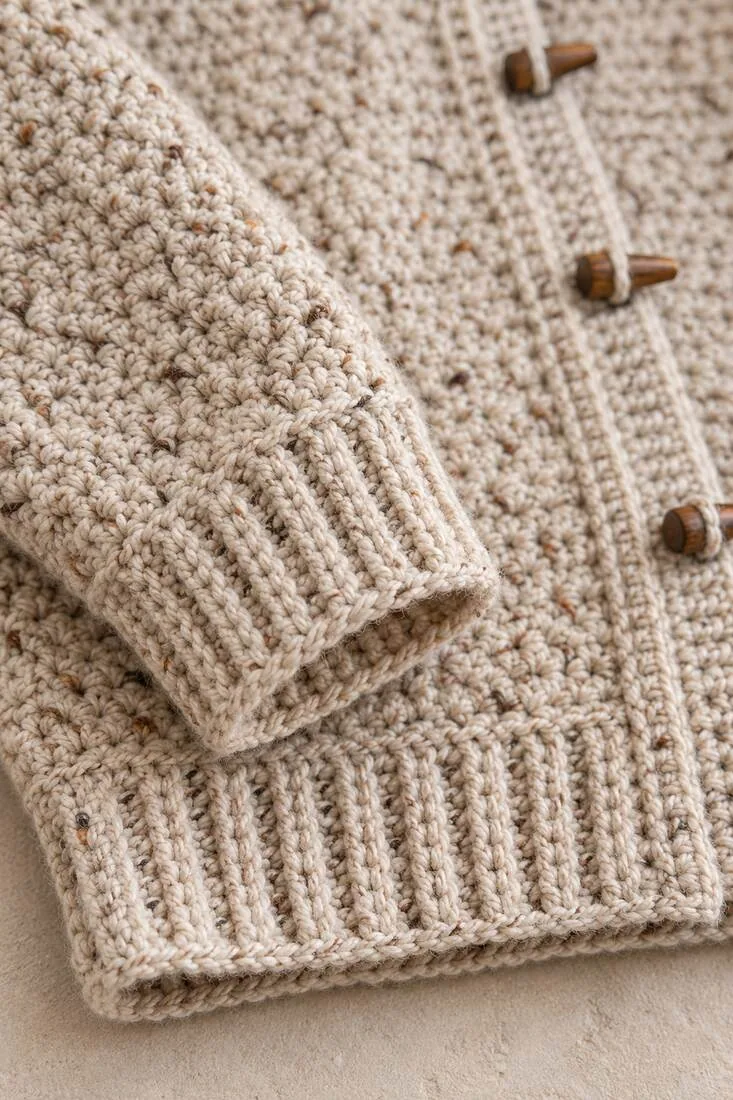
For more ideas, browse our Crochet Cardigan Pattern category and our guides to colorful textured crochet cardigans and lightweight lace cardigans.
Pattern design and full instructions are by HanJan Crochet. This guide summarizes sizing, materials, and construction to help readers plan and follow the designer’s pattern.