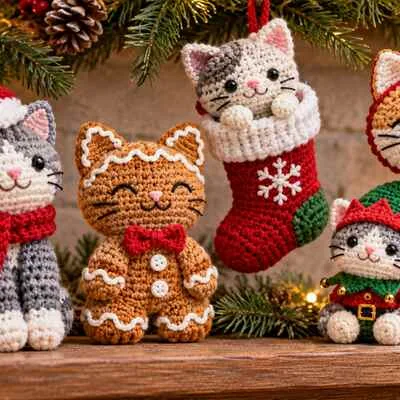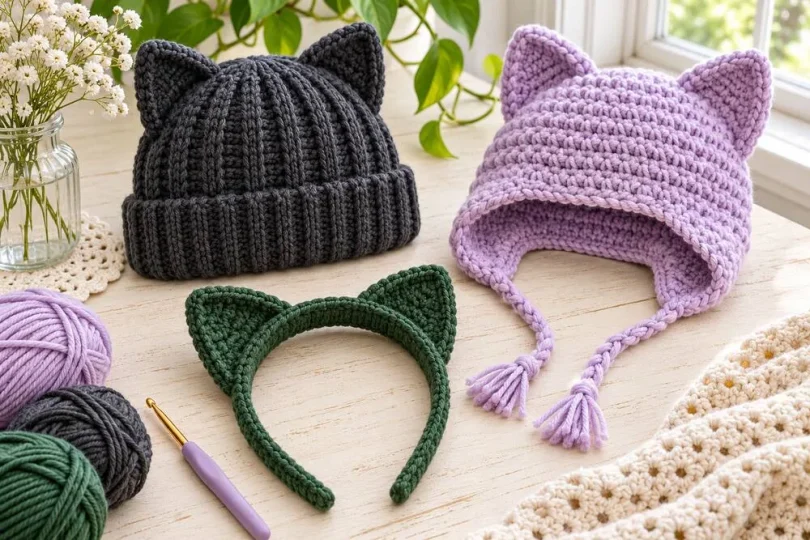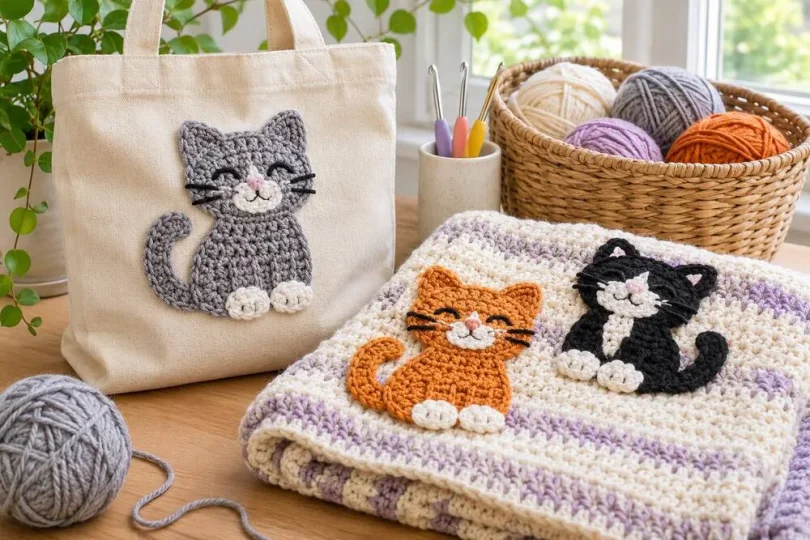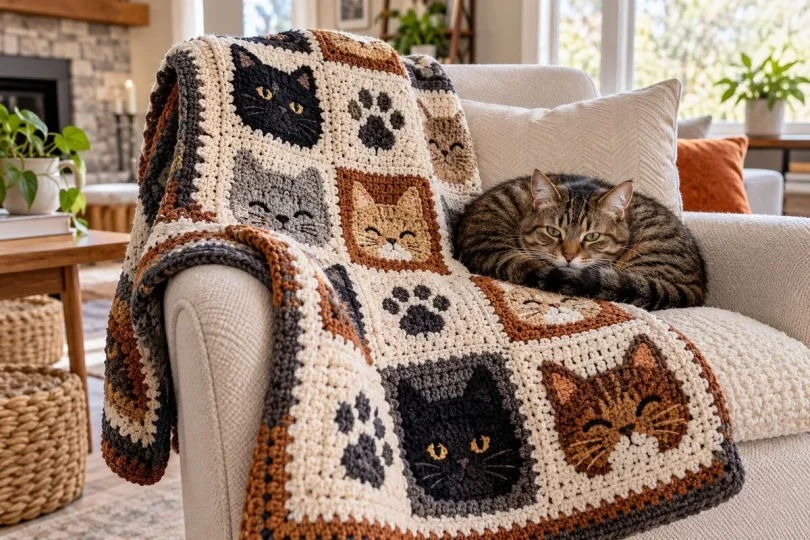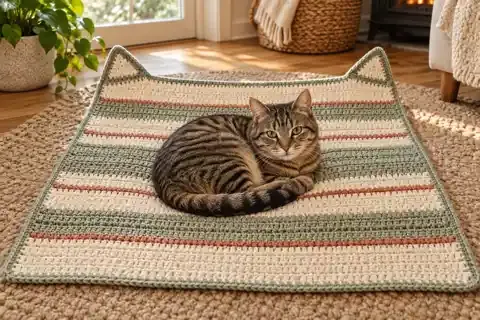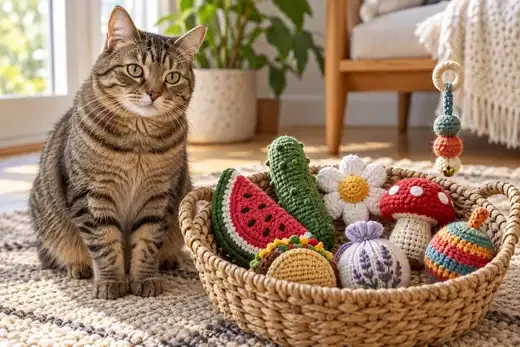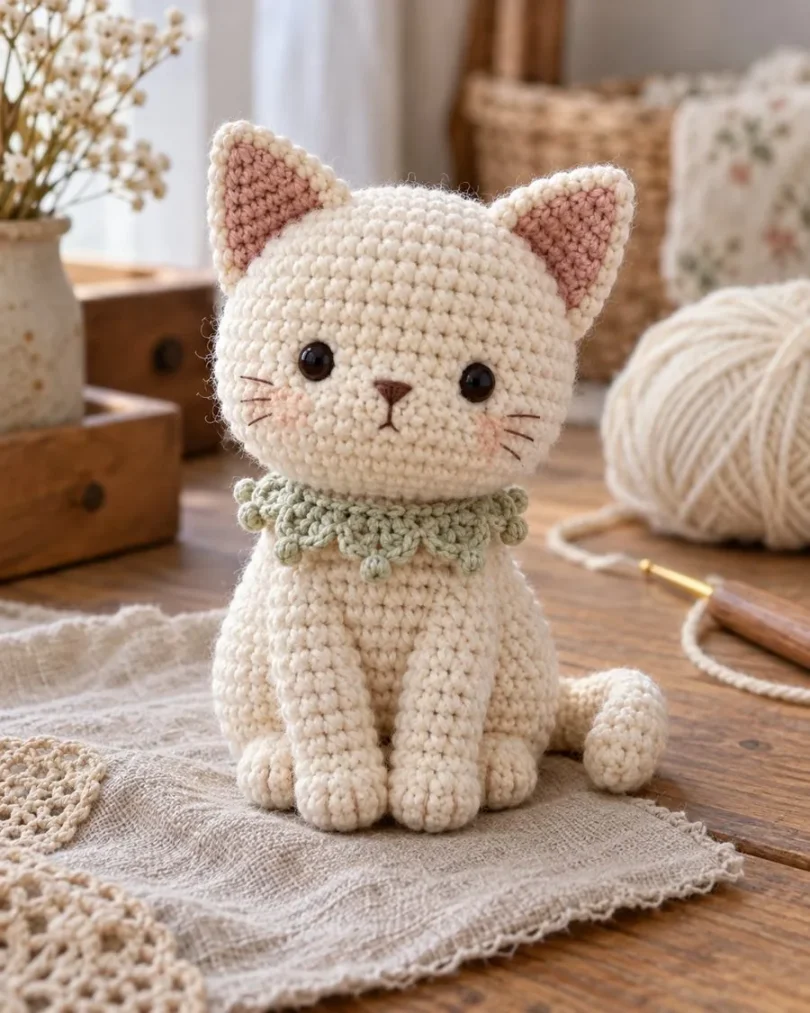
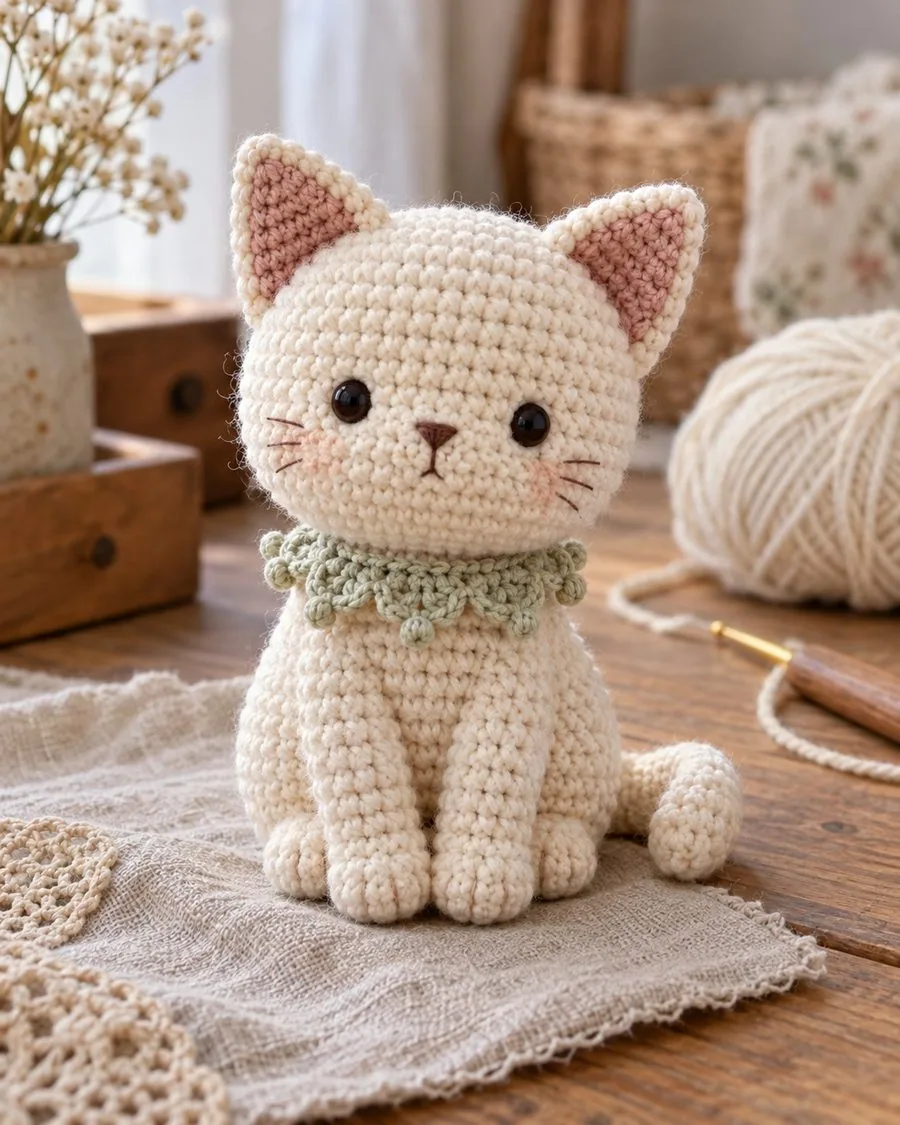
Looking for a small amigurumi project with a little extra personality? This original mini crochet cat has a rounded head and body worked as one piece, tiny crocheted ears and paws, an embroidered face, and a separate lacy collar. The project is designed to be approachable for a confident beginner who is comfortable with single crochet, increases, decreases and simple sewing.
Trend note: Pinterest’s 2026 Hobbies Trend Report places “unique amigurumi” under its “Casual Crafter” category and reports year-over-year search growth of 56%. Pinterest’s separate 2026 Predicts trend “Laced Up” notes crochet as part of the look, including crocheted phone cases. Neither report identifies this specific cat pattern as an official Pinterest trend, and Pinterest has not published a 2027 Predicts report as of October 26, 2026. This design is our own small-project interpretation of those 2026 craft and crochet signals, with an idea to carry into 2027—not a Pinterest-endorsed pattern.
The aim is to give you an actual project to make, not just a trend mood board. The instructions below include materials, stitch abbreviations, round-by-round shaping, assembly, collar details, color options and troubleshooting notes. Use the pattern as written for a small cat, or adjust yarn and hook together to make a larger, softer plush.
Video companion for a similar mini cat
This lacy-collar cat is an original pattern written for this page, so there is no separate creator video or PDF for this exact design. If you would like to watch someone make a small cat amigurumi, the free Mindy the Cat Amigurumi video by DIY Fluffies is a helpful visual companion for the general process of crocheting and assembling a cat. It is a different pattern: use the round counts and collar instructions on this page to make our lacy-collar version.
The linked tutorial is presented as a free beginner-friendly cat amigurumi video in English and Dutch. Its finished cat, materials and construction are not identical to this pattern, so follow our written instructions for the exact head-and-body shaping, embroidered features, ears, paws, tail and scalloped collar.
Project overview
- Finished size: approximately 4½–5 inches (11–13 cm) tall, depending on yarn, hook and tension.
- Skill level: confident beginner; the body is worked in continuous rounds and small pieces are sewn on.
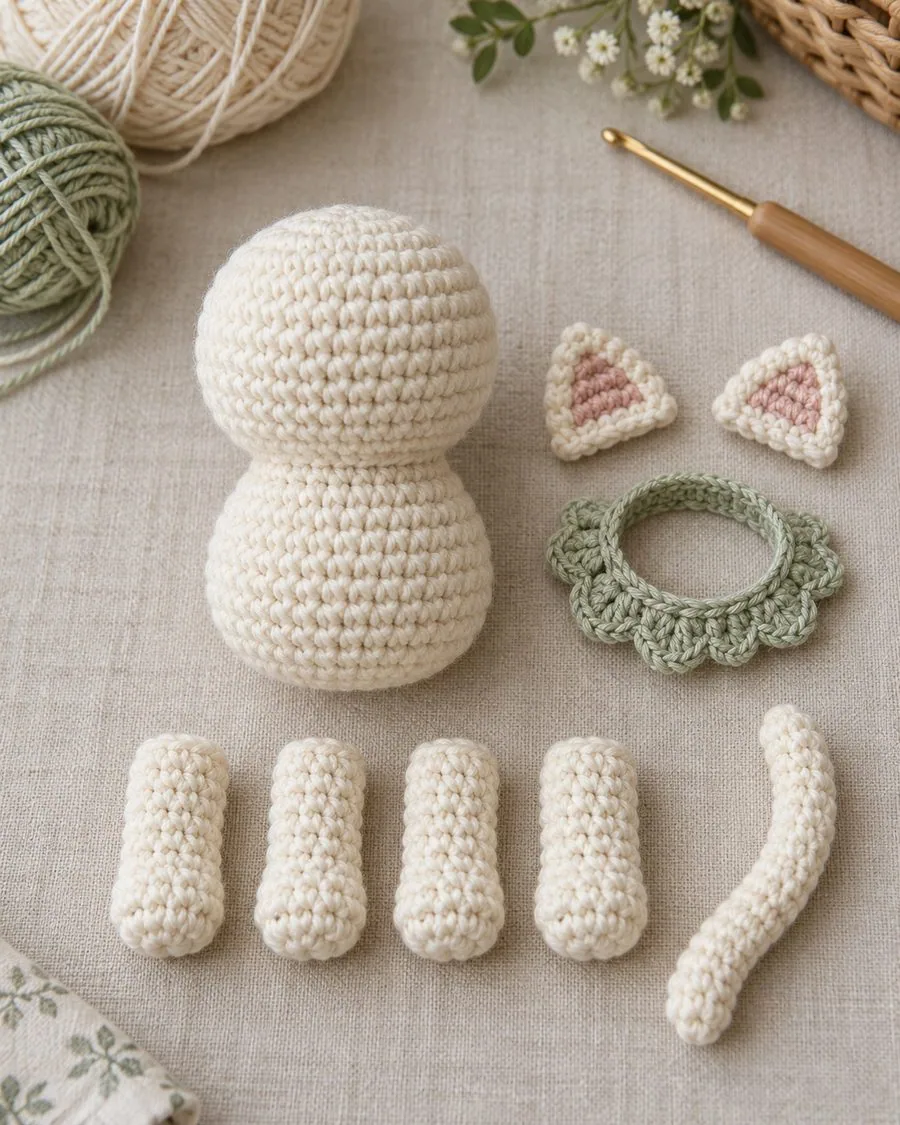
- Construction: one-piece head and body, two triangular ears, four simple paws, a cord tail and a separate collar strip.
- Terms: US crochet terminology.
- Use: display plush, shelf buddy, handmade gift or bag charm inspiration. If you plan to use it as a keychain, attach hardware securely through the body rather than the collar.
Materials and tools
- DK/light worsted cotton or cotton blend in one main color, about 35–45 g.
- A small amount of contrast yarn for the collar and inner-ear detail.
- 2.75–3 mm crochet hook, or a hook that produces a firm fabric without gaps.
- Washable toy stuffing.
- Small amount of black and rose embroidery floss or fine yarn for the face.
- Tapestry needle, scissors and a stitch marker.
- Optional: a few pins to hold the ears, feet and collar in position before sewing.
Choose a hook smaller than the one you might use for a flat scarf in the same yarn. Amigurumi stuffing should not show through the stitches. A swatch is useful: if the fabric looks open, go down a hook size; if it feels difficult to insert the hook, go up slightly.
Abbreviations and special stitches
- MR: magic ring
- ch: chain
- sc: single crochet
- sl st: slip stitch
- inc: work 2 sc in the same stitch
- dec: invisible single-crochet decrease over the next 2 stitches
- st/sts: stitch/stitches
Work the head and body in a continuous spiral; do not join the rounds. Move the stitch marker to the first stitch of every round. The number in parentheses at the end of each line is the stitch count for that round. If you are new to amigurumi, count at the end of each round before moving on.
Free mini crochet cat pattern
Head and body (one piece)
Begin at the crown of the head with the main color.
- Rnd 1: 6 sc in a MR. (6)
- Rnd 2: inc in each st around. (12)
- Rnd 3: (sc, inc) six times. (18)
- Rnd 4: (2 sc, inc) six times. (24)
- Rnds 5–9: sc in each st around. (24)
- Rnd 10: (2 sc, dec) six times. (18)
- Rnd 11: (sc, dec) six times. (12)
- Rnd 12: sc in each st around. (12) This short section forms the neck.
- Rnd 13: (sc, inc) six times. (18)
- Rnd 14: (2 sc, inc) six times. (24)
- Rnds 15–20: sc in each st around. (24)
- Rnd 21: (2 sc, dec) six times. (18)
- Rnd 22: (sc, dec) six times. (12)
- Rnd 23: dec six times. (6)
Pause after Round 11 and embroider the face while the opening is still easy to reach. Insert a small amount of stuffing into the head after the face is finished. Add a little more at the neck and shoulders after Round 12, then stuff the body firmly but gradually as you work Rounds 21–23. Do not overfill the lower body: a slightly rounded base helps the cat sit. Cut the yarn, thread the tail through the remaining six stitches and pull closed. Weave in the end.
Face placement and embroidery
Choose the front of the cat opposite the round-start marker. Place two short black embroidered eyes around Rounds 6–7, with approximately four stitches between them. Use a couple of tiny straight stitches for each eye rather than a large knot. Add a small rose or black nose one round below and a short vertical mouth stitch beneath it. Check that the face looks level before securing the yarn ends inside the head.
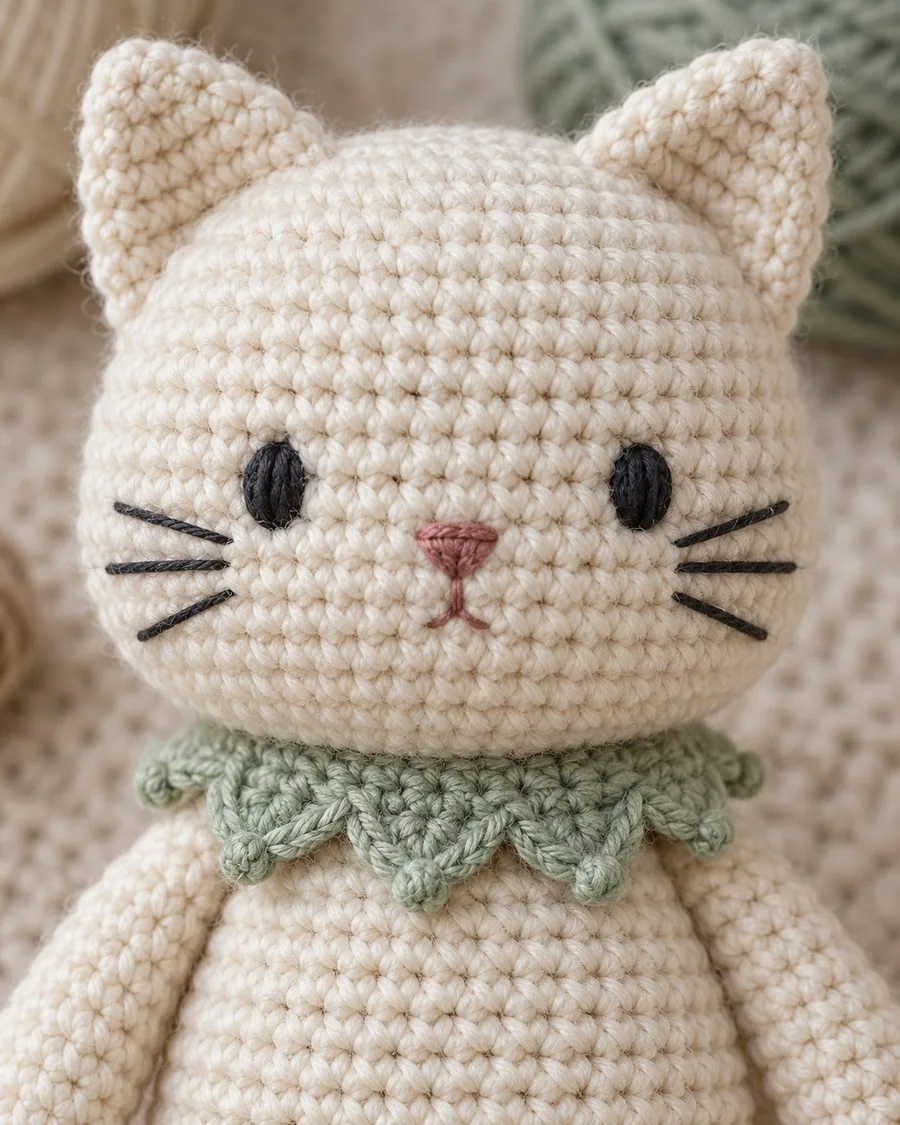
For a child-safe version: use embroidered eyes and nose rather than plastic safety eyes or buttons, and secure every yarn tail firmly. Small crocheted toys contain parts that can come loose, so they are not suitable for babies or children under three unless made and checked to applicable toy-safety standards.
Ears (make 2)
With the main color, ch 5.
- Row 1: sc in the second ch from the hook and in the next 3 ch. (4)
- Row 2: ch 1, turn, sc2tog twice. (2)
- Row 3: ch 1, turn, sc2tog. (1)
Fasten off, leaving a long sewing tail. The ears form small flat triangles. Add a tiny line of contrast yarn or embroidery on each ear if you want a pink inner-ear detail. Pin the ears to the crown with their lower edges about 4–5 stitches apart, then sew them securely through the base of each triangle.
Paws (make 4)
Make four small pieces with the main color. These simple tubes create two front paws and two feet.
- Rnd 1: 6 sc in a MR. (6)
- Rnds 2–4: sc in each st around. (6)
Fasten off, leaving a sewing tail. Add only a pinch of stuffing to each paw, flatten the open end and close it with a few stitches. Sew the two feet side by side at the bottom front of the body. Attach the front paws higher on the body, one on each side, angled slightly toward the belly. Pin all four pieces first and check the cat from the front and side before sewing.
Tail
With the main color, ch 16. Sl st in the second ch from the hook and in each ch across. (15 sl sts) Fasten off, leaving a long sewing tail. The slip-stitch cord gives the tail a little structure; if it feels too tight to work, use a hook 0.5 mm larger for the tail only. Sew it to the lower back, then curve the tip gently to one side.
Scalloped crochet collar
Use a contrast color. The collar is made as a short strip so you can fit it around the neck and sew it in place without pulling it over the larger head.
- Row 1: ch 13; sc in the second ch from the hook and across. (12)
- Rows 2–3: ch 1, turn, sc in each st across. (12)
- Scalloped edge: along one long edge, repeat six times: sl st in the next st, ch 3, sl st in the first chain of that ch-3, then sl st in the next st. Each repeat uses 2 edge stitches and makes one small picot scallop.
Fasten off and weave in the starting end. Wrap the strip around the cat’s neck with the scalloped edge pointing down, overlap the short ends slightly at the back and sew them together on the cat. If the strip is too short or too loose for your yarn and tension, add or remove stitches in pairs before making the scallops; the edge repeat works over two stitches at a time.
Assembly: a tidy order of work
- Finish and stuff the head and body, then close the bottom opening.
- Embroider the face before attaching the ears, while you can still hold the body comfortably.
- Pin the ears at the crown and check their height from the front.
- Pin the feet at the base and the front paws at the sides; adjust until the cat can sit without tipping.
- Sew on the tail at the back, keeping the curved tip clear of the tabletop.
- Fit and sew the collar around the neck. Hide every yarn tail inside the body or collar seam.
Use matching yarn for the seams and take small stitches through the edge loops of each part. A few extra minutes to pin and inspect the face, ears and paws from several angles makes the finished toy look much more intentional.
Four color ideas for your crochet cat
The simple shape works well in different palettes. Keep the face and stitch counts the same, and change only the yarn and collar colors:
- Soft garden cat: warm cream yarn with a sage collar and muted pink ears.
- Midnight cat: charcoal or black yarn with a mustard collar and tiny golden nose.
- Gingerbread kitten: rust or ginger yarn with an ivory collar and pale brown face details.
- Lavender daydream: light lavender yarn with dusty-rose collar and cream nose.
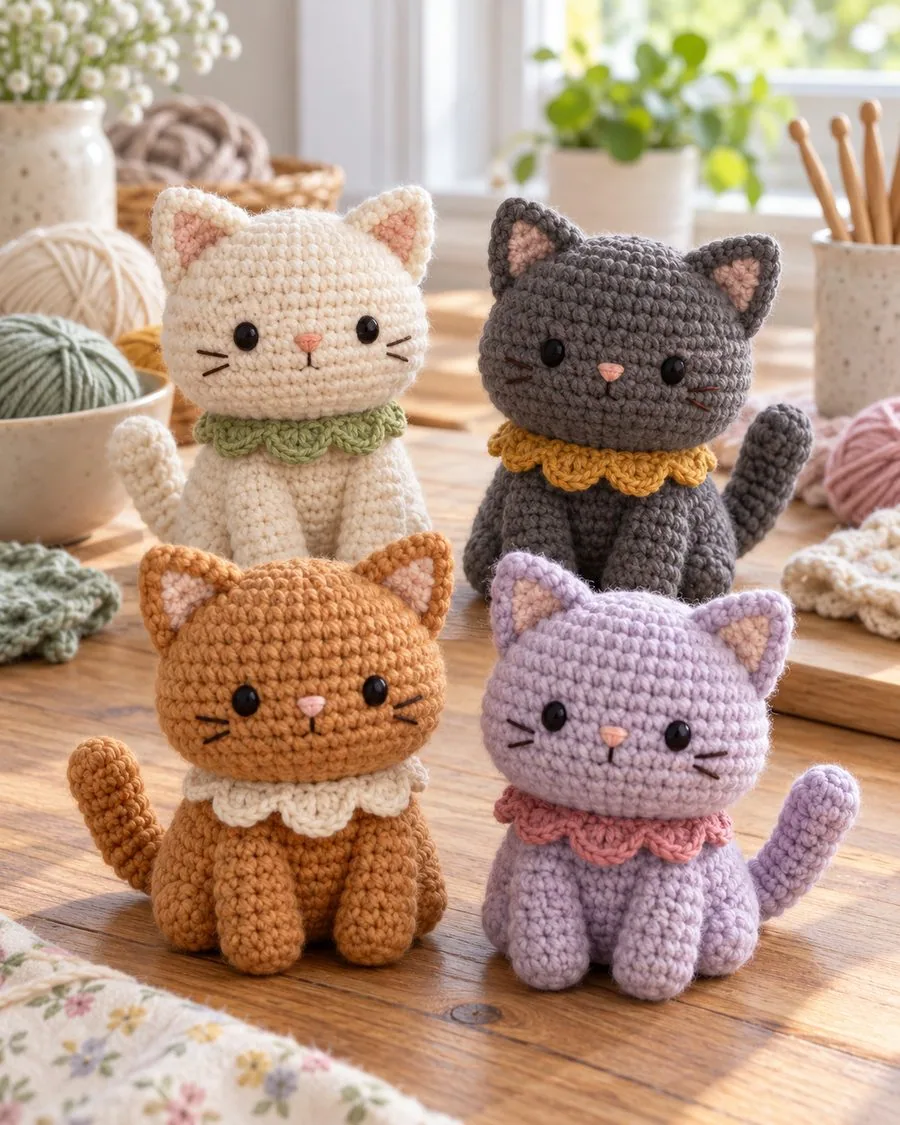
For a scrap-yarn version, use one shade for the head and another for the body, changing color after the neck. Join the new color on the final yarn-over of the last stitch before Round 13. Keep color changes at the back of the cat and weave in the tails as you go.
Tips for a neat, cuddly finish
- Use a marker every round. Spiral rounds can be hard to see, especially in dark yarn. Move the marker up after each first stitch.
- Make invisible decreases. Pick up the front loops of the next two stitches, yarn over and pull through both loops, then complete the single crochet. This keeps the shaping smooth.
- Stuff in small pinches. Add stuffing gradually, shaping the head and body with your fingers. Too much stuffing can stretch the stitches and distort the face.
- Keep the face centered. Mark the front before embroidering. If you find the eyes look uneven, remove and redo them before stuffing fully.
- Pin before sewing. Check ear height, paw position and tail angle from the front, back and side.
- Adapt the size safely. To make a bigger display cat, use a heavier yarn and proportionally larger hook together. Keep the fabric dense enough to hold stuffing; the finished size will change.
- Use washable materials for gifts. Choose yarn and stuffing with compatible care instructions, and include washing guidance if you give the finished cat away.
Troubleshooting
My cat has visible holes between stitches
Try a smaller hook and check that you are not pulling the working loop too high. You can also use a slightly thicker yarn, but keep the hook small enough to create a firm fabric.
The head or body is lopsided
Confirm the stitch count at the end of each round and make sure increases and decreases are evenly spaced. Spiral rounds naturally slant a little; use the marker as the back reference and rotate the piece so the best side faces forward.
The cat will not sit upright
Redistribute the stuffing so the lower body has a flat, rounded base. Move the feet slightly forward and check that both are sewn at the same height. A small amount of stuffing in the paws can help them hold their shape.
Frequently asked questions
Is this a free crochet cat pattern?
Yes. The full written instructions on this page are free to follow for personal crafting. Please link to this page if you share the pattern with another maker, and do not repost the full instructions as your own.
Is the pattern suitable for a first crochet project?
It is best for someone who already knows how to make single crochet stitches, increases and decreases. If you are completely new, practice a small amigurumi ball first, then come back to the body shaping.
Does Pinterest officially list this cat as a 2026–2027 trend?
No. Pinterest’s 2026 Hobbies Trend Report includes “unique amigurumi” under “Casual Crafter,” and Pinterest Predicts 2026 includes the crochet-adjacent “Laced Up” trend. Those signals inspired this design, but Pinterest has not named this pattern or crochet cats specifically as its own trend. A Pinterest Predicts report for 2027 had not been published when this article was prepared.
Can I sell cats made from this pattern?
You may make the finished item for yourself or as a gift. If you plan to sell finished pieces, check the site’s current pattern-use policy and local requirements, and credit this page as the design source when appropriate. Do not copy or sell the written pattern itself.
More cat crochet projects
If you enjoyed this small amigurumi, explore our Crochet Cat Patterns collection, make the cozy cat gnome crochet pattern, or browse our round-up of free cat amigurumi patterns for another project idea.