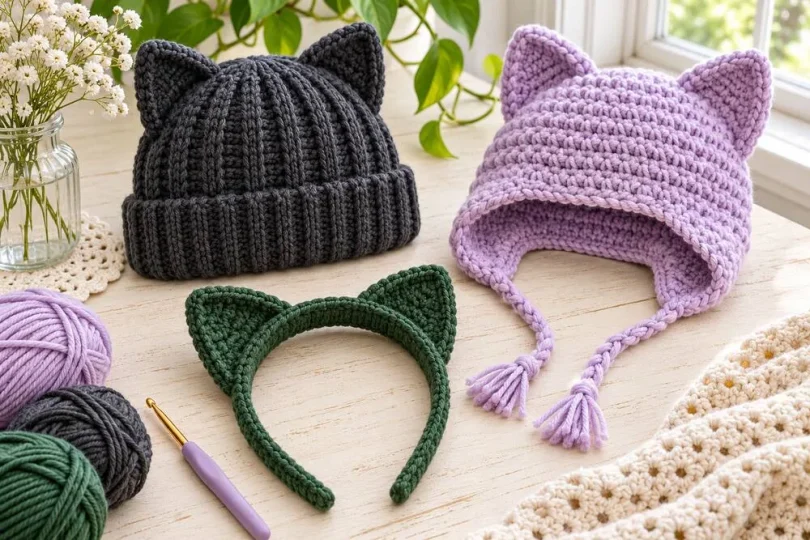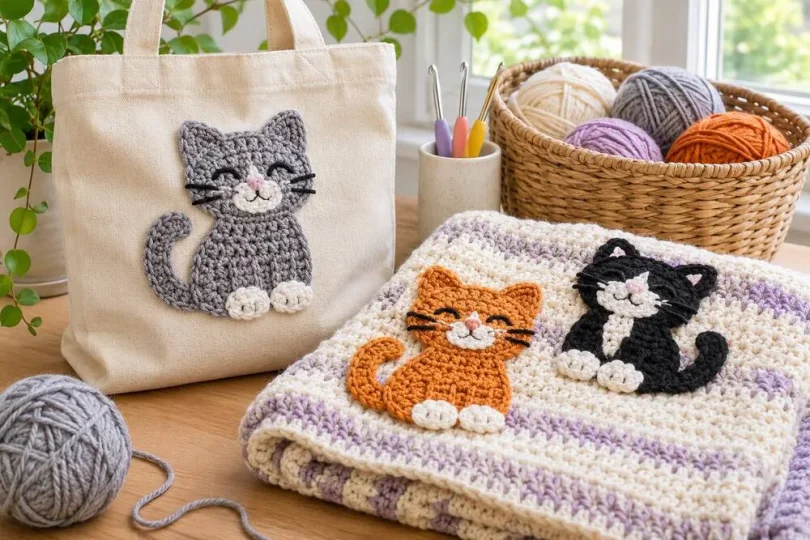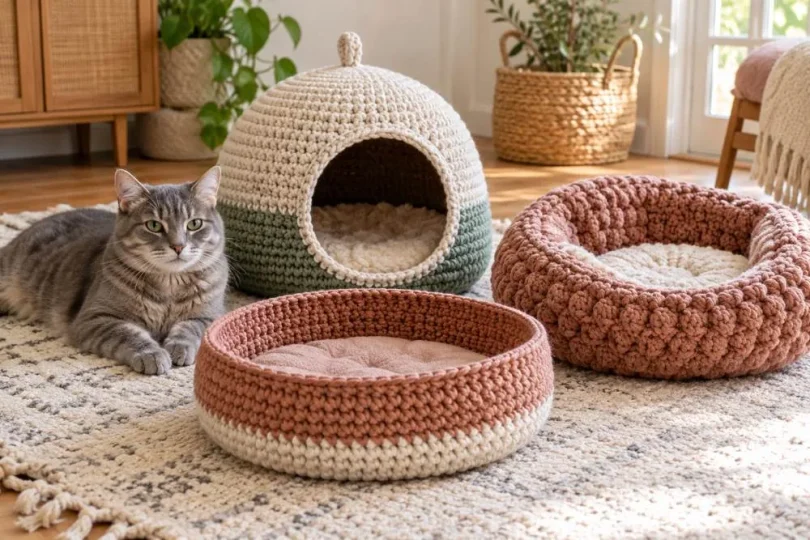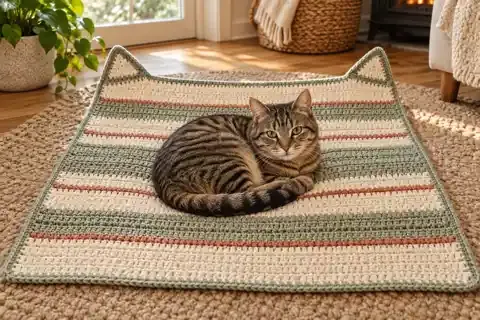
A small handmade blanket can give a cat a familiar place to settle on a sofa, chair or carrier. This original crochet cat blanket uses an easy half-double crochet body, a tidy border and two soft triangular ears attached at the top corners. The result looks playful without using buttons, plastic eyes or a complicated picture chart.
The blanket is worked flat in rows, so you can check its width as you go. The standard body measures about 30 × 30 in (76 × 76 cm); the ears extend the top edge by roughly 3 in (7.5 cm). You can make a smaller or larger version with the sizing guide below. The pattern is written in US crochet terms and is an original design for this article.
Pattern at a glance
- Skill level: confident beginner
- Construction: one flat rectangular body, one simple border, two separate ear triangles
- Standard size: 30 × 30 in (76 × 76 cm), plus the ear points
- Stitches: chain, half double crochet, single crochet and half-double-crochet decrease
- Yarn: medium/worsted weight (#4), approximately 900–1,200 yd (823–1,097 m)
- Hook: 5.5 mm (US I-9), or size needed to meet gauge
Why this crochet cat blanket is beginner-friendly
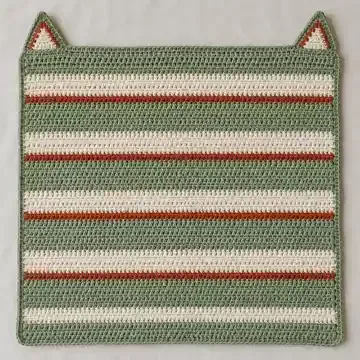
The blanket body uses one stitch across every row: half double crochet. There is no colorwork chart to follow and no separate squares to join. If you want stripes, change colors every few rows and weave the ends in as you go. The ears are two small triangles worked separately and sewn along the top edge, which lets you adjust their position before attaching them permanently.
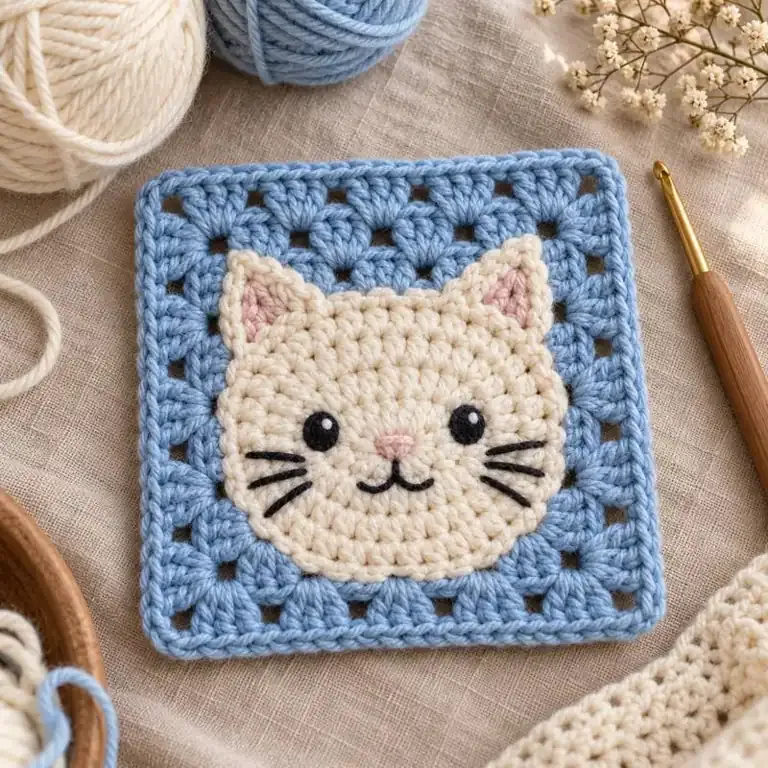
This is different from a graphghan made from cat silhouettes or a blanket assembled from cat granny squares. If you would like to compare motif-based projects, see our five crochet cat granny square patterns. This tutorial keeps the blanket itself simple and adds the cat shape only at its upper corners.
Finished size and easy adjustments
At the stated gauge, the blanket body is approximately 30 in wide by 30 in high. The triangular ears add about 3 in to the top silhouette, making the overall height approximately 33 in. Your finished dimensions can vary with yarn, hook and personal tension, so measure the swatch before committing to the full body.
| Version | Body chains / stitches | Body rows | Approx. body size |
|---|---|---|---|
| Small kitten | 85 chains / 84 hdc | 60 rows | 24 × 24 in (61 × 61 cm) |
| Standard | 106 chains / 105 hdc | 75 rows | 30 × 30 in (76 × 76 cm) |
| Large cat / small lap throw | 127 chains / 126 hdc | 90 rows | 36 × 36 in (91 × 91 cm) |
These stitch counts assume 14 half double crochet stitches and 10 rows measure 4 in (10 cm). Keep the ear triangles proportional to the blanket: use 12 stitches across for the small version, 14 for standard, or 16 for large. The ears are a decorative shape, so you can also keep the standard size on a larger blanket if you prefer smaller points.
Materials for the crochet cat blanket
- Medium/worsted-weight yarn (#4), about 900–1,200 yd (823–1,097 m) for the standard version. This is an estimate; yarn fiber, brand and tension affect the amount.
- 5.5 mm (US I-9) crochet hook, or the size needed to match gauge.
- Locking stitch markers, measuring tape, scissors and a yarn needle.
- Optional contrast yarn for stripes and the inner ear patches.
For a pet blanket, a smooth, washable yarn is convenient because the finished piece will collect hair and may need regular laundering. Check the yarn label for washing instructions. Avoid very loose, fuzzy yarn if your cat tends to chew or pull at fibers; no yarn blanket is chew-proof, so inspect it from time to time and retire it if it starts to unravel.
The yardage above is deliberately a range. Before buying all your yarn, make a gauge swatch at least 6 × 6 in (15 × 15 cm), wash and dry it as you expect to care for the blanket, then measure the center. If your swatch is wider than the target, try a smaller hook; if it is narrower, try a larger hook. Recheck the feel as well as the count—the fabric should be comfortable, not stiff.
Free crochet cat blanket pattern
Abbreviations (US terms)
- ch — chain
- hdc — half double crochet
- hdc2tog — half-double crochet two stitches together
- sc — single crochet
- sl st — slip stitch
- st(s) — stitch(es)
Pattern notes: The turning chain does not count as a stitch. Work the first stitch of each row into the first stitch, not into the turning chain. Count your stitches at the end of the first few rows; the body should remain at 105 hdc for the standard size.
Step 1: Crochet the blanket body
- Foundation: With your main color and 5.5 mm hook, ch 106.
- Row 1: Hdc in the second ch from the hook and in every ch across. You will have 105 hdc. Ch 1 and turn.
- Rows 2–75: Hdc in every st across. At the end of each row, ch 1 and turn. Keep the stitch count at 105.
- Continue until the body measures about 30 in (76 cm) from the foundation edge. If your gauge differs slightly, use the measurement as your guide and stop when the body is square.
To make a simple stripe sequence, work 10 rows in Color A, 2 rows in Color B, and repeat that 12-row sequence six times (72 rows total). Work the final 3 rows in Color A to reach 75 rows. For a two-color design, keep the blanket solid and use the contrast color only for the ears and border. Change colors on the final yarn-over of the last stitch before the new stripe, and weave in each tail securely.
Step 2: Add a neat border
- With the right side facing, join border yarn at a corner. Ch 1 and work sc evenly across the foundation edge, placing about 1 sc in each hdc.
- At the corner, work 3 sc into the corner stitch to turn.
- Along each side edge, work 1 sc in the ends of 3 rows, then 2 sc in the ends of the next 2 rows. Repeat this five-row spacing across the side. For 75 rows, this gives approximately 105 sc along each side.
- Work 3 sc in each remaining corner, then sc across the final edge. Join with a sl st to the first sc.
- Border round 2: Ch 1, sc in every st. In the center stitch of each 3-sc corner group, work 3 sc. Join with a sl st and fasten off.
Lay the blanket flat before fastening off. The border should sit smoothly. If a side ripples, remove a few stitches and space them farther apart; if it pulls inward, add a few more sc along that side. Exact placement depends on your row height and yarn thickness.
Step 3: Crochet two outer ear triangles
Make two matching triangles. Use the blanket’s main color or a contrasting color. For the standard ear, each base is about 14 stitches wide.
- Ch 15.
- Row 1: Hdc in the second ch from the hook and in each ch across. (14 hdc.) Ch 1 and turn.
- Row 2: Hdc2tog over the first 2 sts, hdc across until 2 sts remain, hdc2tog over the last 2 sts. (12 sts.) Ch 1 and turn.
- Rows 3–7: Repeat Row 2, decreasing 2 sts on every row. Your stitch counts will be 10, 8, 6, 4 and 2.
- Row 8: Hdc2tog over the final 2 sts. Fasten off, leaving a long tail for sewing.
For the small version, begin with ch 13 (12 hdc); for the large version, begin with ch 17 (16 hdc). In either case, decrease 2 stitches at the beginning and end of every row until 2 remain, then hdc2tog once to finish the point.
Step 4: Make optional contrast ear centers
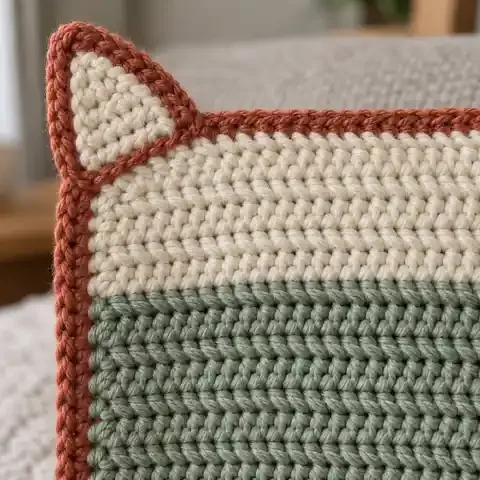
For a two-tone look, crochet two smaller triangles in a third color. Ch 11 and work 10 hdc across for Row 1. On each following row, hdc2tog at both ends until 2 sts remain, then hdc2tog once. Center one patch on each outer ear, leaving an even border visible around it, and sew it down with small, secure stitches. You can skip this step for a cleaner, one-color finish.
Step 5: Attach the ears to the top corners
- Place the blanket flat with the right side facing up. Identify the two top corners you want to shape as ears.
- Align the base of one triangle along the top border, starting at the outside corner and spanning about 14 border stitches (roughly 4 in / 10 cm). The point should face away from the blanket.
- Thread the long yarn tail onto a yarn needle. Sew through the ear base and border stitches with small whip stitches, catching both loops so the join is firm.
- Repeat at the opposite top corner. Check that both ears point upward and look balanced before weaving in the tails.
- Weave all ends into the wrong side for at least 2 in (5 cm), changing direction once or twice so they are less likely to work loose.
If you want the ears to stand a little more upright, sew a short line up the lower side edges as well as along the base. Keep the points soft and flexible; do not add wire, stiff plastic or hard inserts to a pet blanket.
Color ideas for a cozy cat blanket
The simple stitch pattern makes this blanket easy to personalize. Keep the body in one shade and use a contrast for the ears, or add a few broad stripes. These palettes are starting points; choose washable yarns that feel comfortable in your home.
- Sage, cream and terracotta: a calm neutral base with warm narrow stripes.
- Charcoal and mustard: a darker main color with bright ear centers.
- Dusty rose and oatmeal: soft, warm tones that suit a quiet reading chair.
- Denim blue and ivory: classic stripes with matching blue ears.
- Lavender and pale gray: a gentle pastel combination for a kitten-sized blanket.
If the blanket is for a cat who sheds heavily, a medium or darker shade can disguise fur between washes. If it will sit on a pale sofa, choose a washable yarn and test a small swatch first to make sure the color does not bleed.
Helpful tips and common fixes
The sides are uneven
Place a stitch marker in the first and last stitch of each row for the first 10 rows. The turning chain does not count; accidentally crocheting into it can add stitches, while skipping the first real stitch removes them. Check that you still have 105 hdc after every few rows.
The border waves or curls
The side edges need a little more or less crochet than the top and bottom because row ends are not as tall as stitches are wide. Follow the 3-row/2-row spacing as a starting point, then lay the blanket flat. Adjust the number of sc on the sides until the edge lies smoothly.
The ears look floppy
Use a slightly smaller hook for the ear triangles or add a firm sc edging around each one. Sew the base through several border stitches and secure the yarn tail. Do not use a hard insert; the ears should remain soft and safe to lie on.
The finished blanket is smaller than expected
Measure the swatch after washing and drying. If 14 hdc span more than 4 in, your stitches are too loose for the target dimensions; use a smaller hook or increase the foundation count. If they span less than 4 in, try a larger hook or reduce the stitch count.
Care and pet-friendly finishing
Use the care instructions for your yarn and wash the blanket before giving it to your cat. Avoid decorative buttons, beads, bells, glued pieces and long fringe that can come loose or invite chewing. Check the blanket periodically for pulled loops, loose seams or holes. If your cat chews yarn, keep the blanket out of reach when unsupervised.
For a complete cozy spot, pair the blanket with a washable bed or cave from our guide to crochet cat beds and caves. Choose a bed large enough for the blanket to lie flat rather than bunching it into a tight space.
Frequently asked questions
Is this crochet cat blanket pattern suitable for beginners?
It is suitable for a confident beginner who can make even half double crochet rows, count stitches and sew two simple triangles in place. The body repeats one stitch, while the border and ears introduce a few shaping and finishing steps.
Can I make this crochet cat blanket larger?
Yes. At the stated gauge, multiply your desired width in inches by 3.5 to estimate the number of hdc stitches, then add 1 chain for the foundation. Multiply your desired height in inches by 2.5 to estimate the number of rows. Make a gauge swatch first, because yarn and tension change these counts.
Can I use bulky yarn?
You can, but the blanket will be thicker and larger with the same stitch count, and you will use a different hook. Make a new gauge swatch and recalculate the foundation stitches and rows. A smooth medium-weight washable yarn is easier to size predictably.
Do I need to add the contrast ear patches?
No. The patches are optional. The outer triangles alone create the two cat-ear corners; contrast patches simply add a small color detail.
Can I use this as a blanket for a person?
The standard version is designed as a small pet blanket. For a lap blanket, increase the body to about 36 × 48 in or larger, recheck gauge and buy yarn according to your swatch. You can keep the ears as a playful top-edge detail or omit them.
More crochet cat projects
If you like a blanket with a visible cat motif, browse our cat granny square patterns for blankets and gifts. For another soft place to curl up, see the cat bed and cave pattern collection.
Choose a washable yarn, make a gauge swatch, and take the body one even row at a time. Once the two ear corners are sewn on, the simple blanket becomes a cozy handmade spot with a small, unmistakable cat-inspired finish.