A granny-square poncho is easiest to fit when you plan the layout before joining. This guide gives a simple 4-by-4 square arrangement for each front and back panel, with a center opening adjusted during assembly. Use US terms.
Materials and square size
- Worsted yarn in 2–4 colors, about 900–1,200 yd
- 5 mm hook, markers, yarn needle
- ch = chain; dc = double crochet; sl st = slip stitch; ch-2 space = corner space
Make a 6 in square in your chosen yarn. Four squares across create roughly 24 in of width; four rows give about 24 in of length. Add squares for a longer poncho.
Make a basic square
- Ch 4 and join into a ring. Round 1: ch 3, 2 dc in ring, ch 2; repeat three times. Join to the top of ch 3.
- Round 2: sl st to a corner space. In each corner work (ch 3, 2 dc, ch 2, 3 dc). Between corners, work 3 dc in each side space. Join.
- Continue rounds, placing (3 dc, ch 2, 3 dc) in each corner and 3 dc in each side space. Fasten off. Make 32 squares, keeping dimensions consistent.
Arrange and assemble
Lay out two 4-by-4 rectangles. Join squares with a whipstitch or slip-stitch seam. Join the rectangles along one short edge, leaving the center section open for the neckline. Try on and adjust the opening before securing the seam. Work a round of sc around the neck and lower edges.
For a smoother drape, block the squares before joining. Weave in ends as you go, and check that color placement looks balanced from front and back.
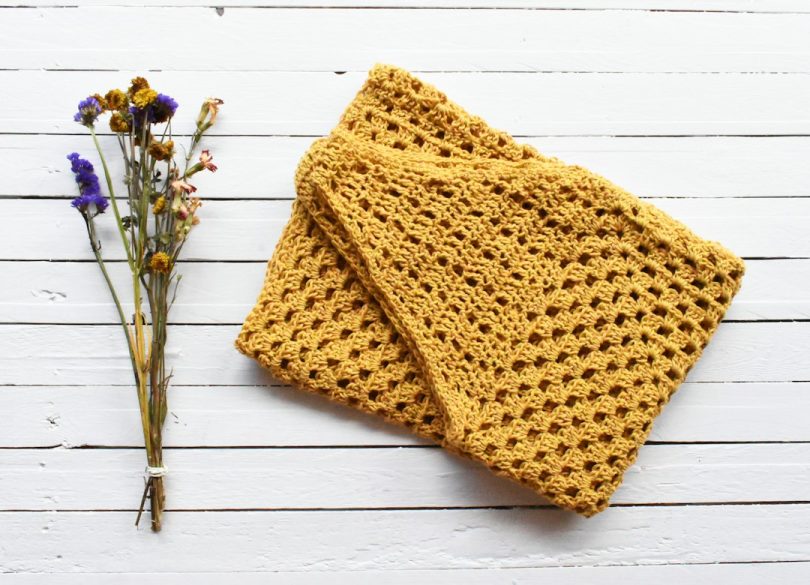
Photo: Shelter via Unsplash.