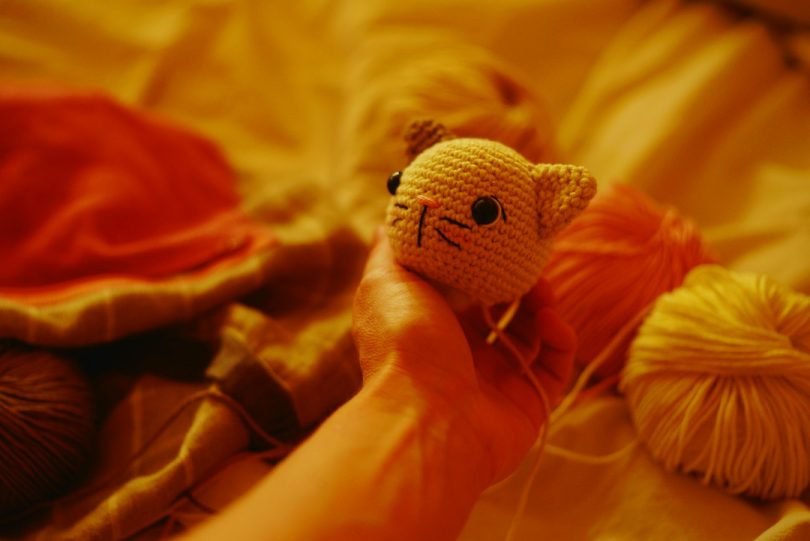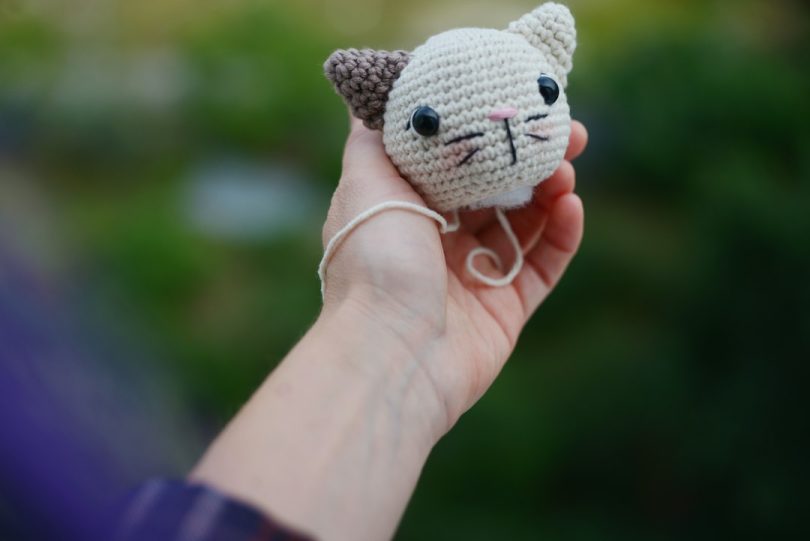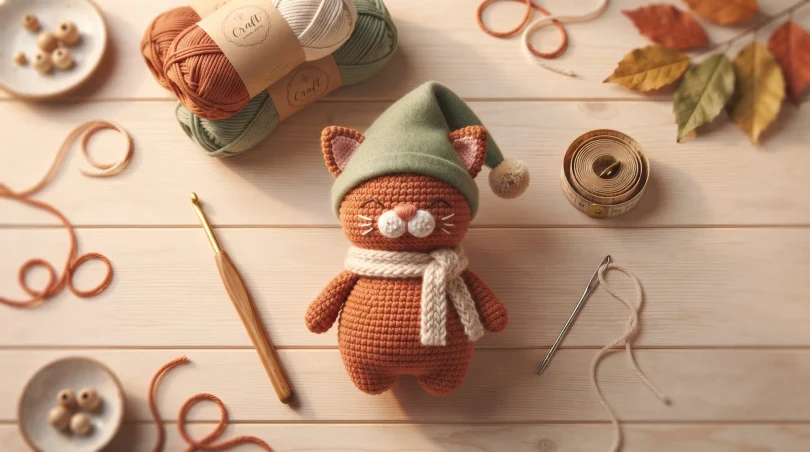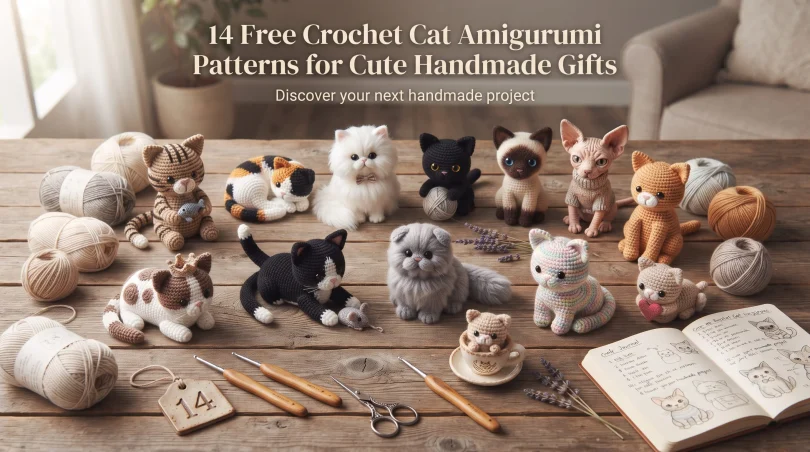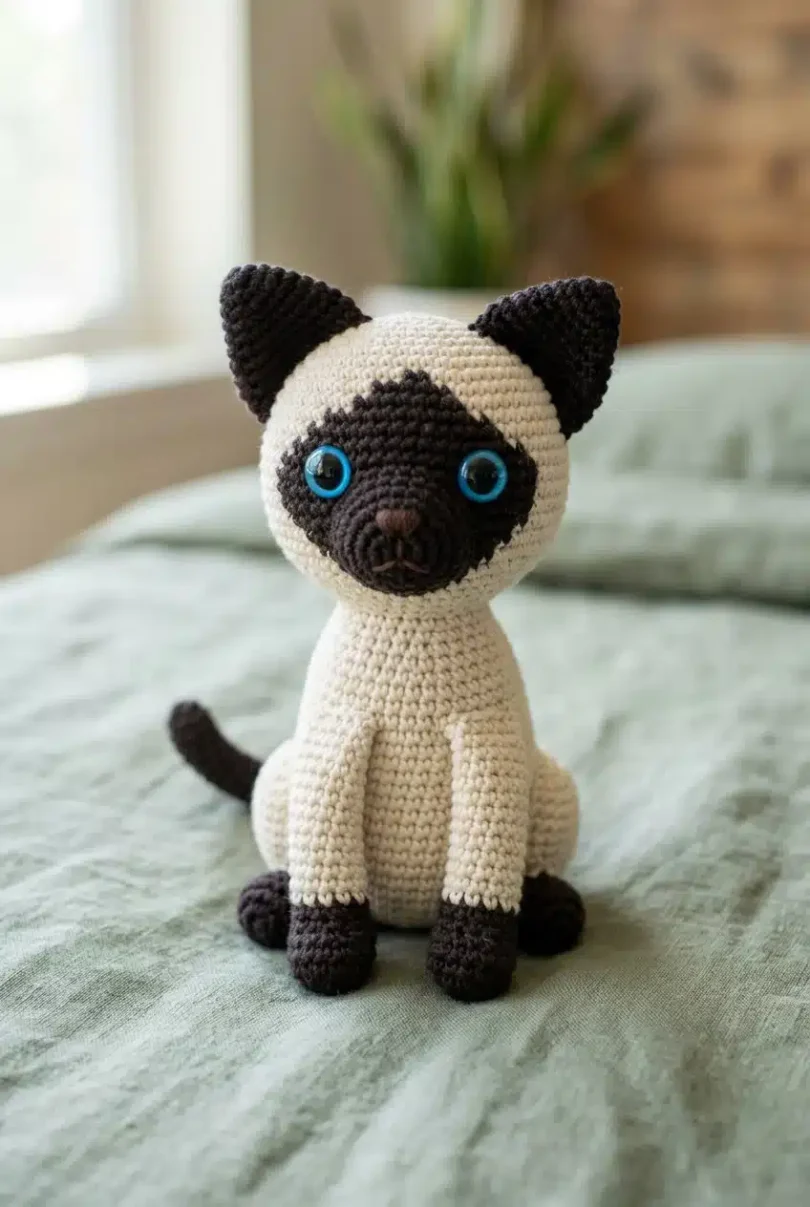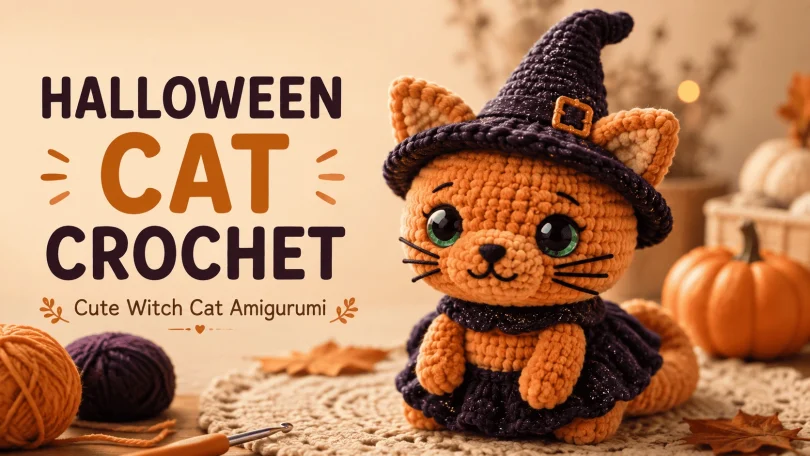
If you are looking for a quick, stash-busting project that yields an incredibly cute result, this mini cat loaf is the perfect make. Whether you want a simple desk buddy or a charming new plushie, this versatile amigurumi project works up fast and can easily be customized.
Materials & Tools
Before starting your magic ring, make sure you have the exact supplies needed to achieve that perfectly chunky, squishy look:
- Yarn: Super bulky Chenille yarn in 2 colors (Color A: Orange, Color B: Grey).
- Hook: 4mm crochet hook (US size G) or the recommended hook size on your yarn label.
- Eyes: 18mm safety eyes.
- Stuffing: Plush stuffing material.
- Details: Some black thread for the facial embroidery.
- Basics: Scissors and a darning needle.
Stitch Abbreviations (US Terms)
This pattern uses standard US crochet terminology. Here is a quick reference guide before you start:
| Abbreviation | Meaning |
|---|---|
| MR | Magic ring |
| ch | Chain |
| sc | Single crochet |
| dc | Double crochet |
| inc / dec | Increase / Decrease |
| slst | Slip stitch |
| BLO / FLO | Back loop only / Front loop only |
| FO | Fasten off |
| slipknot | Slipknot |
Step-by-Step Video Tutorial
Because this pattern includes some clever construction techniques—like color-changing and crocheting the tail directly onto the body—I highly recommend watching the full video tutorial. I will walk you through every single round, stitch by stitch.
Key Construction Steps
1. Shaping the Loaf Body
The body starts with a classic magic ring of 6 single crochets[cite: 2]. You will steadily make increase stitches until the body reaches 30 stitches, forming the wide base of the loaf[cite: 2]. For the decreases, the tutorial demonstrates the “invisible decrease” technique—inserting your hook only into the front loops (FLO) of the next two stitches to ensure a seamless finish with no stuffing peeking through[cite: 2].
2. Crocheting the Ears & Tail
Instead of basic triangles, these ears are shaped using a combination of single crochets and 3 double crochets worked into the exact same stitch for a sharp, pointy look[cite: 2]. They are sewn securely onto round 5 or 6 of the head[cite: 2]. The tail is even easier: you will attach your yarn directly to the back of the cat, chain 10, and work 8 half-double crochets back down the chain[cite: 2].
3. Smooth Color Changing
To create distinct patches of color on your cat (switching between the Orange and Grey super bulky yarn), you will learn how to seamlessly change colors mid-stitch[cite: 2]. You simply drop your current color before completing the final pull-through of a single crochet, and pull the new color through the remaining loops on your hook[cite: 2].
4. Embroidery and Finishing Touches
To bring your mini cat to life, place the large 18mm safety eyes on the face. Using your black thread, embroider a small “T” shape for the nose on the very first round of the body, and add tiny “V” shaped whiskers on each side of the eyes[cite: 2]. Secure your ends with the darning needle, and your chunky cat loaf is complete!
Frequently Asked Questions (FAQ)
Is this pattern suitable for absolute beginners?
Yes! This is a fantastic project for beginners. The pattern relies on basic stitches like the magic ring, single crochet, and double crochet[cite: 2]. Plus, the accompanying step-by-step video tutorial walks you through the entire process, including how to read the abbreviations and perform invisible decreases[cite: 2].
Can I use a different type of yarn?
Absolutely. While the tutorial uses super bulky Chenille yarn to create a chunky, squishy plush, you can use any yarn you have in your stash. Just make sure to check your yarn label and use the recommended crochet hook size so your stitches stay tight enough to hide the stuffing.
Do I have to sew a lot of pieces together?
No, this is a very low-sew project. The main body is crocheted as one continuous piece[cite: 2]. The tail is also crocheted directly onto the back of the cat, meaning you skip sewing it entirely[cite: 2]. The only pieces you need to sew on are the two ears[cite: 2].
How do I make the spots for the calico cat version?
You will achieve the spotted look by changing yarn colors mid-round. When you reach a color change, you simply drop your current color, attach the new color loop, and pull it through to finish the single crochet[cite: 2]. The video tutorial shows exactly when and how to switch between your colors[cite: 2].
How do I turn this into a keychain?
It is incredibly easy! Once your mini cat loaf is finished and stuffed, simply attach a keychain ring or a small strap directly to the center back of the cat’s body[cite: 2]. If you use thinner yarn (like DK or worsted cotton), it makes the perfect pocket-sized accessory.