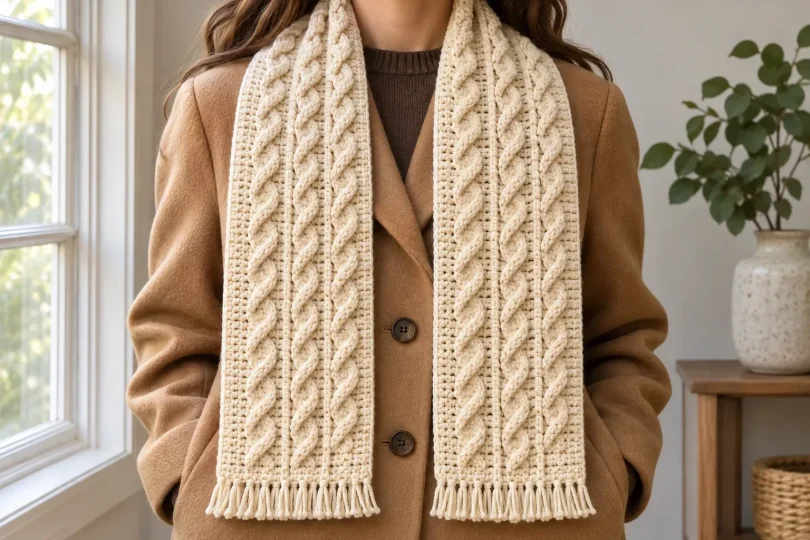
A smooth yarn and three columns of raised stitches give this crochet cable scarf the tailored look of a classic winter accessory. Lala’s technique builds each raised strand from a short chain anchored to an earlier row. Once you can tell the base row from the raised strand, you can make the whole scarf from a two-row repeat.
This written companion uses US crochet terms and follows Lala’s video. Start with the stitch map, then use the video at the end to check hook placement when you reach the first cable.
Materials and sizing
- Yarn: choose a smooth, even yarn so you can see the post stitches and chain loops. A solid light or medium shade makes the first sample easier to read.
- Hook: start with the size recommended on your yarn label. If the swatch feels stiff, try a slightly larger hook and check the drape again.
- Tools: removable stitch markers, scissors, a tapestry needle and a tape measure.
- Width: the sample begins with 24 chains and has 23 base stitches across. Its finished width depends on your yarn and tension.
- Length: measure a scarf you already enjoy wearing, then aim for that length before adding fringe. The transcript does not establish an exact yarn weight, yardage, hook size or finished dimensions for the sample.
Work the setup and at least two repeats before committing to the whole scarf. Wash the sample according to the yarn label and measure it dry. If you want to estimate yarn usage, weigh a measured length of the full-width swatch, scale that weight to your target length and allow extra for finishing and fringe.
Stitches you’ll use
| Abbreviation | What to do |
|---|---|
| ch / sl st | Chain / slip stitch. For the cable anchor, take the slip stitch around the body of the lower stitch. |
| dc / hdc | Double crochet / half double crochet. Complete a dc in two pull-throughs. Finish an hdc by drawing through all three loops together. |
| Stacked sc | Work a single crochet into the first stitch, then a second single crochet into the side bar of the first. The stack counts as one dc. |
| FPdc | Front post double crochet. Pass the hook from front to back and out to the front around the post, then complete the dc. |
| BPdc | Back post double crochet. Pass the hook from back to front and out to the back around the post, then complete the dc. |
Keep the count at 23. A post stitch replaces the stitch at that position, so leave the top loops above that post alone. The chains and hdc that form each cable sit on the surface and stay outside the base stitch count. Use a marker in the top of the stacked sc so the last stitch of the next row is easy to find.
How to crochet the cable scarf
1. Make the foundation row
Ch 24. In the second chain from the hook, make a stacked sc. Mark its top and work one dc in each remaining chain. You should have 23 base stitches, including the stack. Turn.
2. Set up the back-post row
Work a stacked sc in the first stitch and a dc in the next. Work one BPdc around the next post. Then repeat 5 dc, 1 BPdc three times. Finish with one dc in each of the last two stitches and turn.
The four raised lines sit at base stitch positions 3, 9, 15 and 21. This gives you three panels, each five stitches wide, between the lines. Use that spacing to check your work if the post placement looks uneven.
3. Make the first cable row
Start with a stacked sc, one dc and one FPdc around the next post. Then work the following sequence in each of the three panels:
- Work one dc in each of the next three base stitches.
- Ch 5 loosely. Find the center post of that panel two rows below. For the first cable row, you’re reaching down to the foundation row.
- Pass the hook around the lower post and make a sl st to anchor the chain. Tilt the work if needed to reach the chain comfortably.
- Working back up the five chains toward the active row, make one hdc in each chain. Leave the anchoring sl st unworked.
- Return to the active row. Dc in the two remaining base stitches of the panel, then FPdc around the next raised post.
Once the third cable is complete, work one dc in each of the final two base stitches. Turn. You should see three raised strands across the front and still have 23 base stitches to work on the return row.
4. Repeat the two rows to build length
On the next back-post row, repeat step 2. Lift the raised cable slightly if it covers the stitch tops. Continue across the five background stitches in each panel, leaving the cable’s own hdc unworked.
On the next front-facing row, repeat step 3. Count down two rows for each anchor and look for the central base post beside the earlier cable. Keep the anchor in the same panel so the raised strands stack in columns. Alternate the back-post and cable rows until the scarf is as long as you want, then finish after a back-post row. Use that row type as your checkpoint because the spoken row total and the instruction for the final row don’t line up cleanly.
5. Finish the ends and add optional fringe
After the last stitch, ch 1, cut the yarn and pull the tail through to secure it. Weave the ends into the background stitches. For a clean edge that slips under a coat collar, you can stop here.
To add fringe like the sample, cut 46 equal strands, about 7 inches (18 cm) each. Use one strand for each of the 23 stitch positions at both short ends. Fold a strand in half, pull the fold through the edge with your hook, then draw the two cut ends through the fold and tighten gently. Lay the scarf flat before trimming the fringe. The finished fringe will be shorter than half the cut length after knotting and trimming.
10 color ideas for the same crochet cable scarf
Keep the same 23 base stitches, cable repeat and optional fringe for each version. These color illustrations show how the same design looks in different yarn shades. The suggested medium-weight yarns are starting points. Use the hook recommended for your yarn, then wash and measure a swatch to check the width, drape and stitch definition.
1. Warm ivory
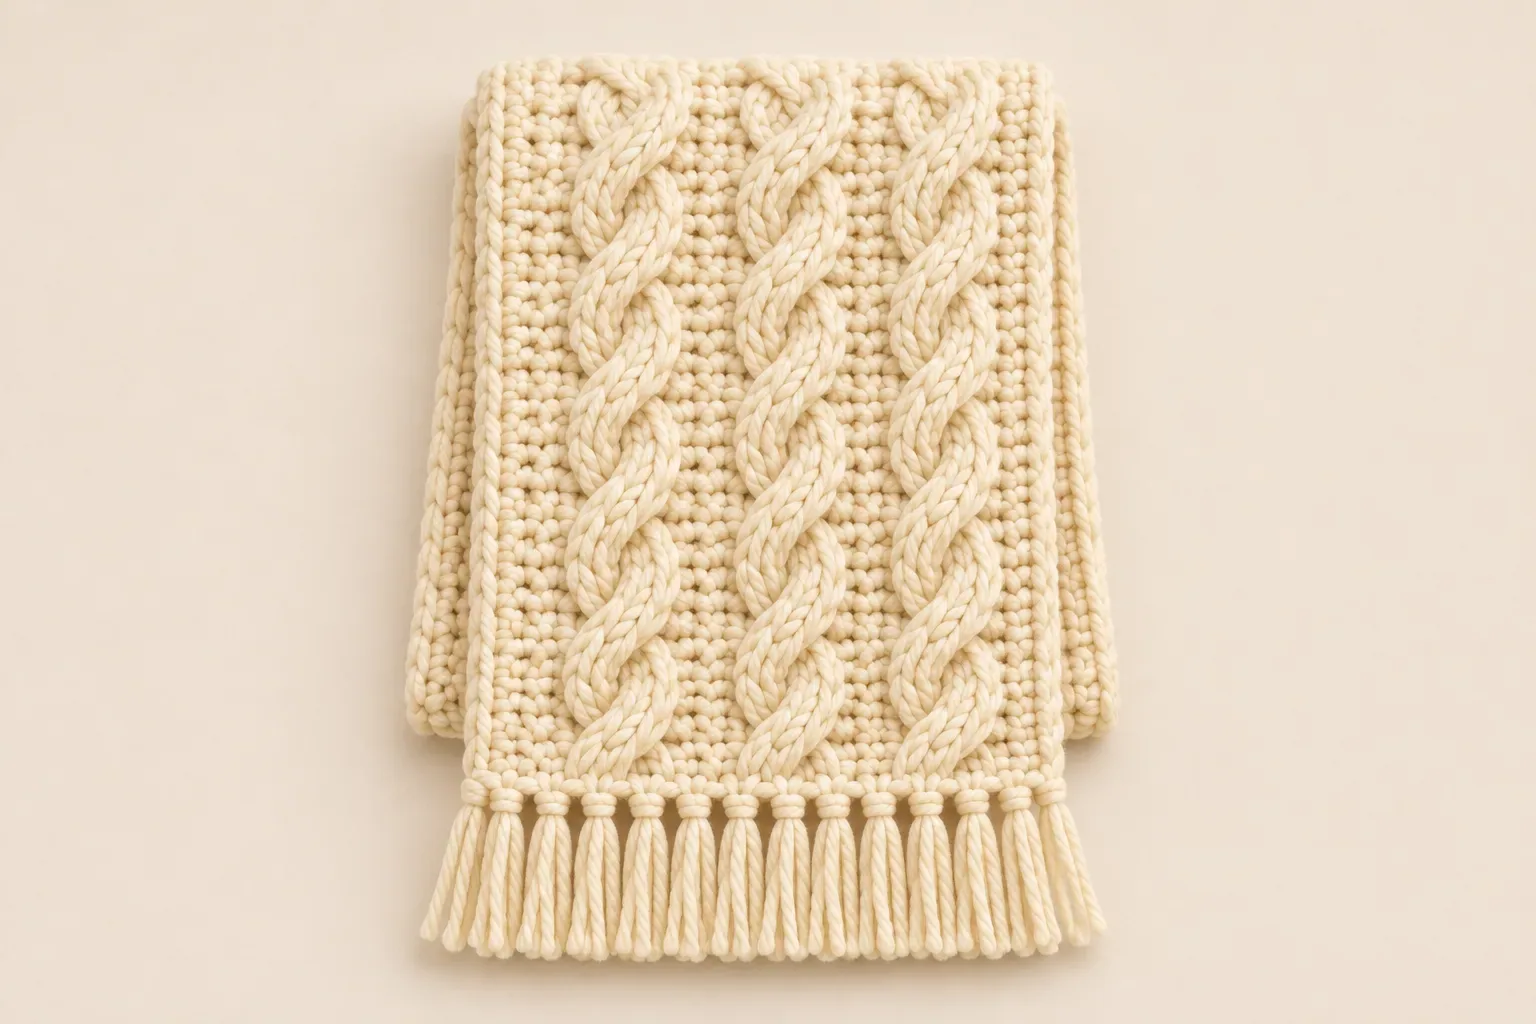
Suggested yarn: Smooth worsted-weight (#4) merino blend. Ivory makes the shadows between the raised strands easy to see, which helps when you’re learning to find the lower anchor post. Choose a plied yarn with a smooth finish so the three cable columns stay distinct. Wear the finished scarf with a camel coat or dark denim.
2. Camel
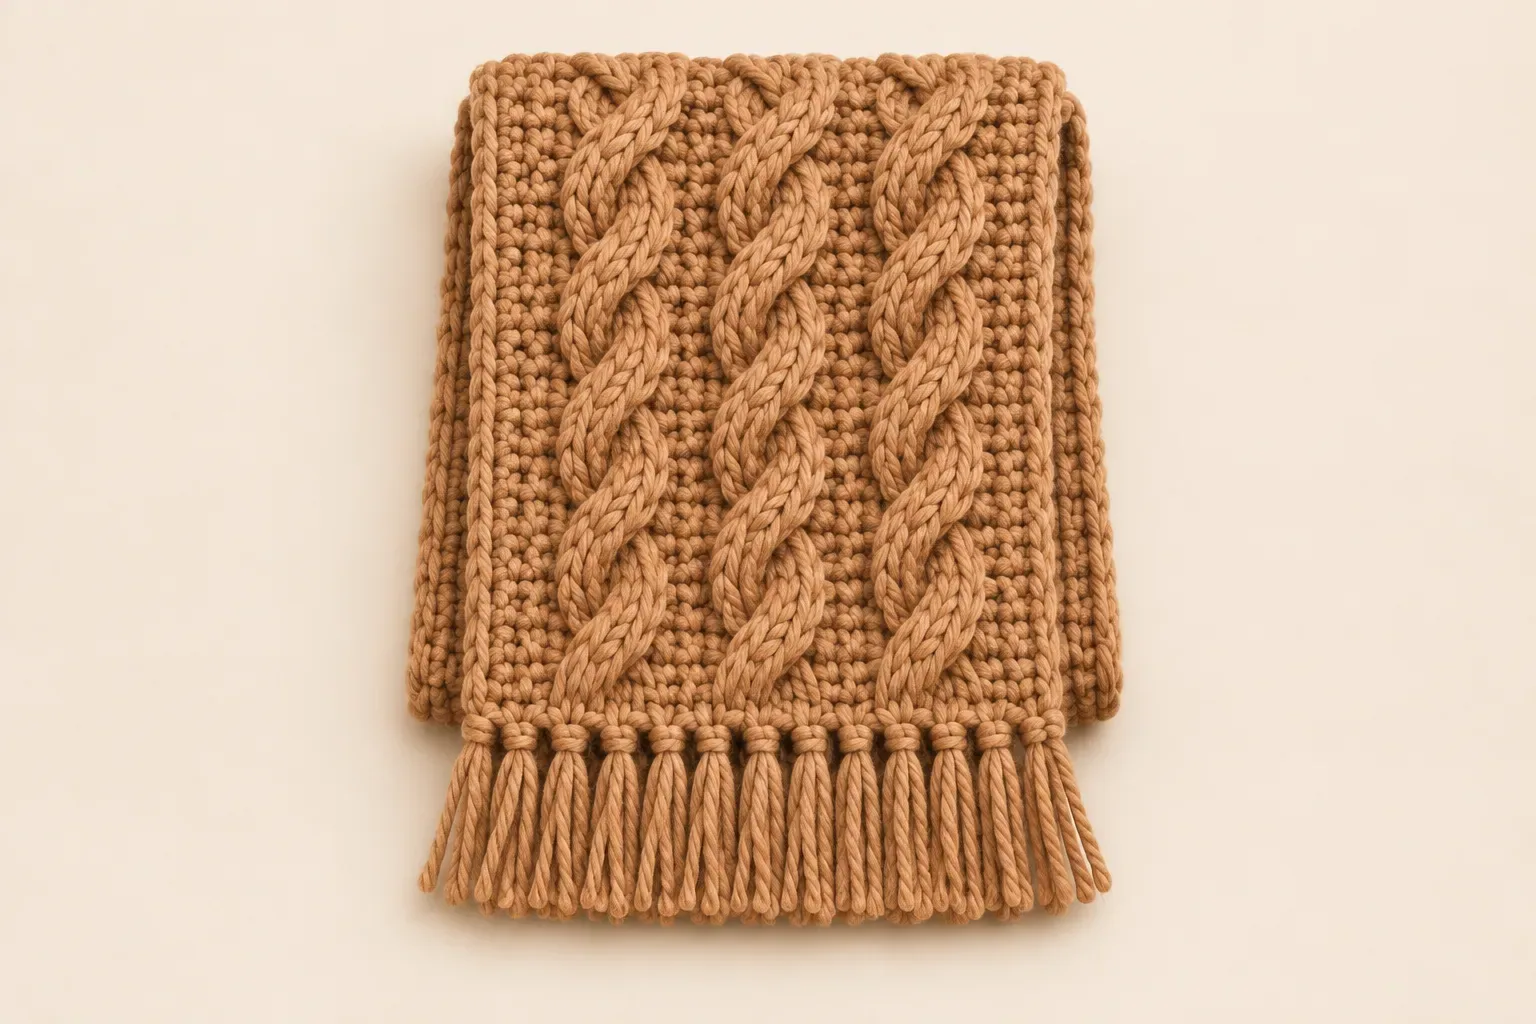
Suggested yarn: Worsted-weight (#4) wool–acrylic blend. A warm camel shade brings out the texture without a strong contrast against oatmeal or cream. Pick a blend with a little spring, then wash the swatch to check that it still hangs softly. Camel looks especially good with navy tailoring and brown leather.
3. Deep navy
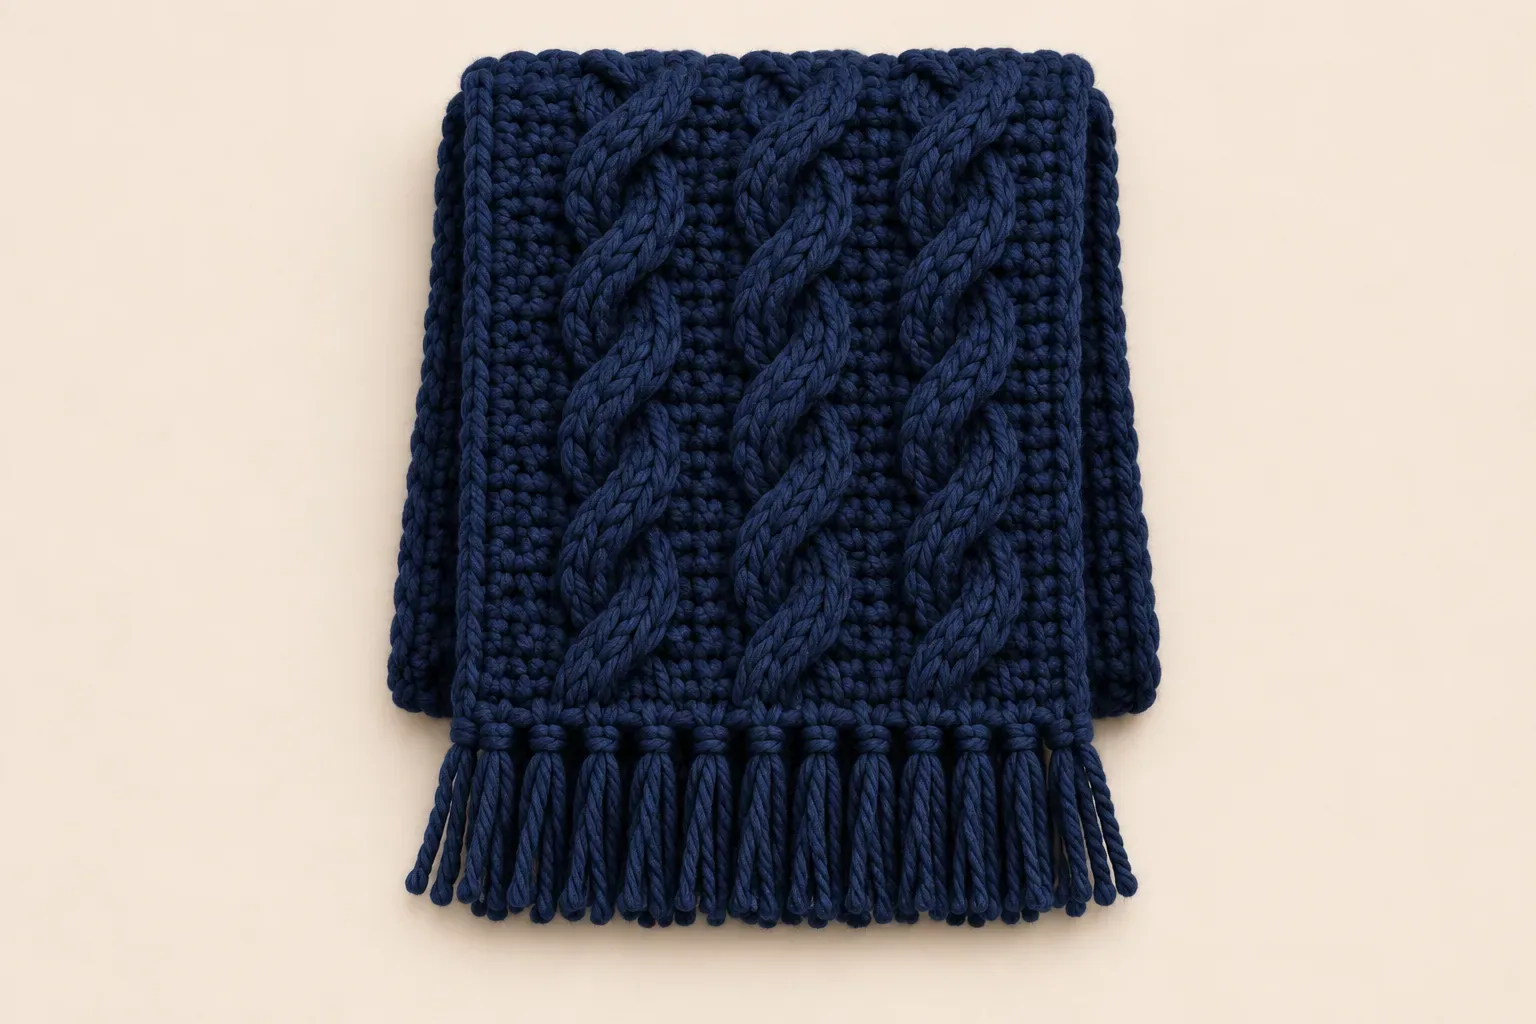
Suggested yarn: Smooth worsted-weight (#4) superwash merino. Choose an inky blue that still reads as navy in daylight. A round, well-plied strand gives the raised cables clean edges, while bright side lighting helps you see the anchor stitches as you work. Pair it with a gray coat or a white shirt.
4. Burgundy
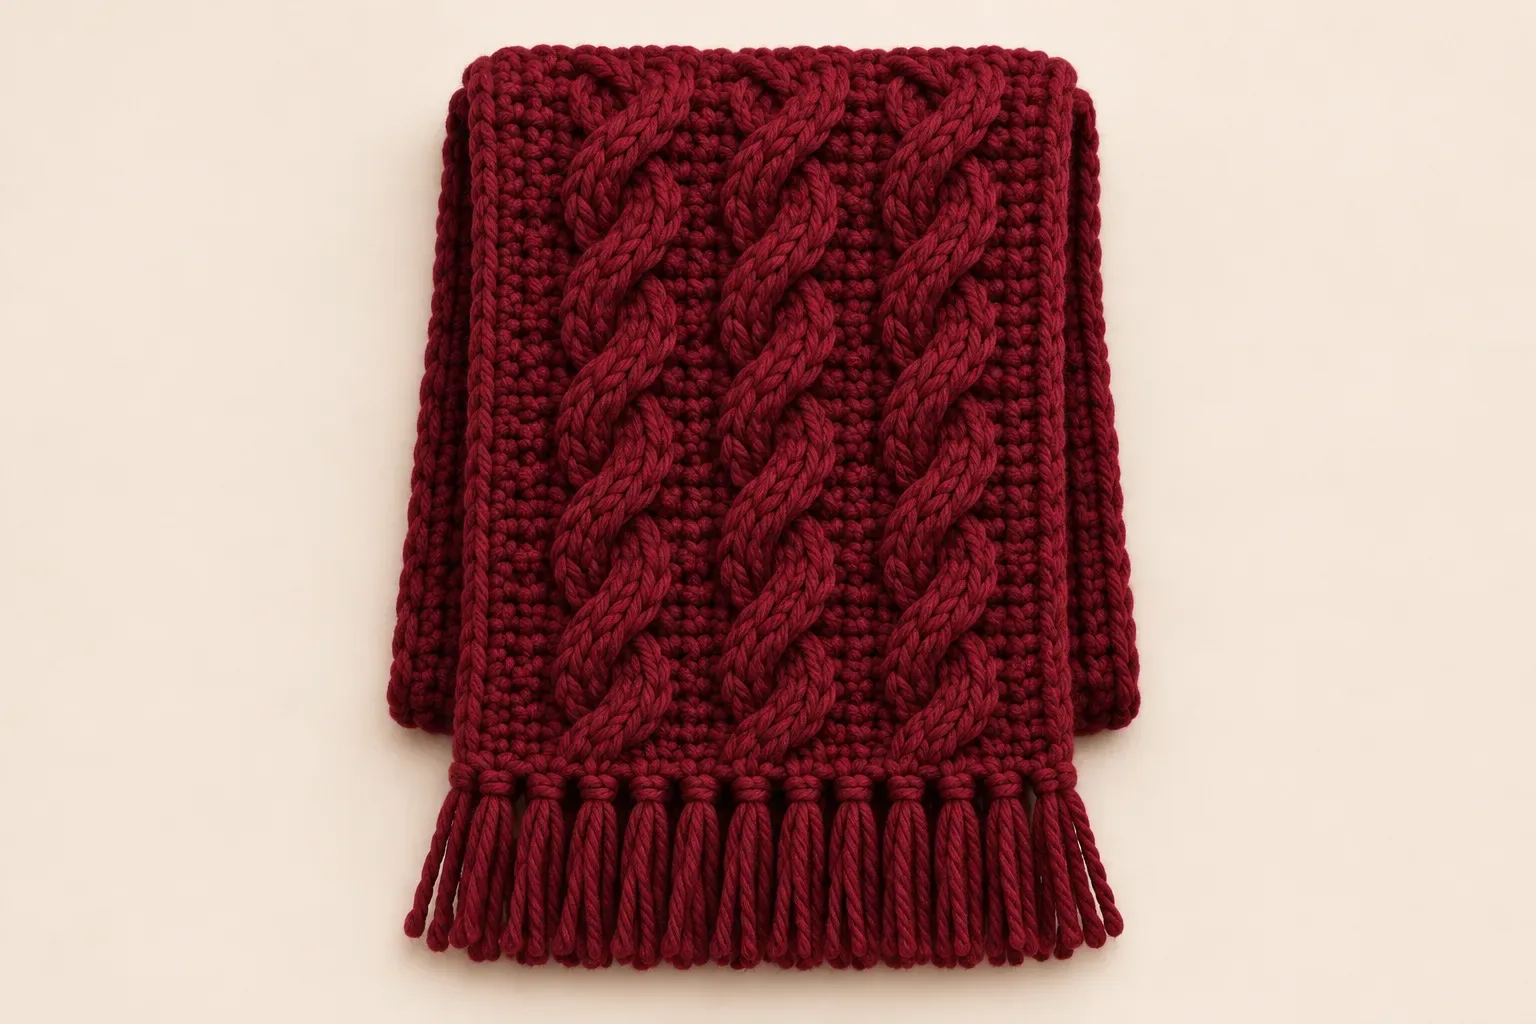
Suggested yarn: Worsted-weight (#4) merino–nylon blend. A wine-red yarn gives the scarf depth without the distractions of a variegated colorway. A smooth merino blend keeps the cables visible and feels soft around the neck. Use the same burgundy for the fringe and wear it with cream, charcoal or black.
5. Forest green
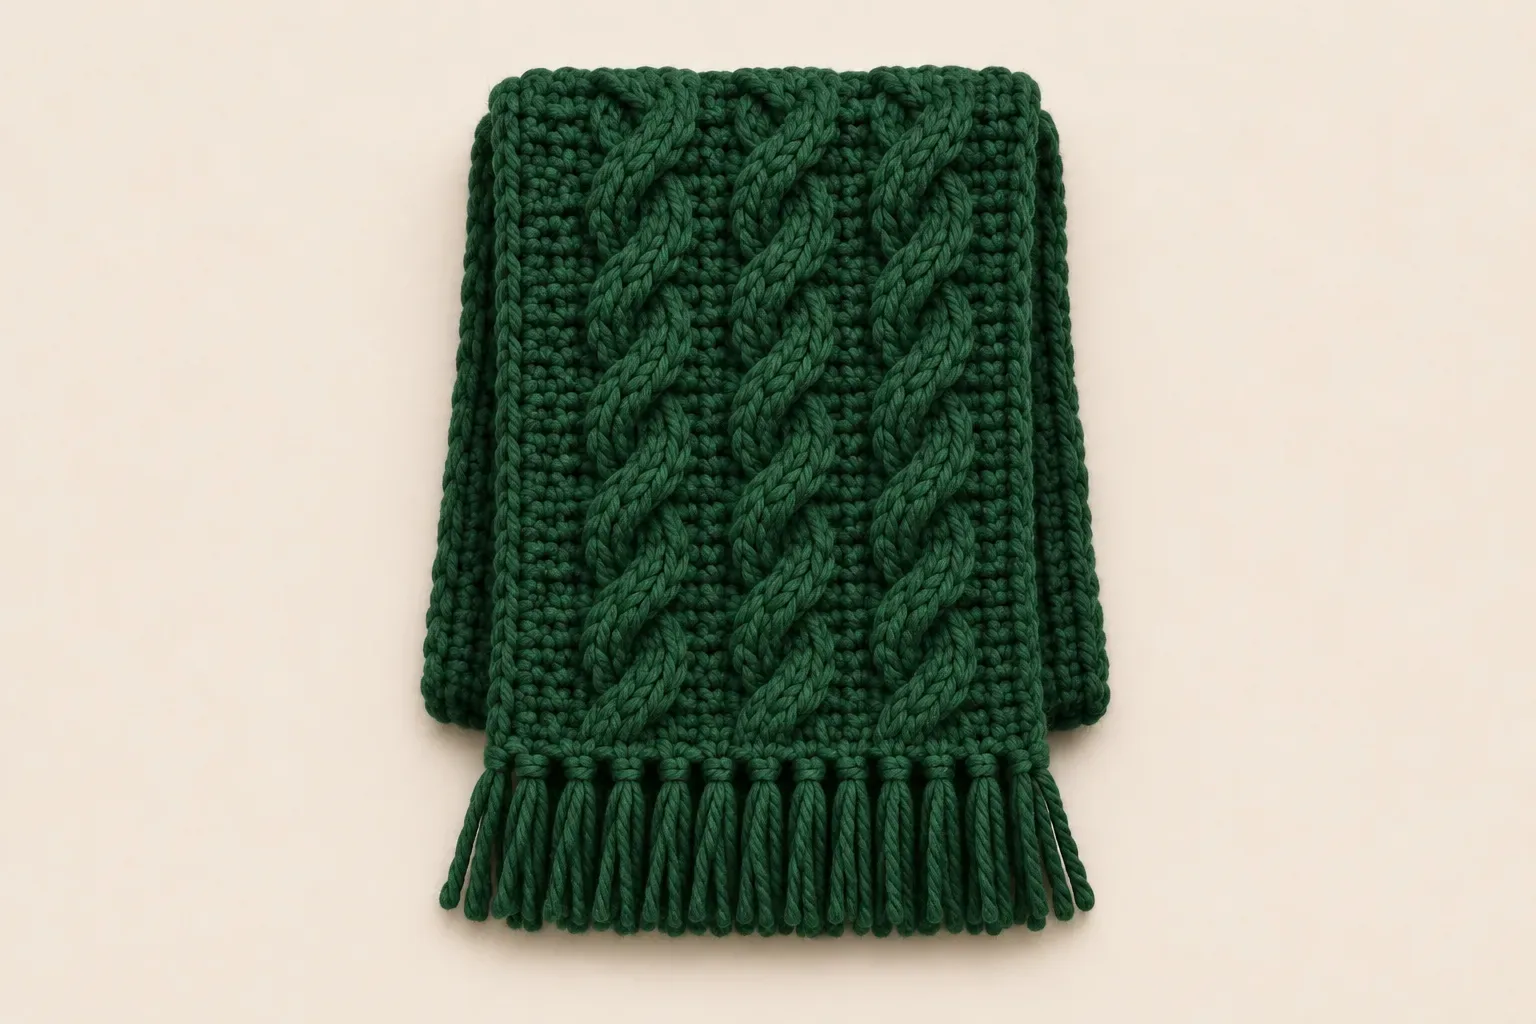
Suggested yarn: Worsted-weight (#4) wool blend in a solid pine shade. Pick a mid-deep forest green so you can still see the shadows along each raised strand. A smooth wool blend holds the relief, while a slightly looser swatch can give the scarf a softer fold. Pair it with tan, ecru and brown boots.
6. Heather charcoal
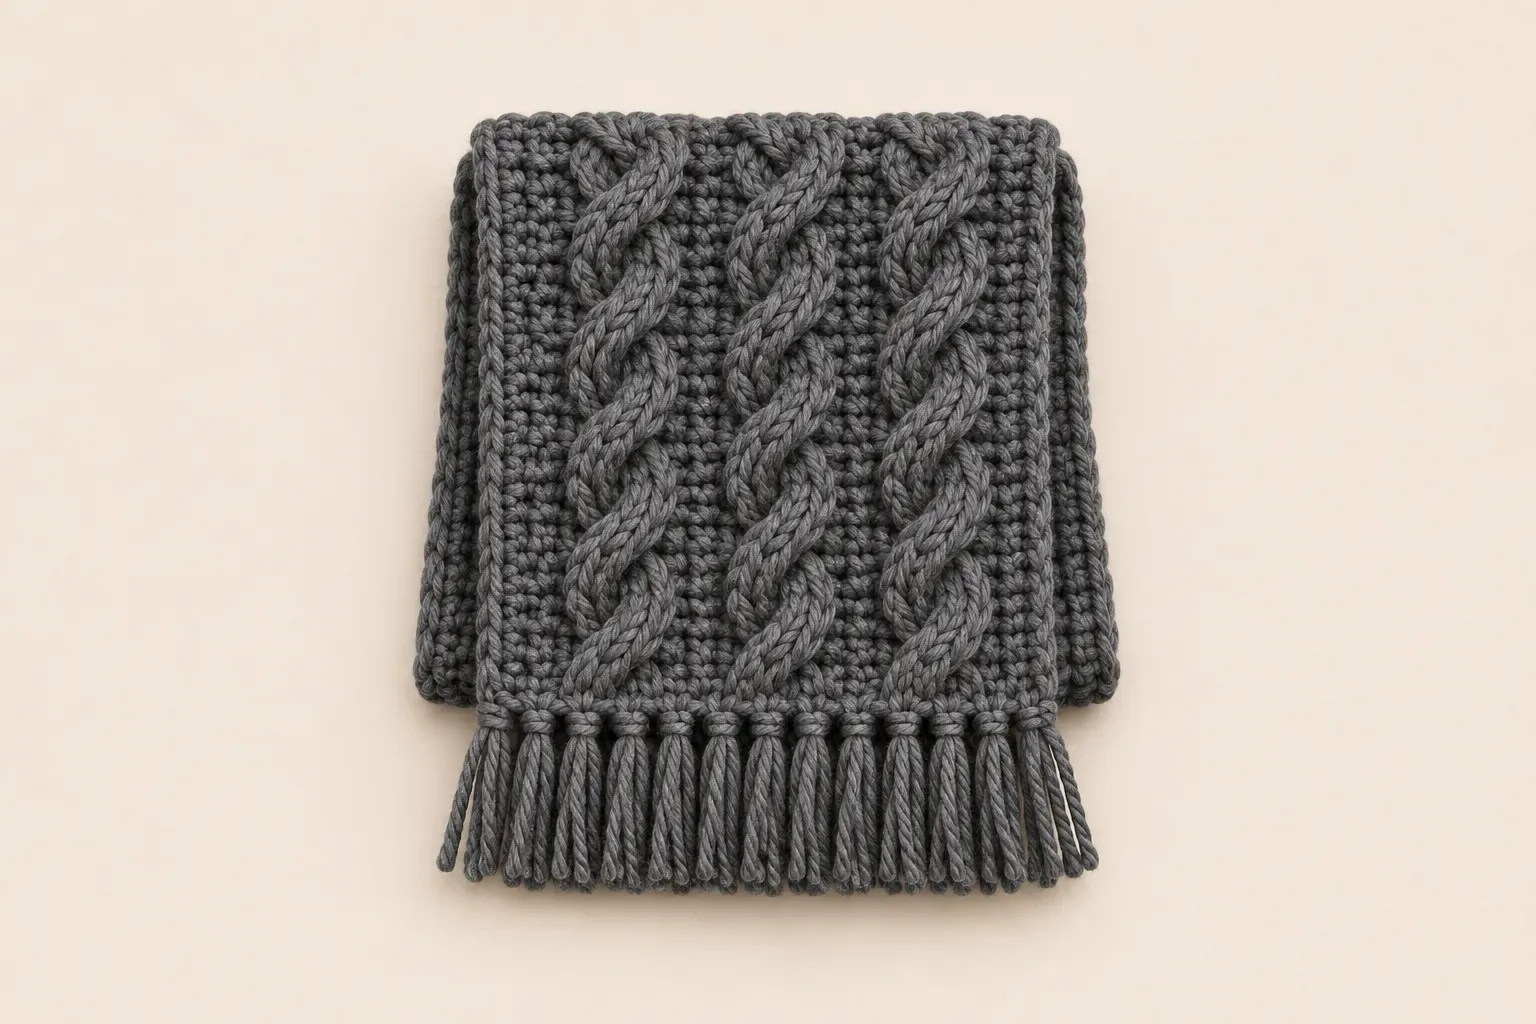
Suggested yarn: Lightly heathered worsted-weight (#4) acrylic–wool blend. A fine charcoal heather adds depth to the flat background and lets the cables remain the focus. Avoid heavy flecks if you want a clear stitch pattern. Check the yarn label for care instructions if you’re making the scarf as an everyday gift.
7. Dusty rose
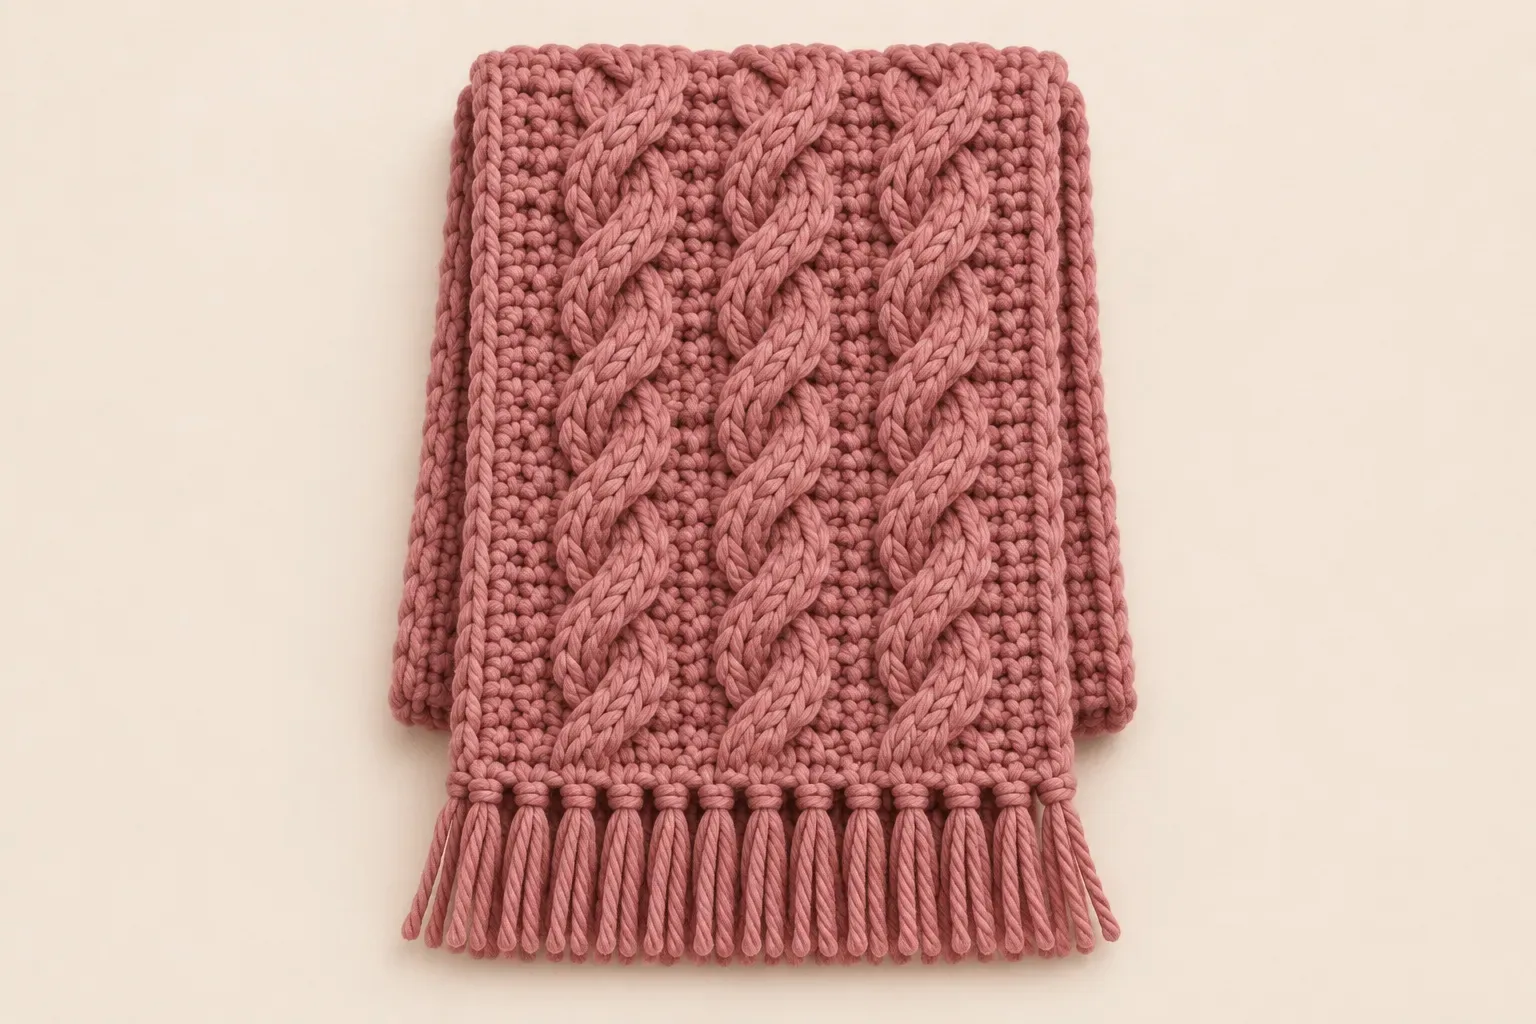
Suggested yarn: Smooth worsted-weight (#4) merino–acrylic blend. A muted rose gives the same cable pattern a softer look. Choose a rounded, matte strand to keep the relief crisp and let the color do the work. Try it over a gray coat or with a cream sweater and light denim.
8. Steel blue
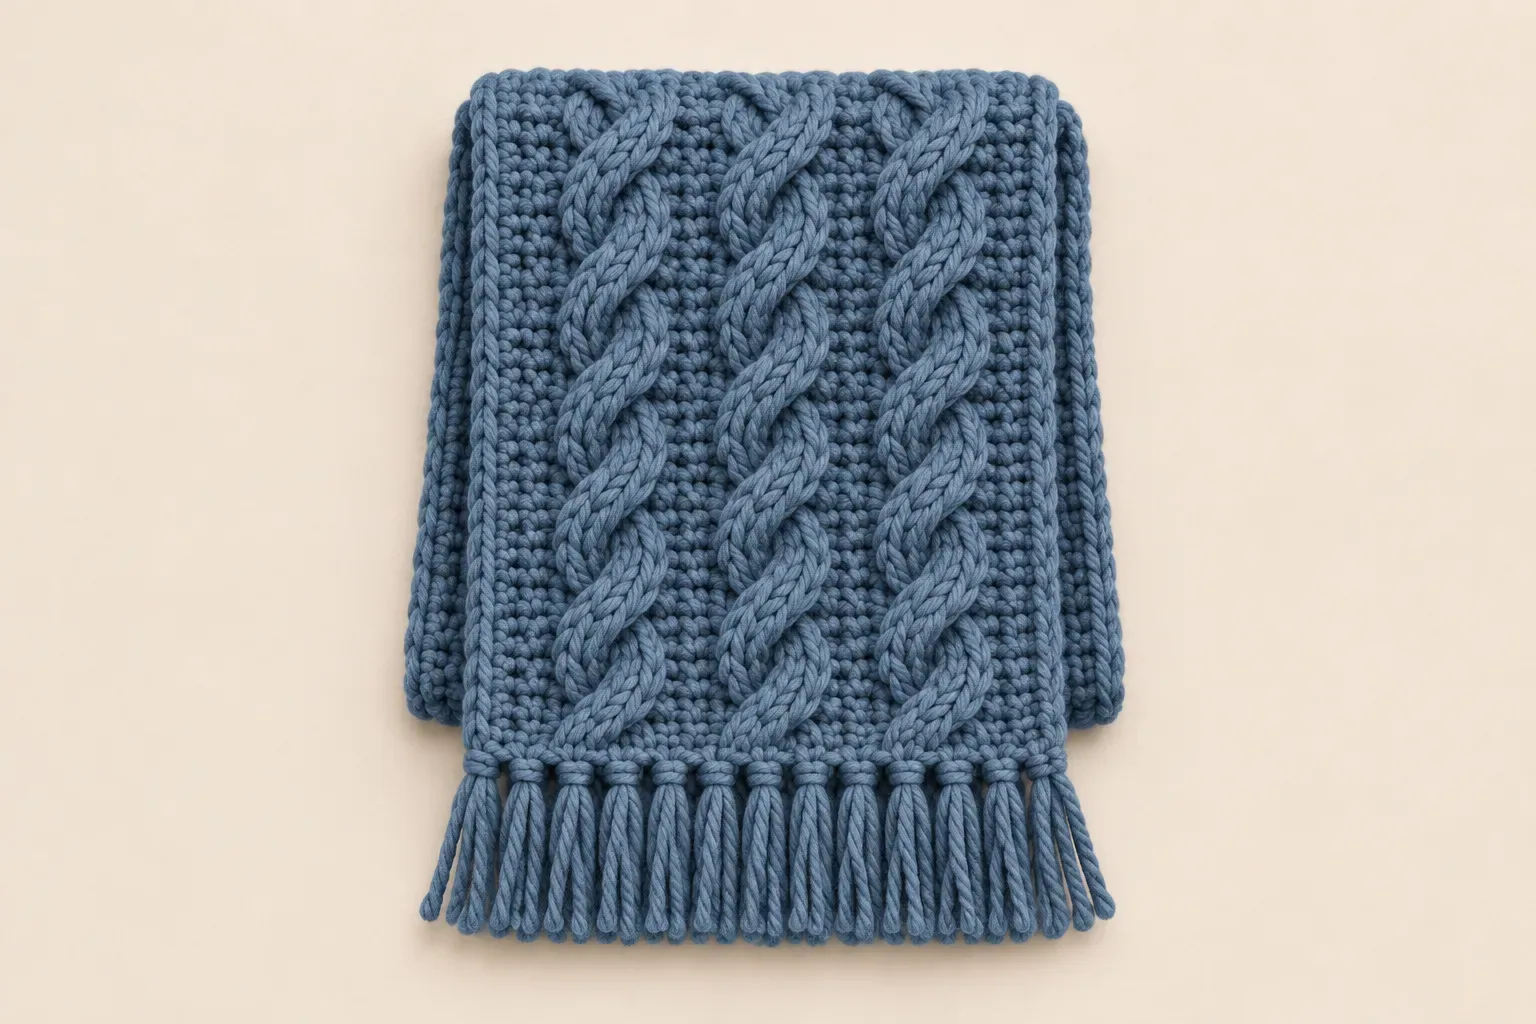
Suggested yarn: Worsted-weight (#4) smooth acrylic or acrylic blend. A cool blue-gray is easier to read at the hook than a near-black navy and still works with most winter neutrals. Choose a soft strand with little halo and swatch it to make sure the fabric bends easily. Wear it with charcoal or washed black jeans.
9. Chocolate brown
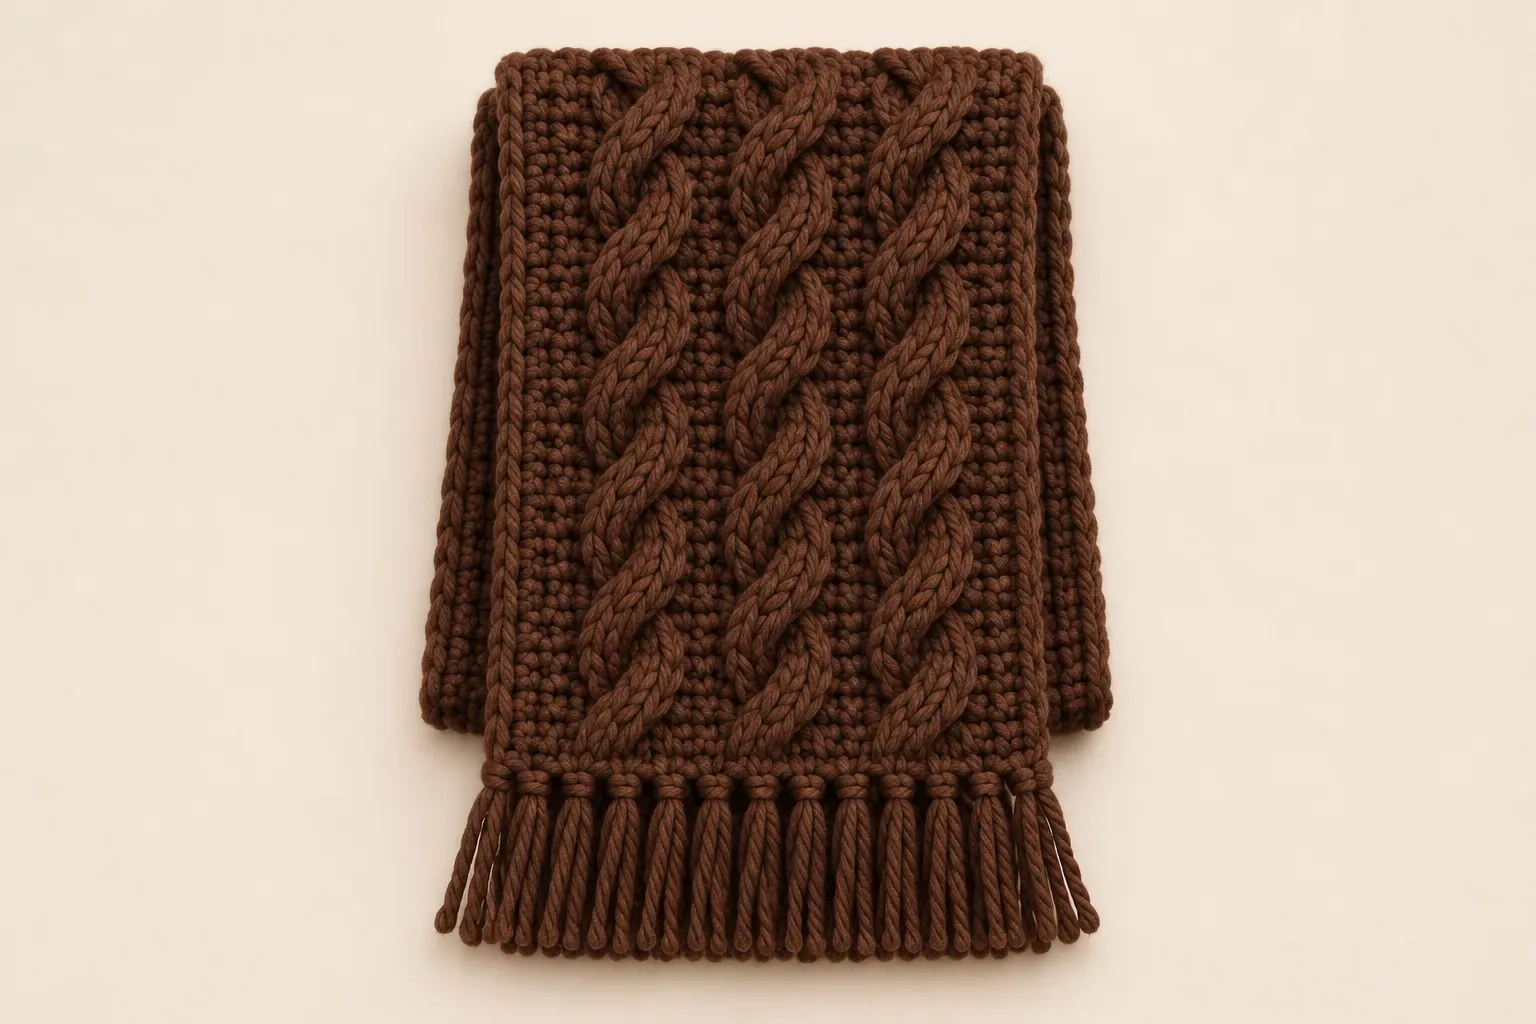
Suggested yarn: Worsted-weight (#4) smooth wool–acrylic blend. A warm cocoa brown brings out the old-money styling of the scarf. Choose a rich medium brown if you want the three cable columns to stay visible. It pairs well with oatmeal knits, a cream coat or a dark denim jacket.
10. Soft sage
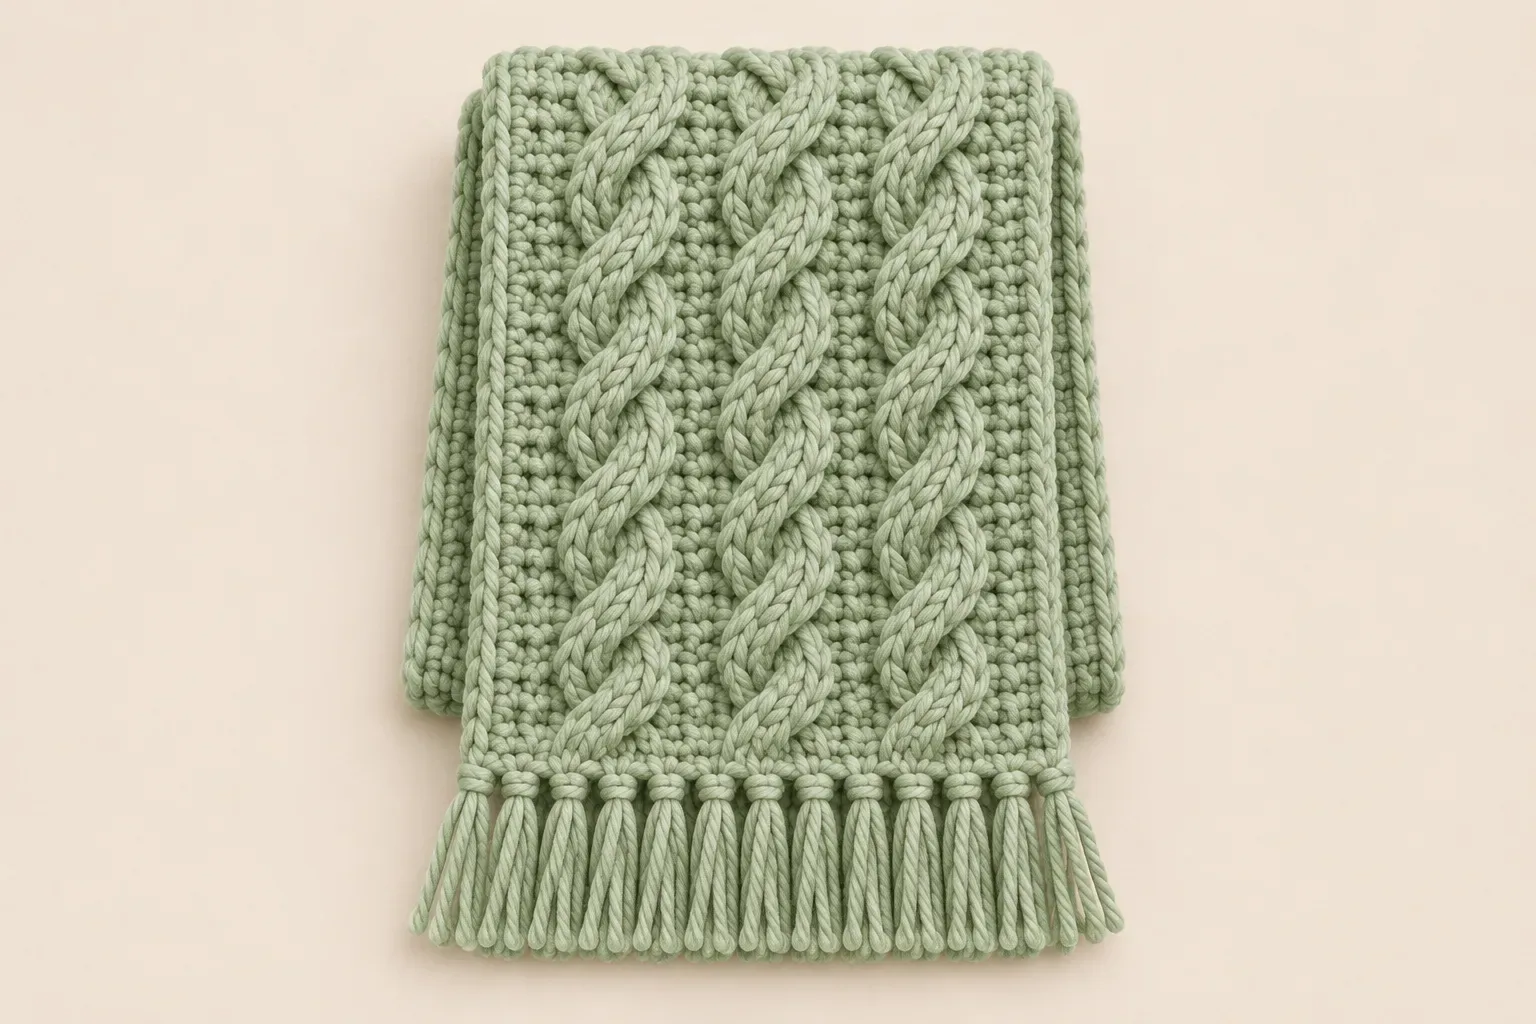
Suggested yarn: Smooth worsted-weight (#4) cotton–acrylic blend. Sage gives the design a lighter look for milder weather. A cotton blend can drape well but may feel heavier or less springy than wool, so wash and hang a swatch before choosing it. Pair the scarf with ivory, stone or a light trench coat.
Common questions
Why is my scarf getting wider?
Check whether you worked into both a post and the stitch top above it, or picked up a stitch from a surface cable. Count the 23 base stitches after each row until you can identify both edges and all four post lines at a glance.
Why does my cable pull the fabric out of shape?
The five chains may be too tight, or the anchor may be in the wrong row or panel. Undo that strand and make a looser chain before anchoring it again. Watch the first cable close-up below to see where the hook goes.
Can I make this scarf shorter or wider?
For a shorter scarf, stop after a back-post row at your chosen length. For a wider scarf, use a thicker yarn with a matching hook and check the drape in a swatch. Changing the foundation count also changes the panel layout, so start with the original stitch count if this is your first attempt.
For more projects, browse our crochet scarf patterns.
Watch Lala’s full crochet cable scarf tutorial